Making of Desert Ark
/ Images and article by Lukas, FA team member
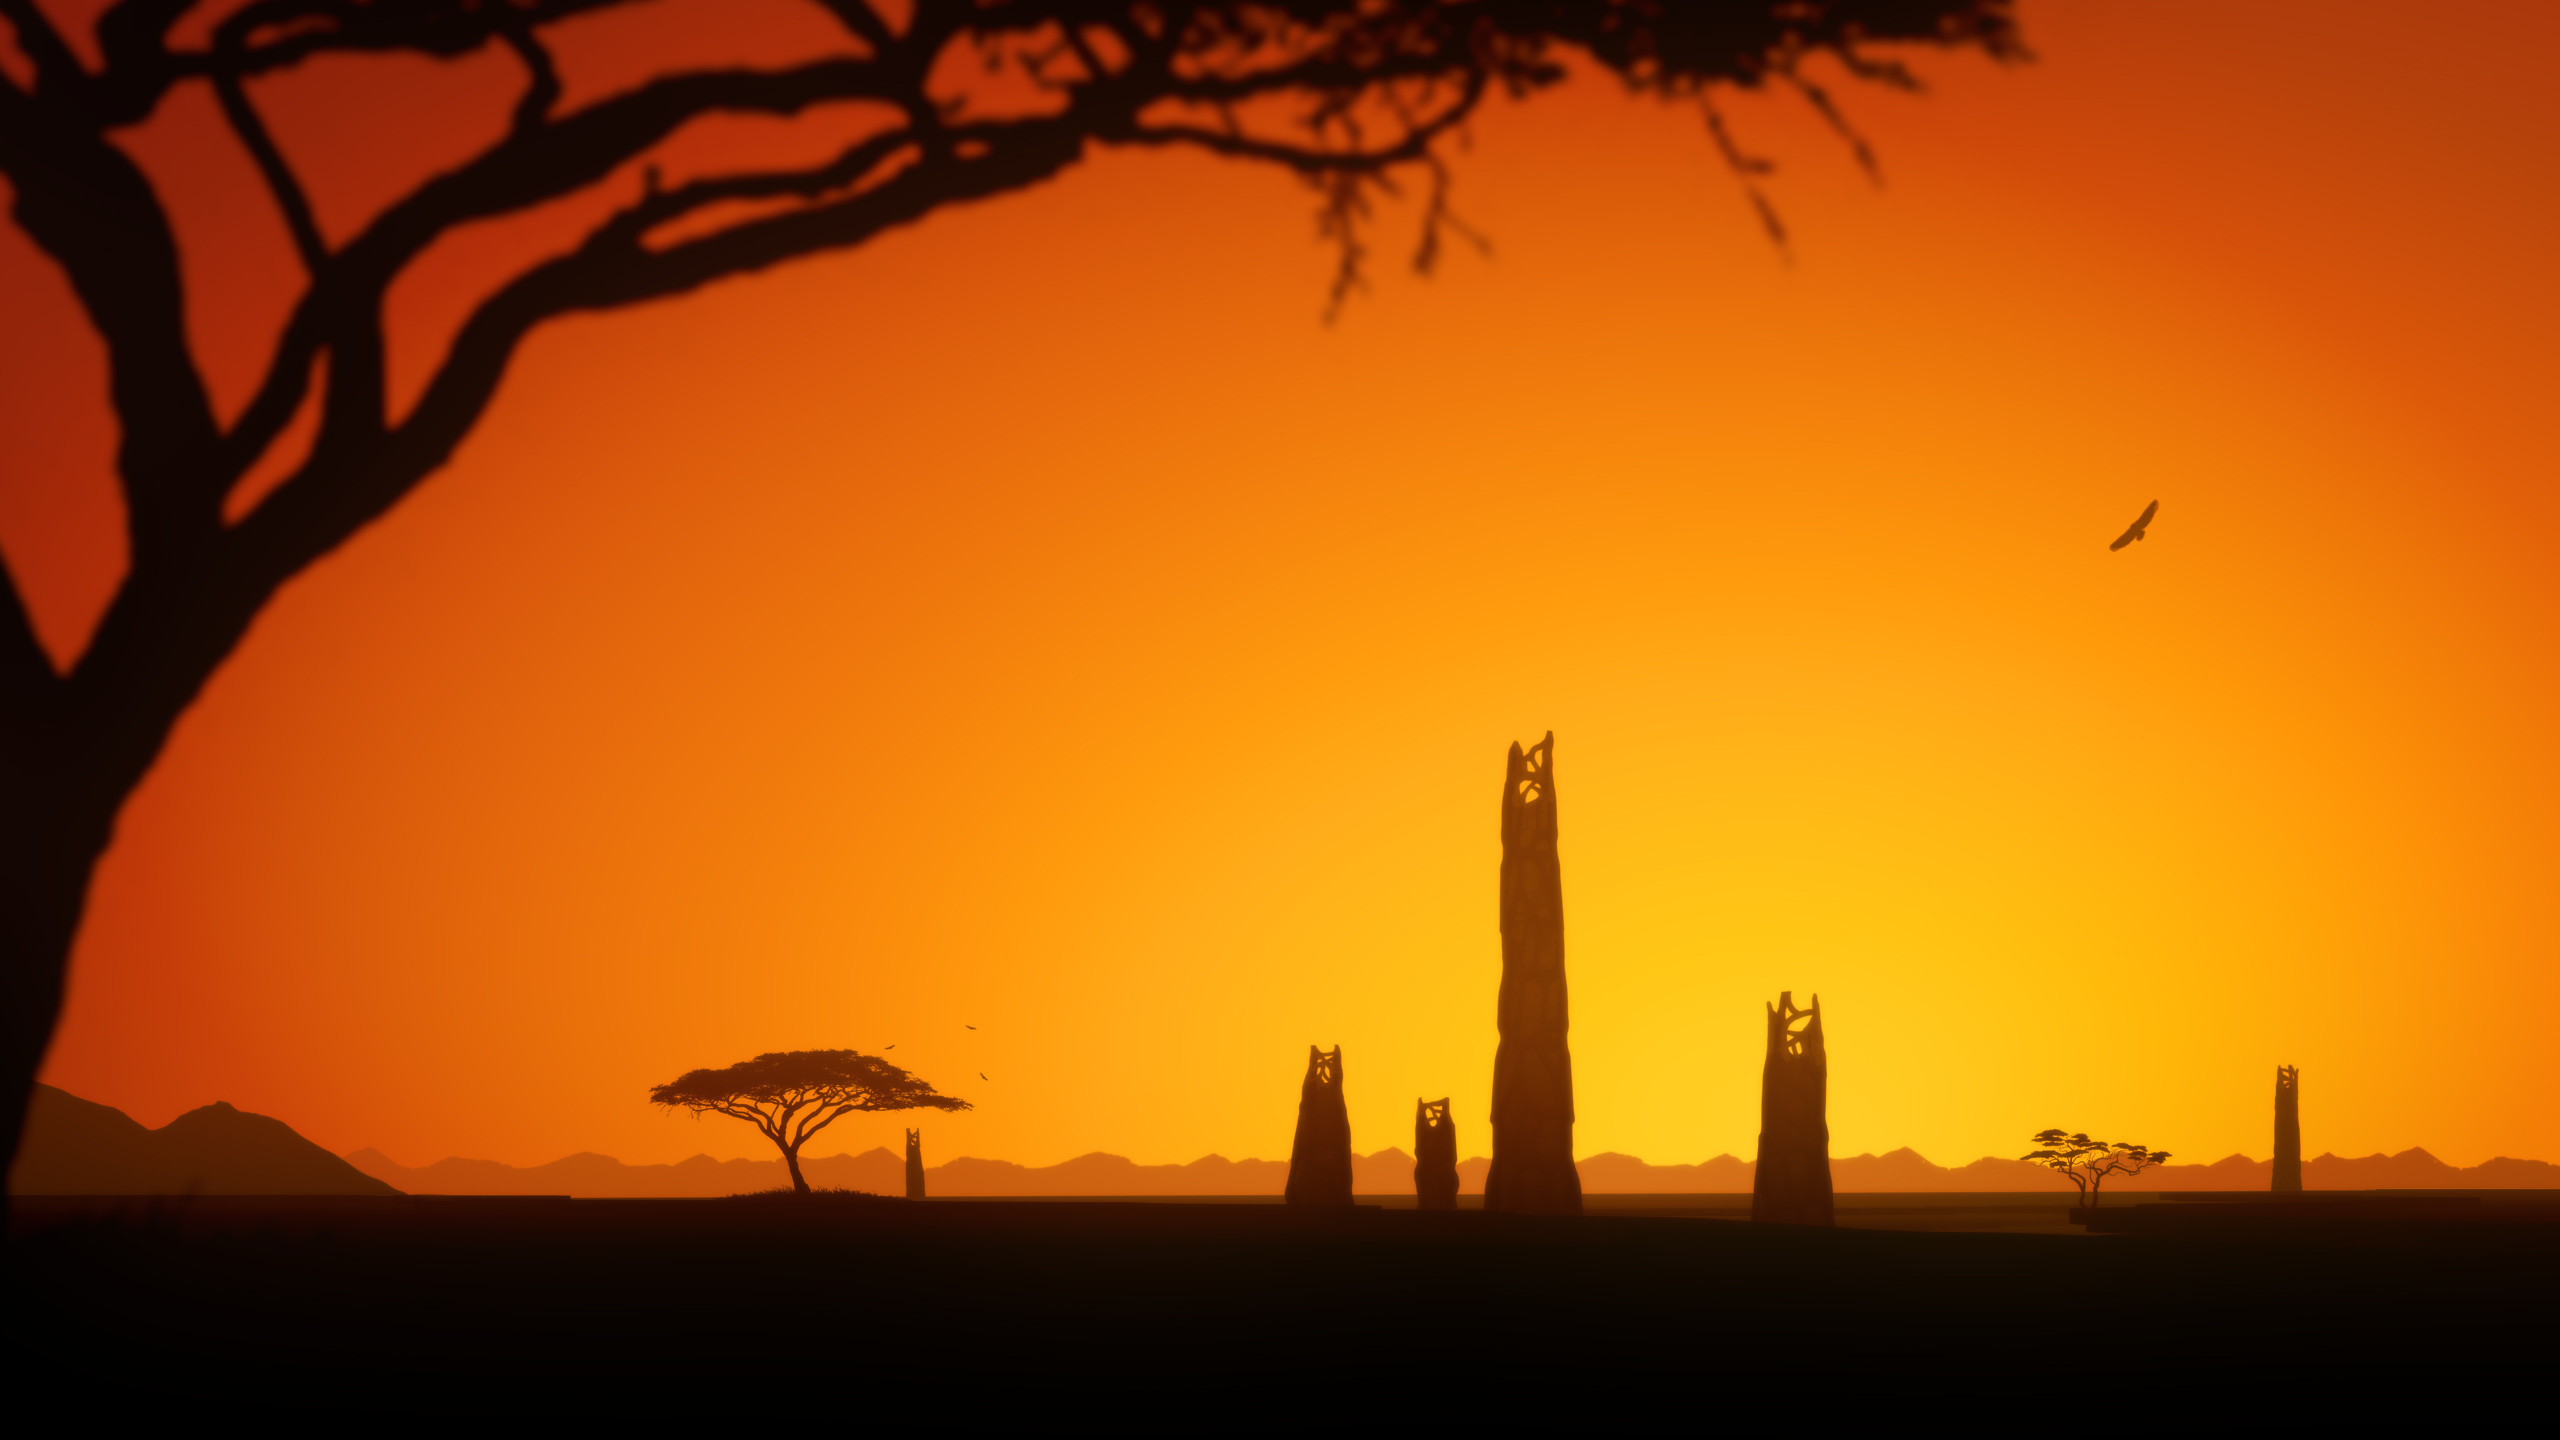
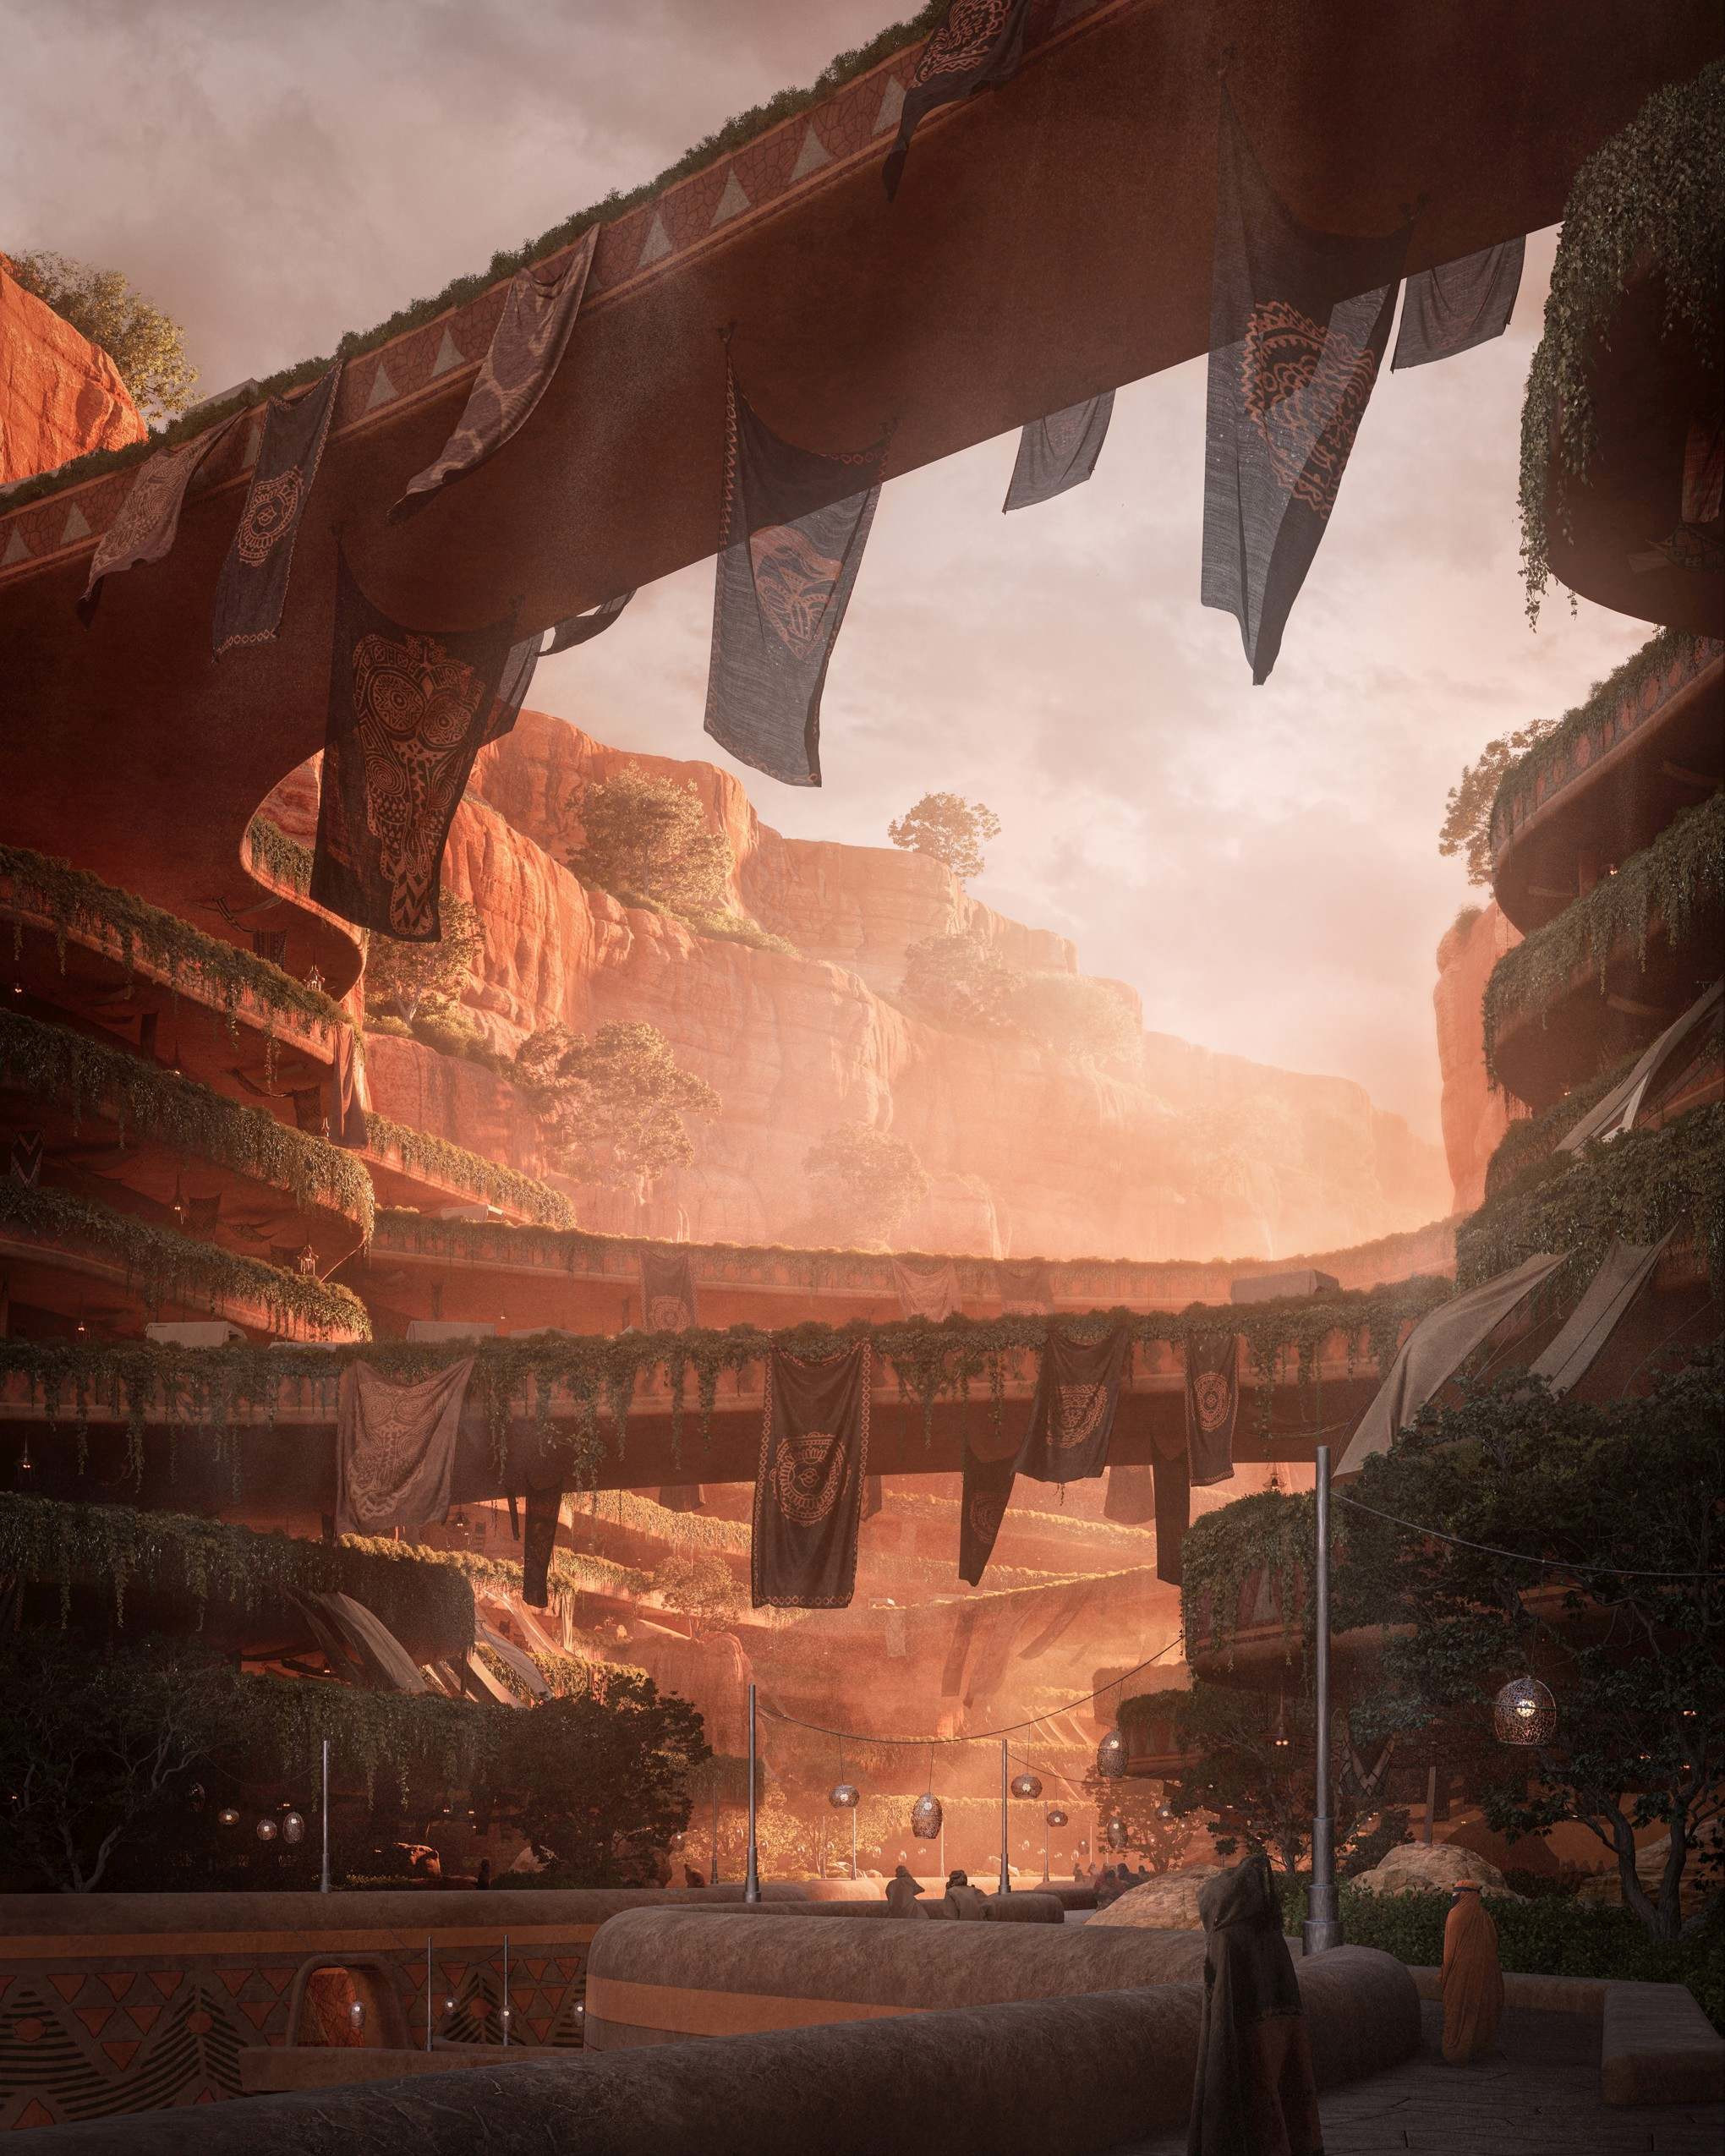
I've always been a fan of living with the elements; not trying to bend the rules of nature to your favour, to run away from them, but to adapt. As a practical person, I also find it much easier. The concept of climatic architecture came one night to me and immediately stuck and grew into Desert Ark, a sci-fi project in the near future. Situated in sun-scorched Africa, it would be one of humanity's last strongholds, a shelter from the heat and ravaging desert storms and a guardian of knowledge and science.
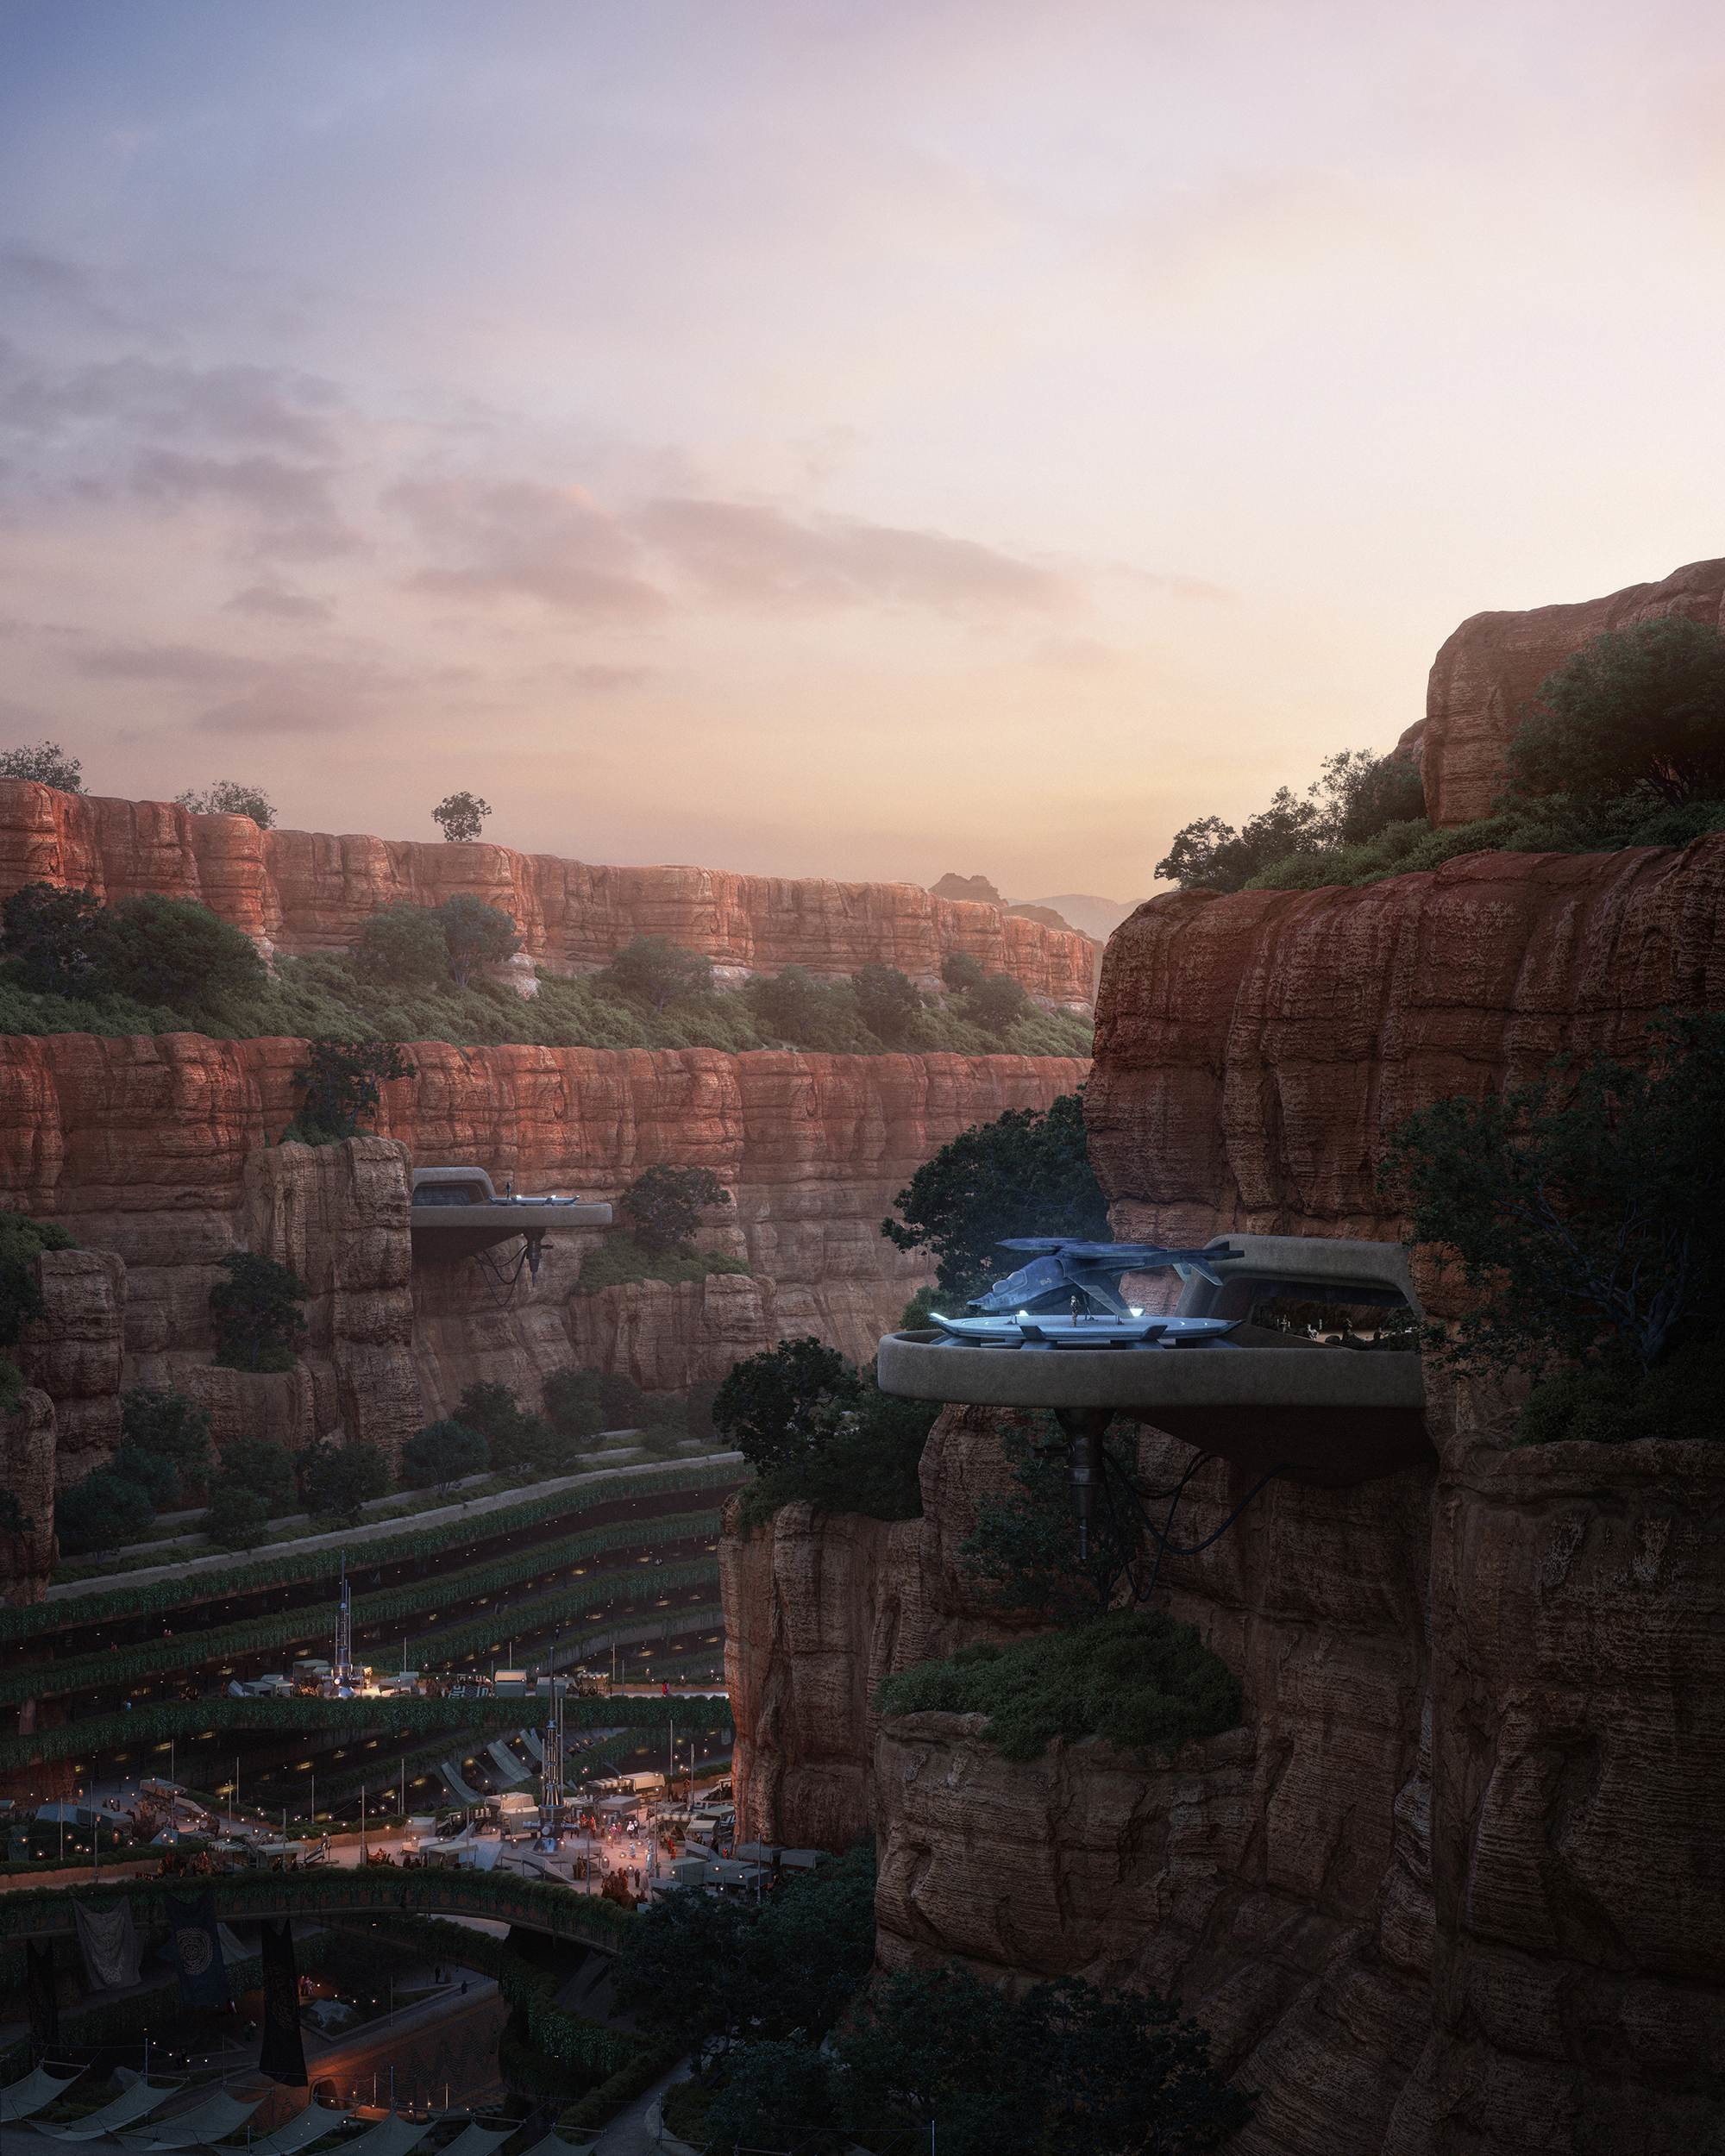
As time passes, the Desert Ark evolves. At first, the people hollow the caves into an existing canyon. Undertaking monumental task, combining Africa's last remaining resources and knowledge of nanotechnology and engineering skills they connect the rocky faces into a web similar to a neuron cell.
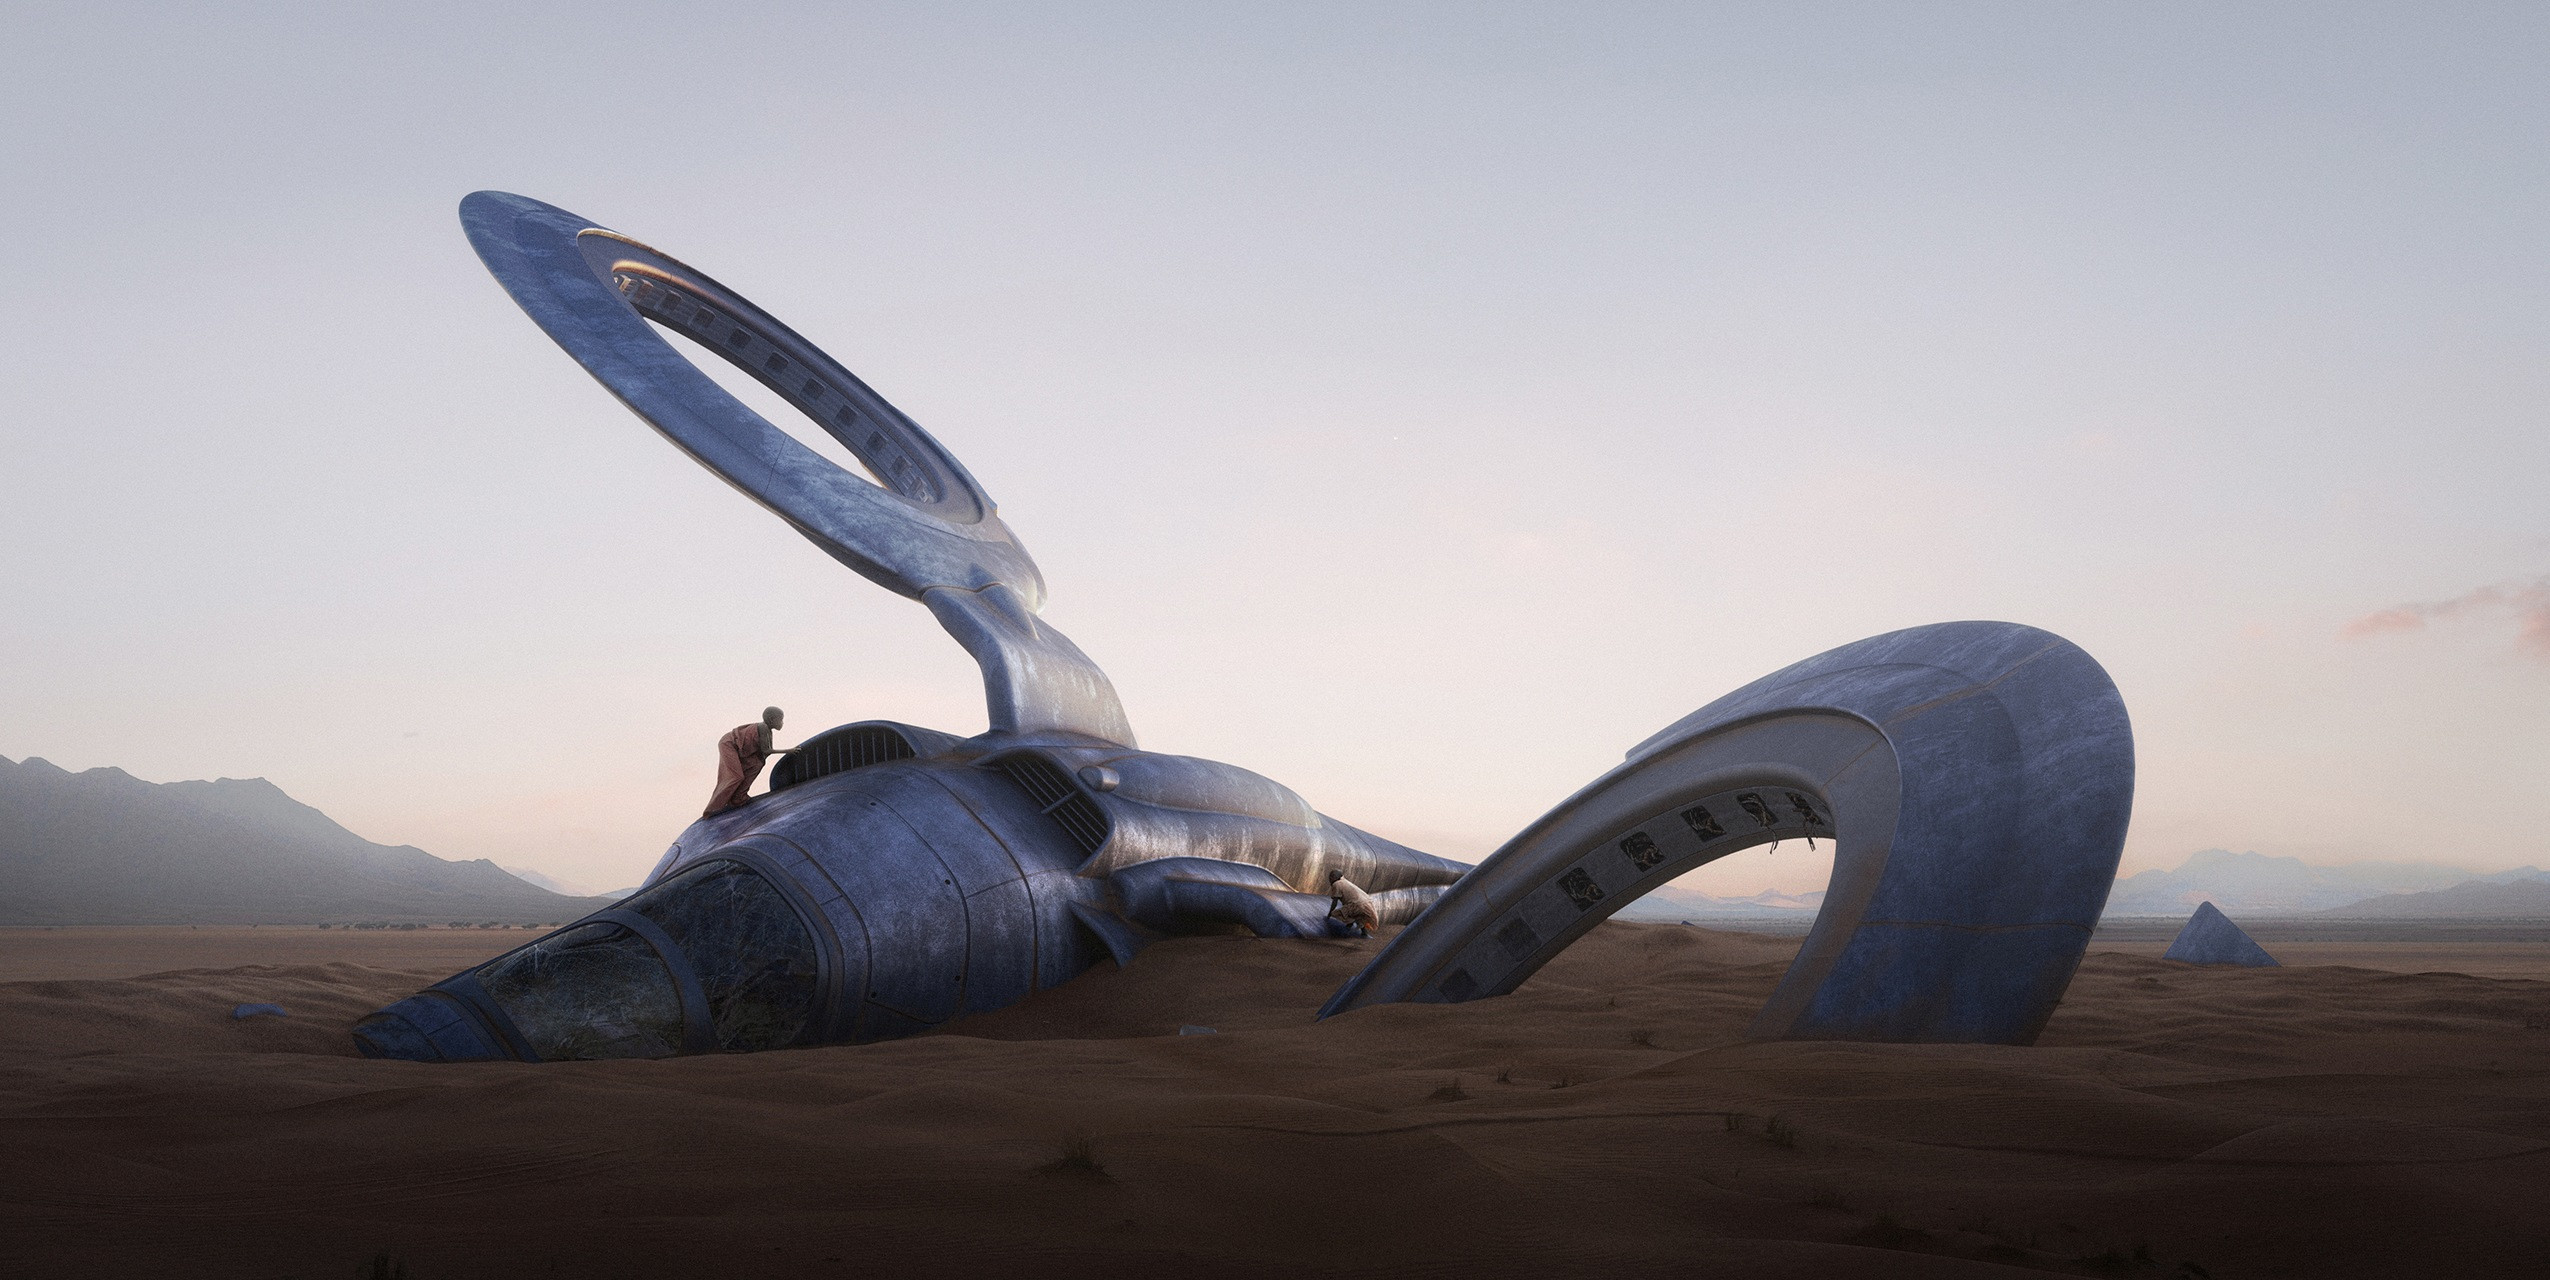
From time to time, missions are planned to rescue what is left of the human race on the continent; some are found wandering through the desert, dying of thirst, others holed in a shelter, using radio to signal for help. Not all who dare to venture into the desert make it back. The barren wastelands keep them, half buried in the sand, only to be discovered by the brave few who dare to venture out when the air is cool and sand less hot, scavenging anything of value.
This concept sketch was one of the first ideas I had for this project. A canyon city, carved out of a cliff face, rimmed by terraces and with termite-like structures occupying main square towering above it.
From the first moment it became clear that project of such scale could only hardly be achieved using traditional approaches one uses when working on everyday archviz.
The biggest obstacle was to create a believable cliff face. Original idea was to prepare the it first and then model the terraces into it. That approach, however, was quickly abandoned as I realised it created a whole lot of problems and felt very constraining.
Therefore, I chose to model the base terraced structure first and then wrap the cliff faces all around it. Originally, the scale of the project was much smaller, half the size to be precise. After modelling the first three levels it became apparent the scale would have to be much bigger, which caused me to abandon several ideas I had and the views I imagined; it is one thing to have a narrow, cosy canyon with space between the faces just enough for lots of detail to be filled with, but something entirely different to have 60,70, even 80 meters of blank space between them.
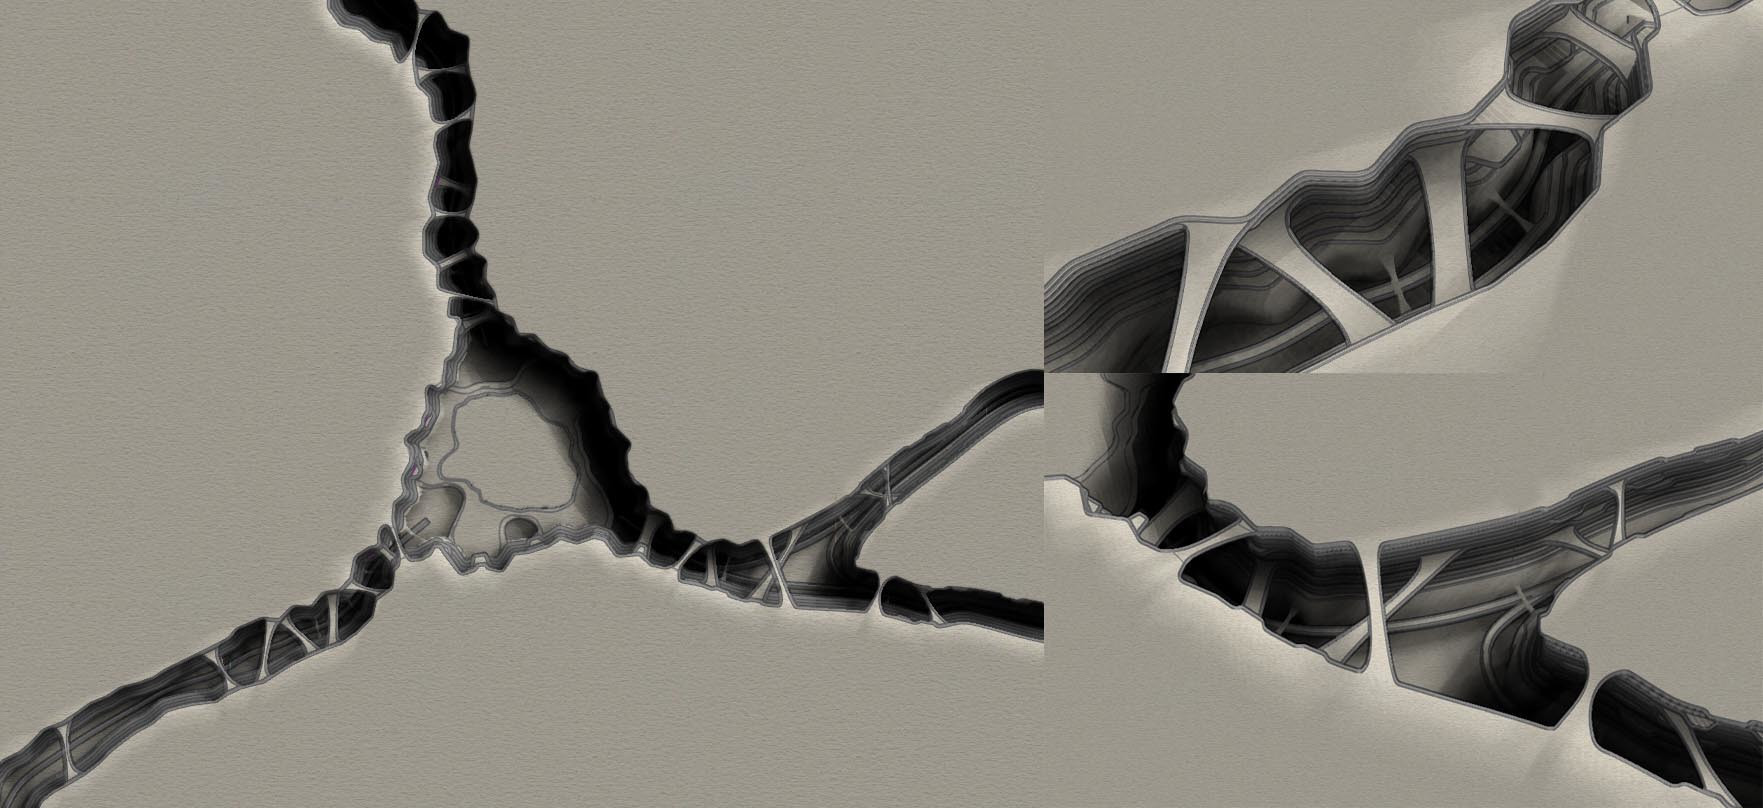
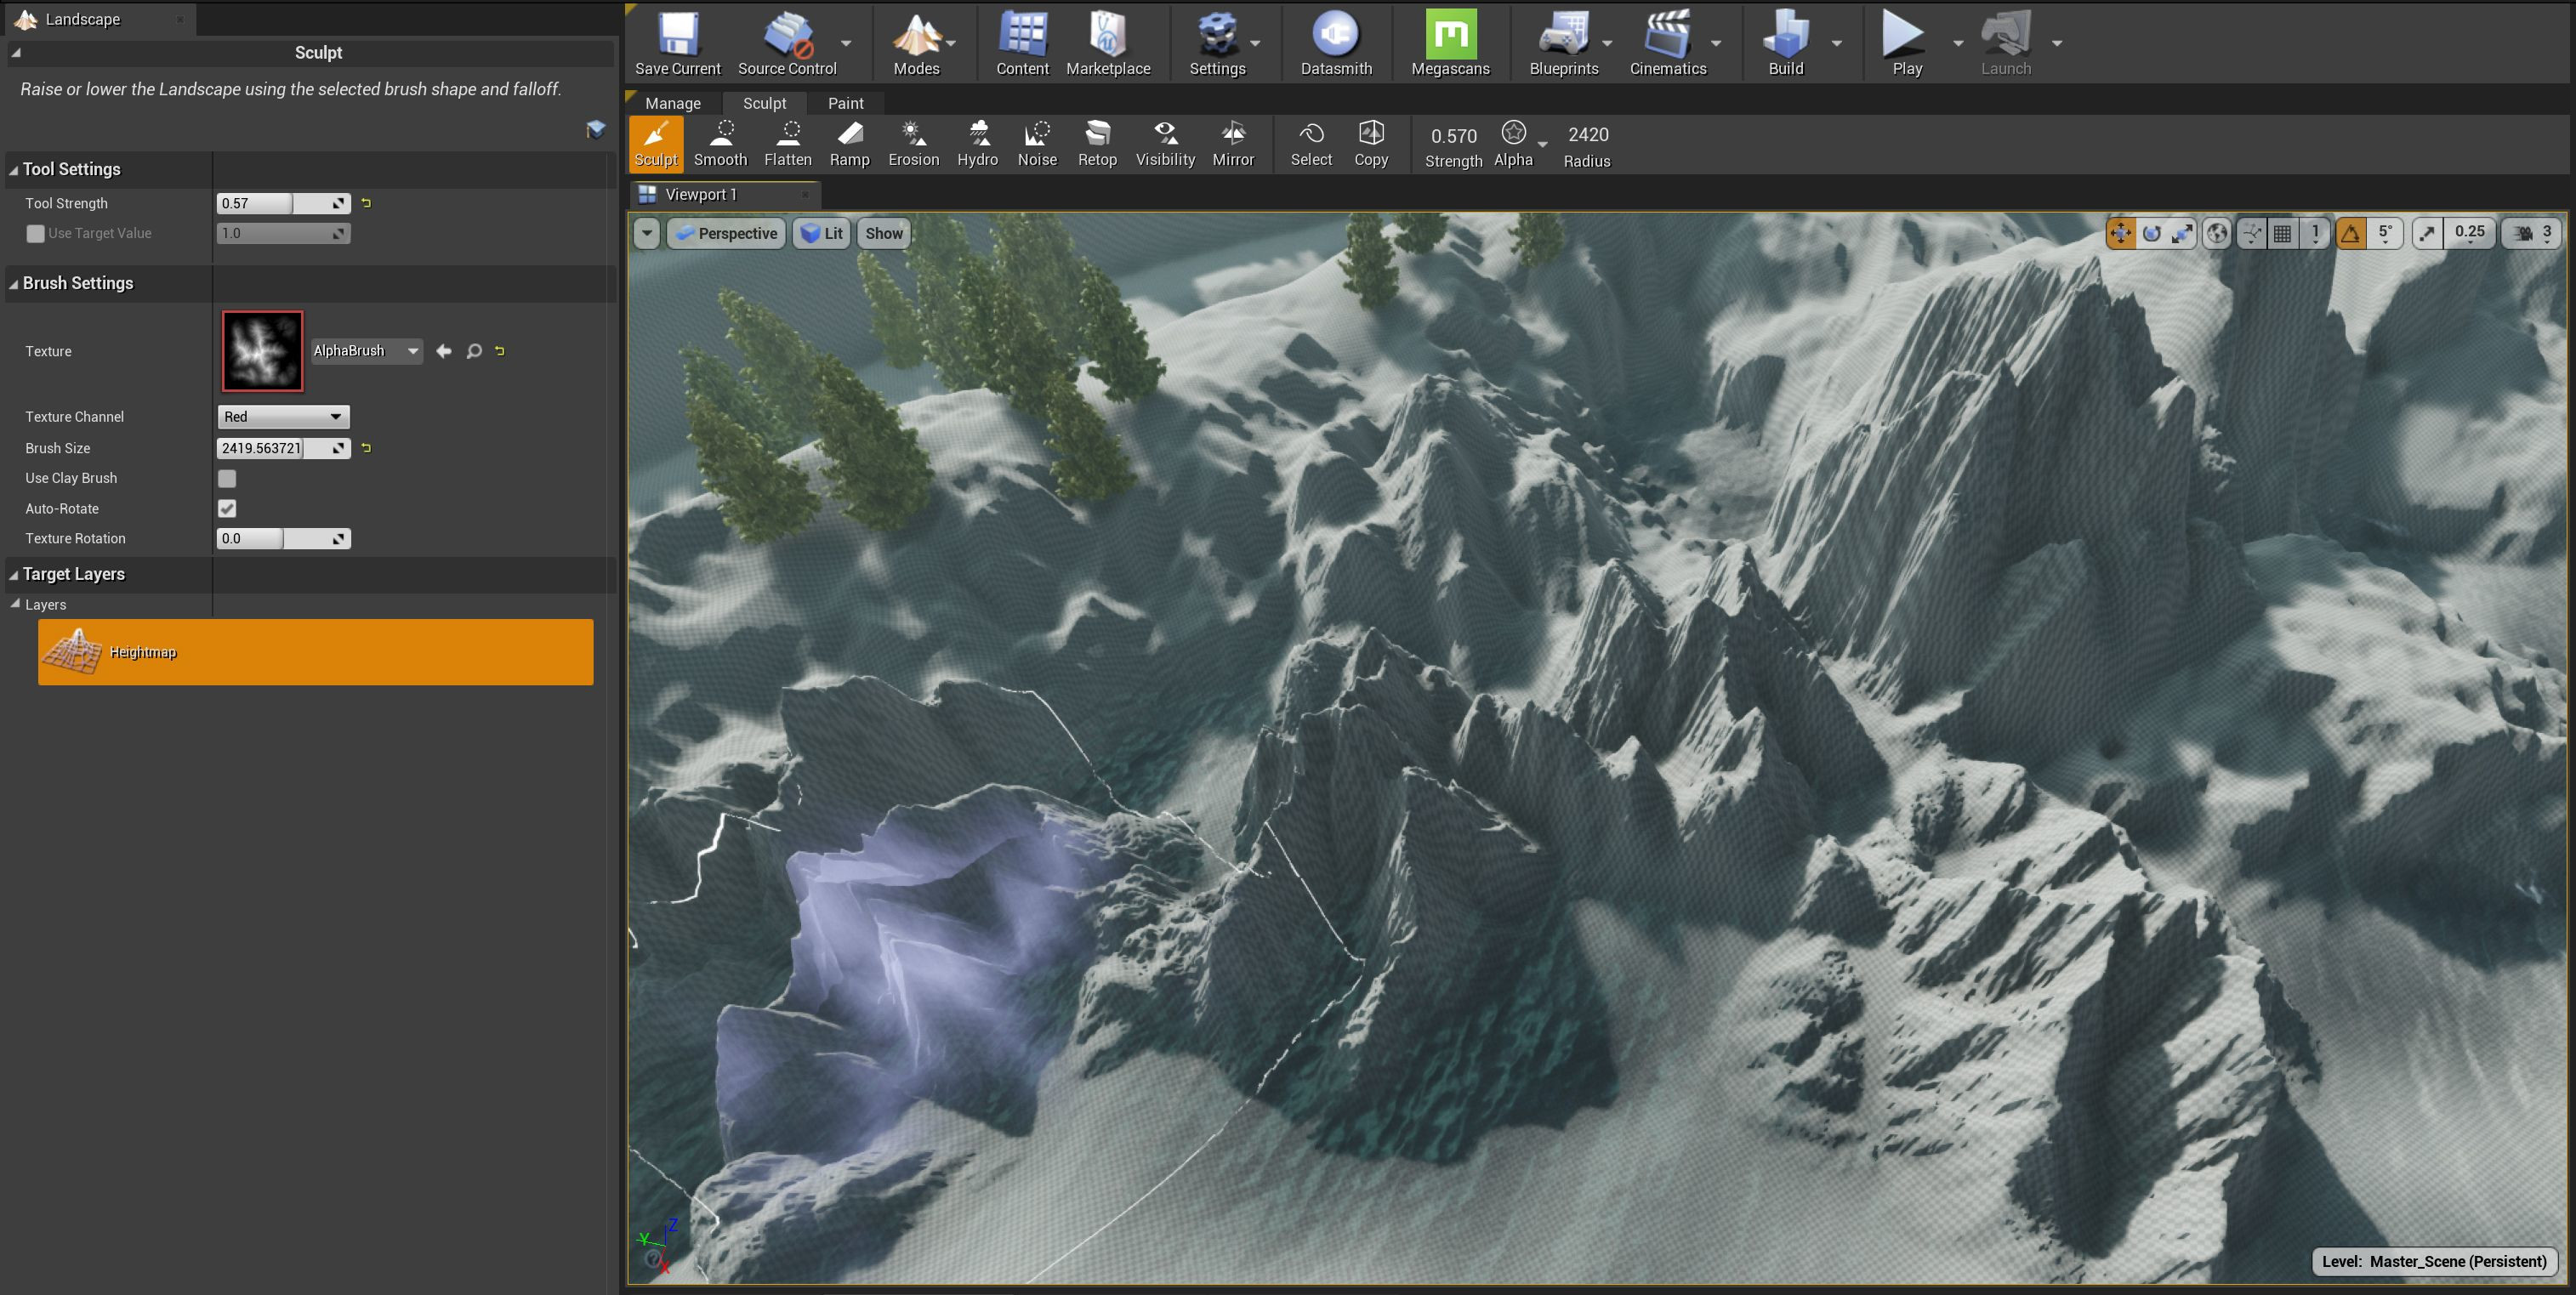
After the base terraced structure was done I began preparing the cliff faces. This was a no small task, I knew I would not be able to use 3D geometry as it would be most likely too heavy for my taste so I knew it would have to be a combination of light topology combined with detailed height map and 2D displacement.
Time for Substance designer.
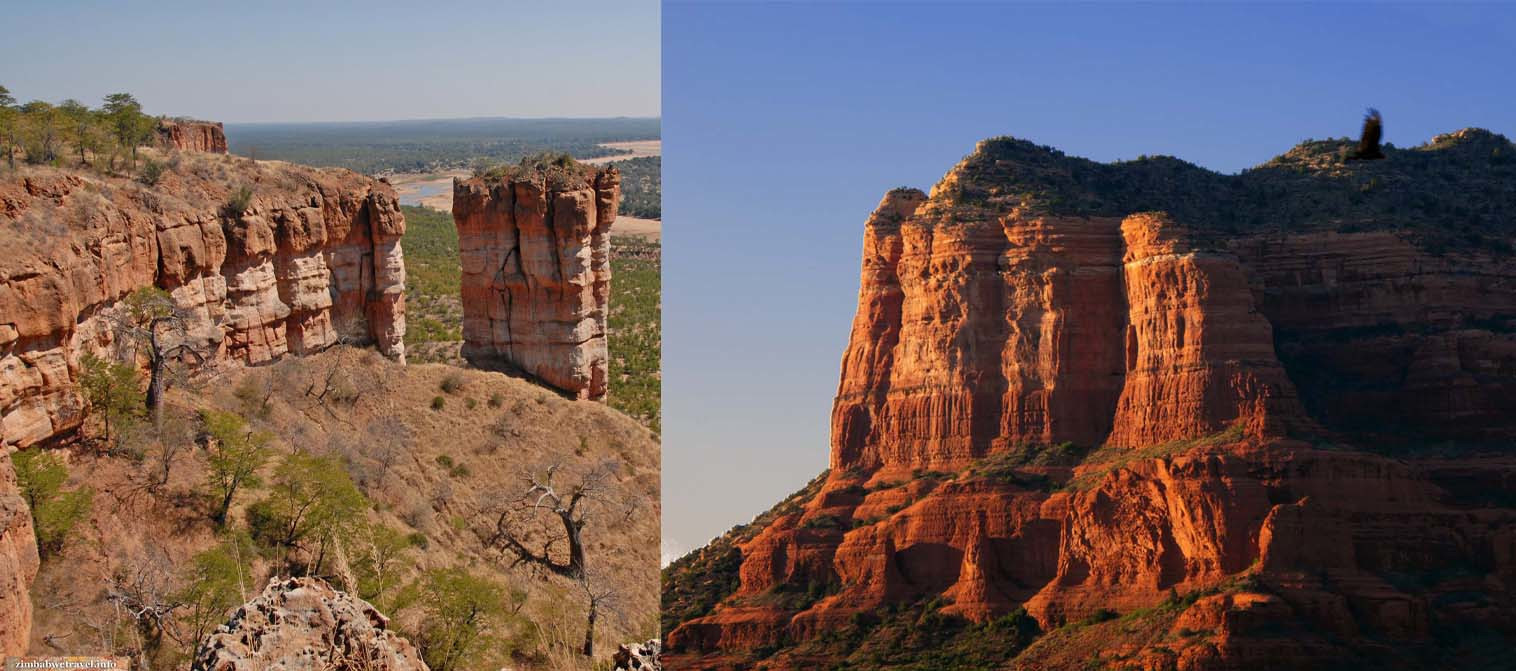
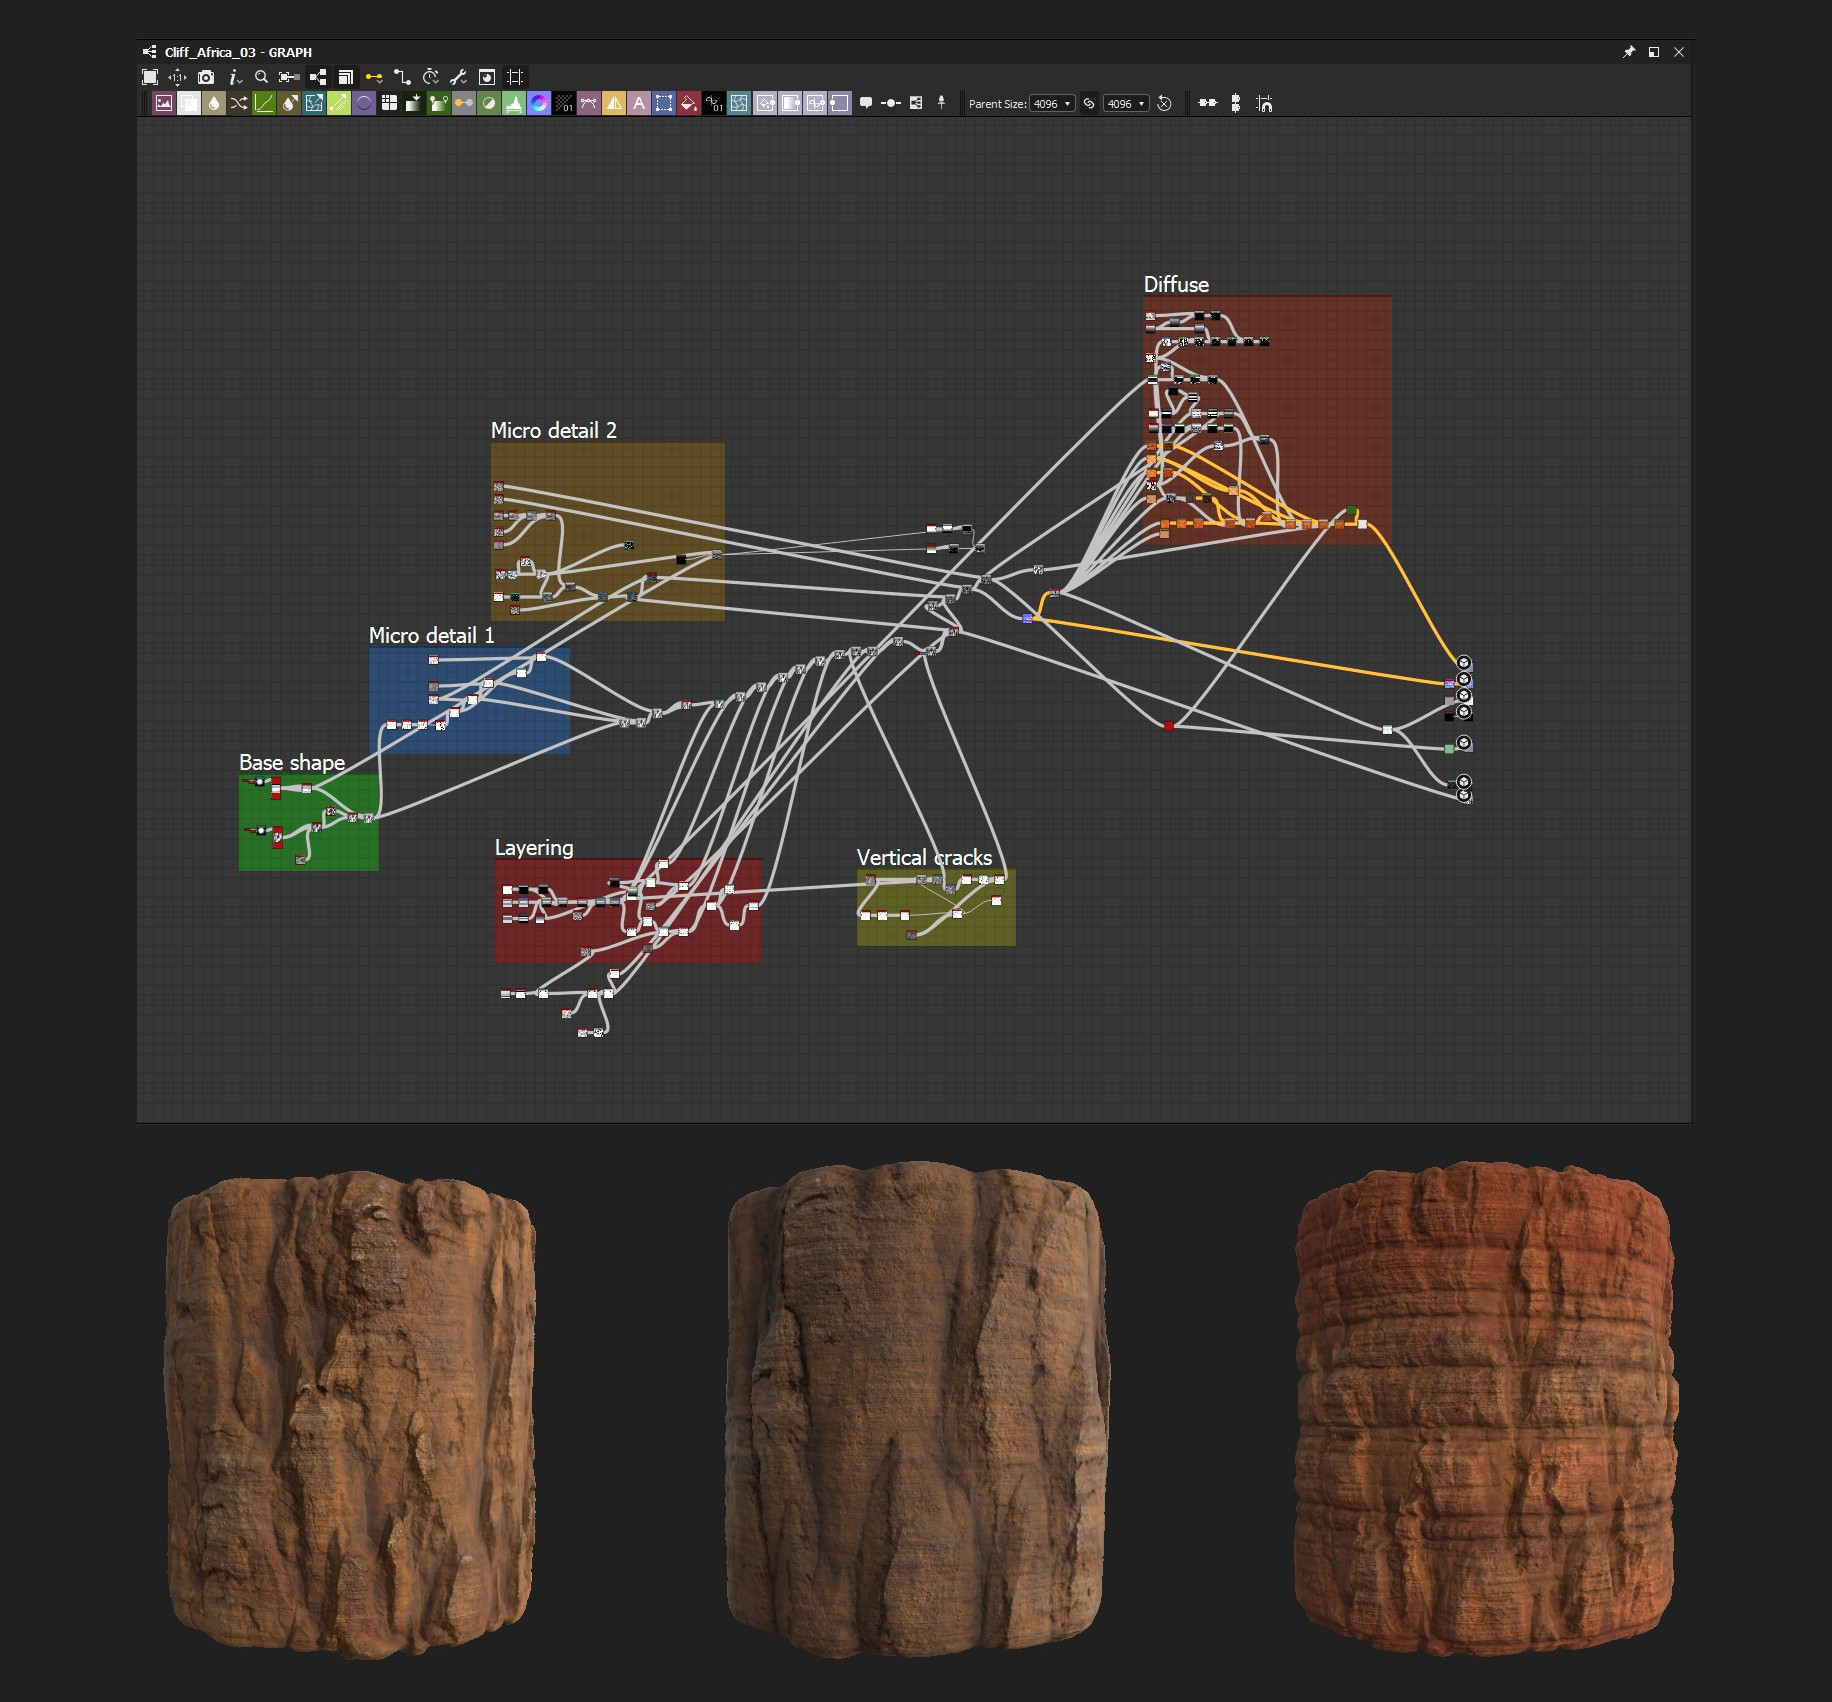
After considerable time spent researching various cliff formations I chose rocky cliffs in Zimbabwe to be my main source of inspiration. Originally I imagined typical tall, blocky formations, but the more I experimented with horizontal layering, the more I liked the texture. The only real downfall is that SD produces mainly square format texture, while it would be best to use something short and wide for this kind of job to eliminate repetitions.
I had always told myself it didn't need to be perfect, as I would probably use Photoshop in post production to overlay it with some photo with more detail. The opposite proved to be true, and all of the cliffs were left unaltered, using only render channels to enhance the detail.
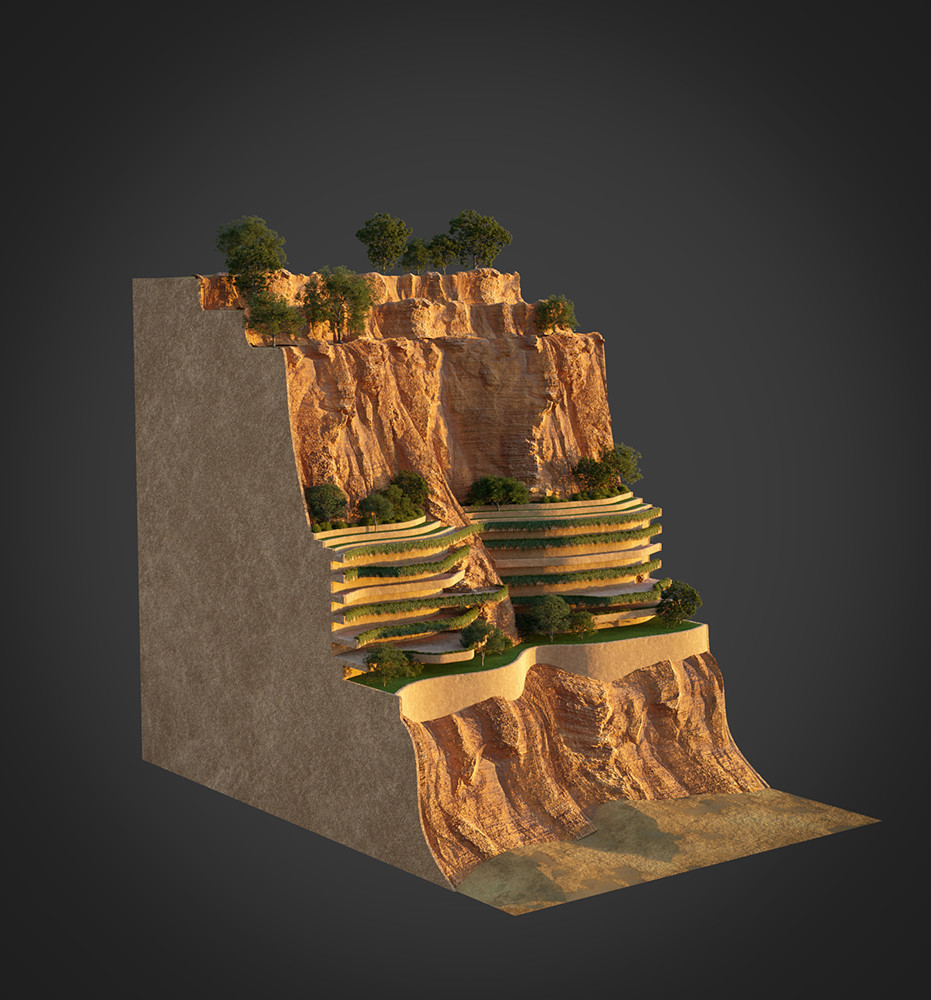
The ivy on the walls was also done using heightmap and 2D displacement, as scattering 3D geometry all along the terraces in Rhino seemed extremely time consuming and nonsensical. Using this approach, all you need to do is to create a simple surface, which proves very efficient, especially on the corners and curved walls. Doesn't work well for close ups, but I planned to overlay it in post production anyway.
I created a small section of the model to test several aspects; especially the surface curvature needed for the cliff faces and 2D height map and opacity for ivy displacement. Back then I still planed a different cliff face.
After that was done I began with assets; a lot of this phase was done in Marvellous designer as I needed a tons of different flags and tapestries hanging from the ceilings and terrace walls. The rest was quick Rhino modelling; for inspiration, I used already established famous franchises to create small detail necessary to fill the scene.
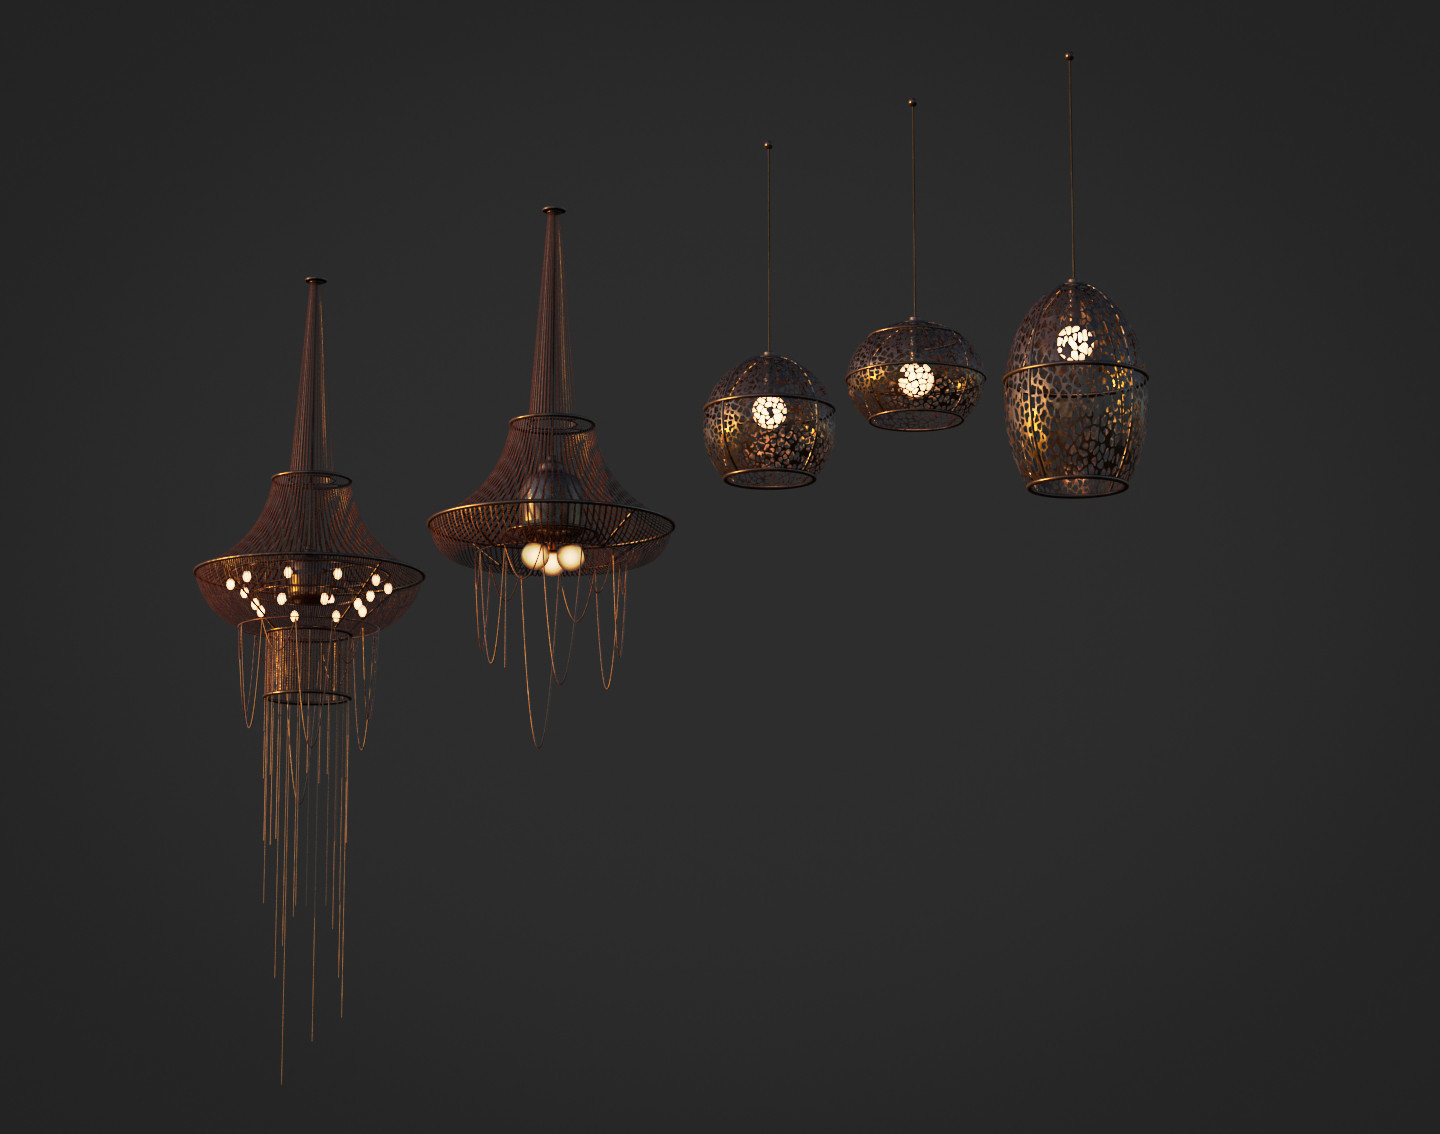
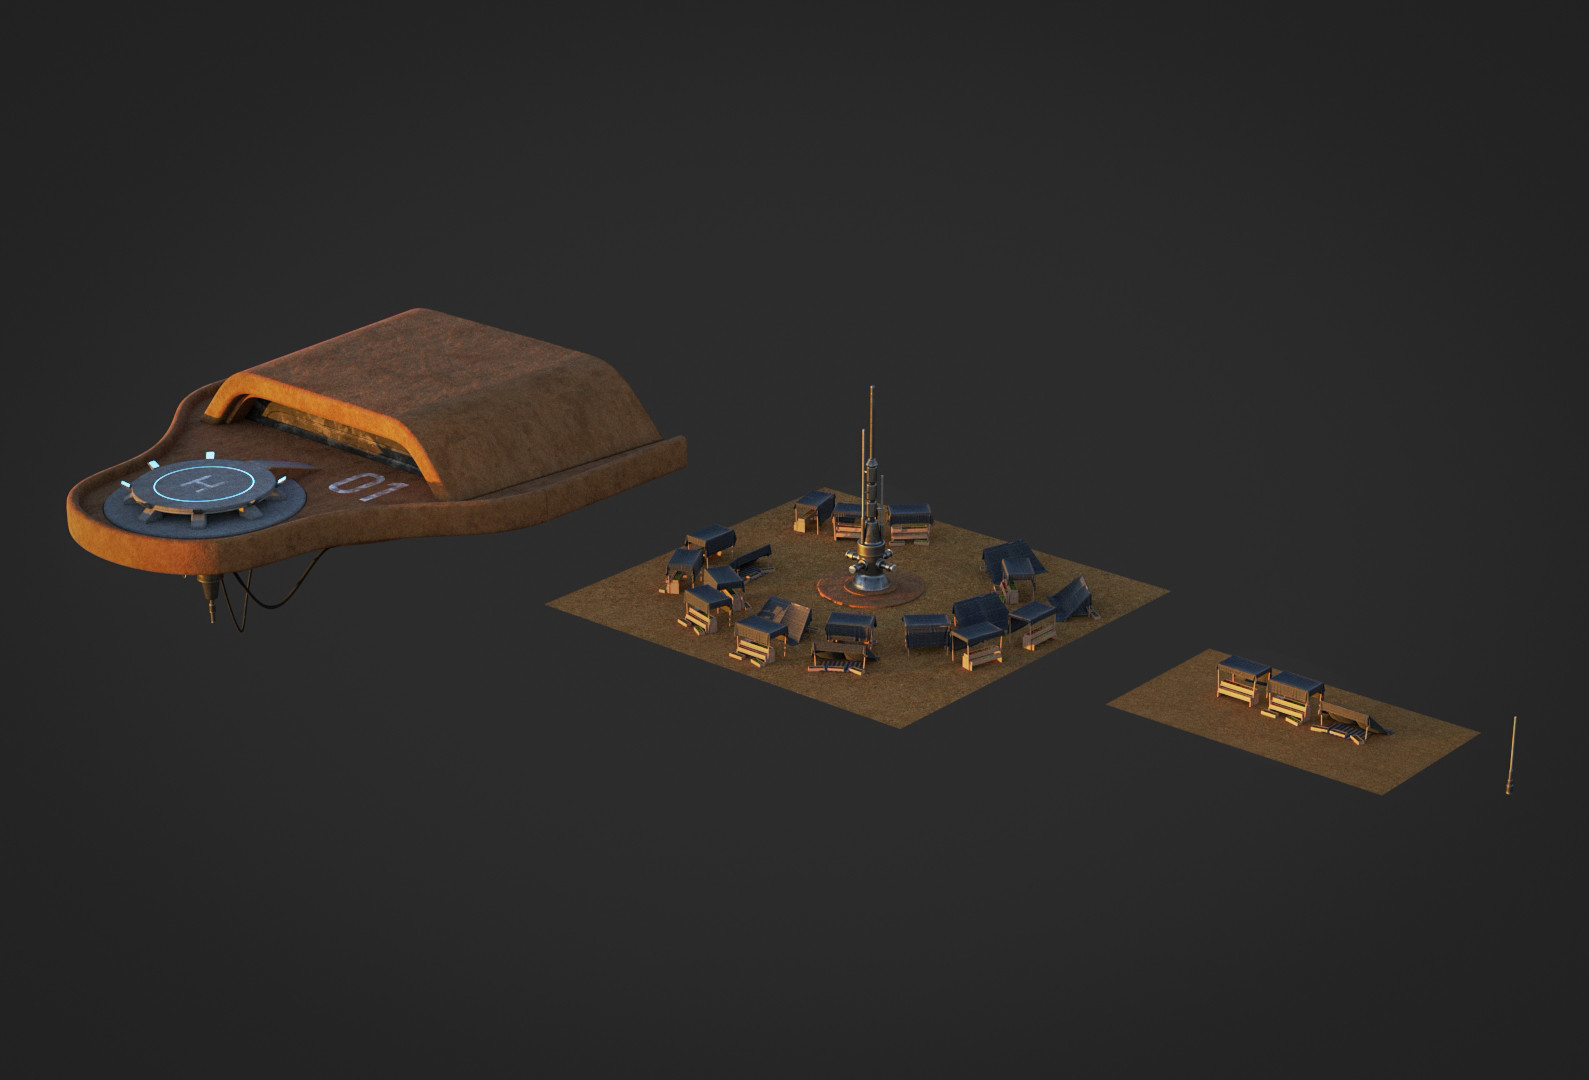
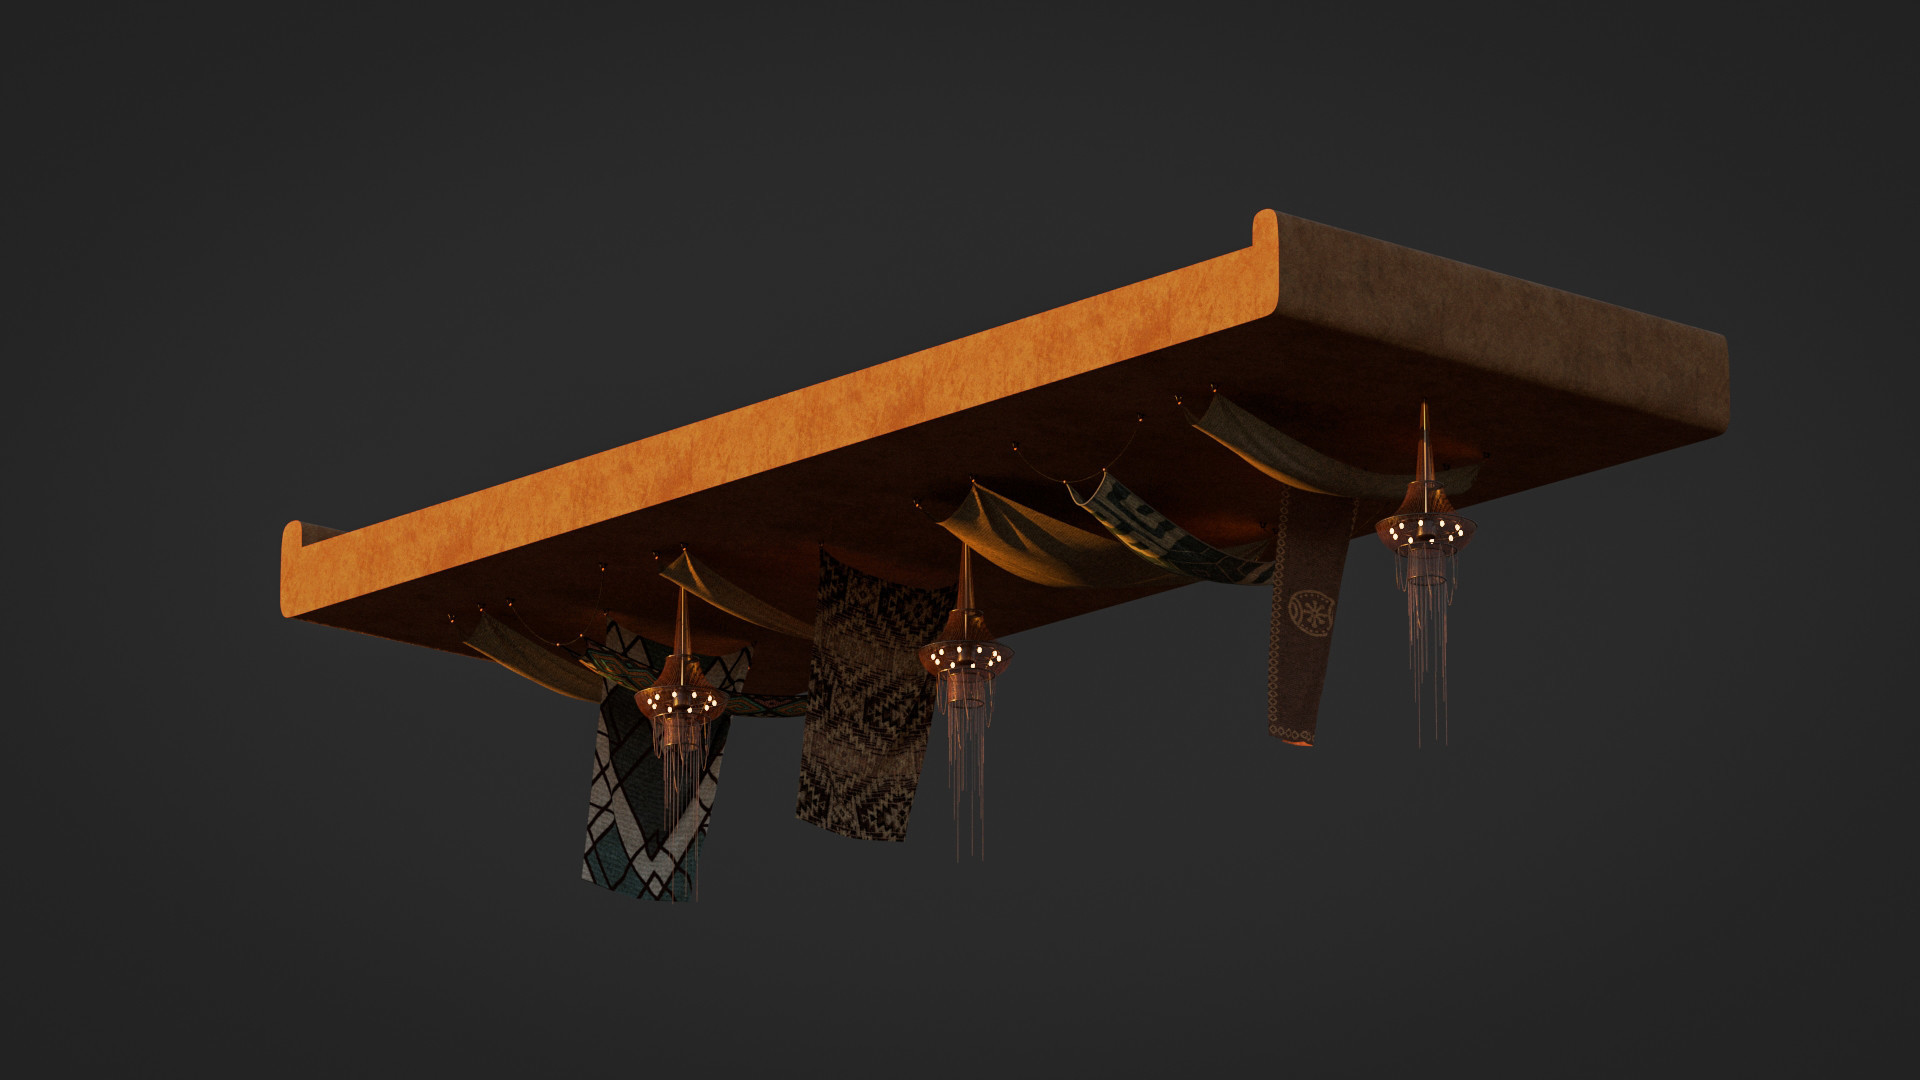
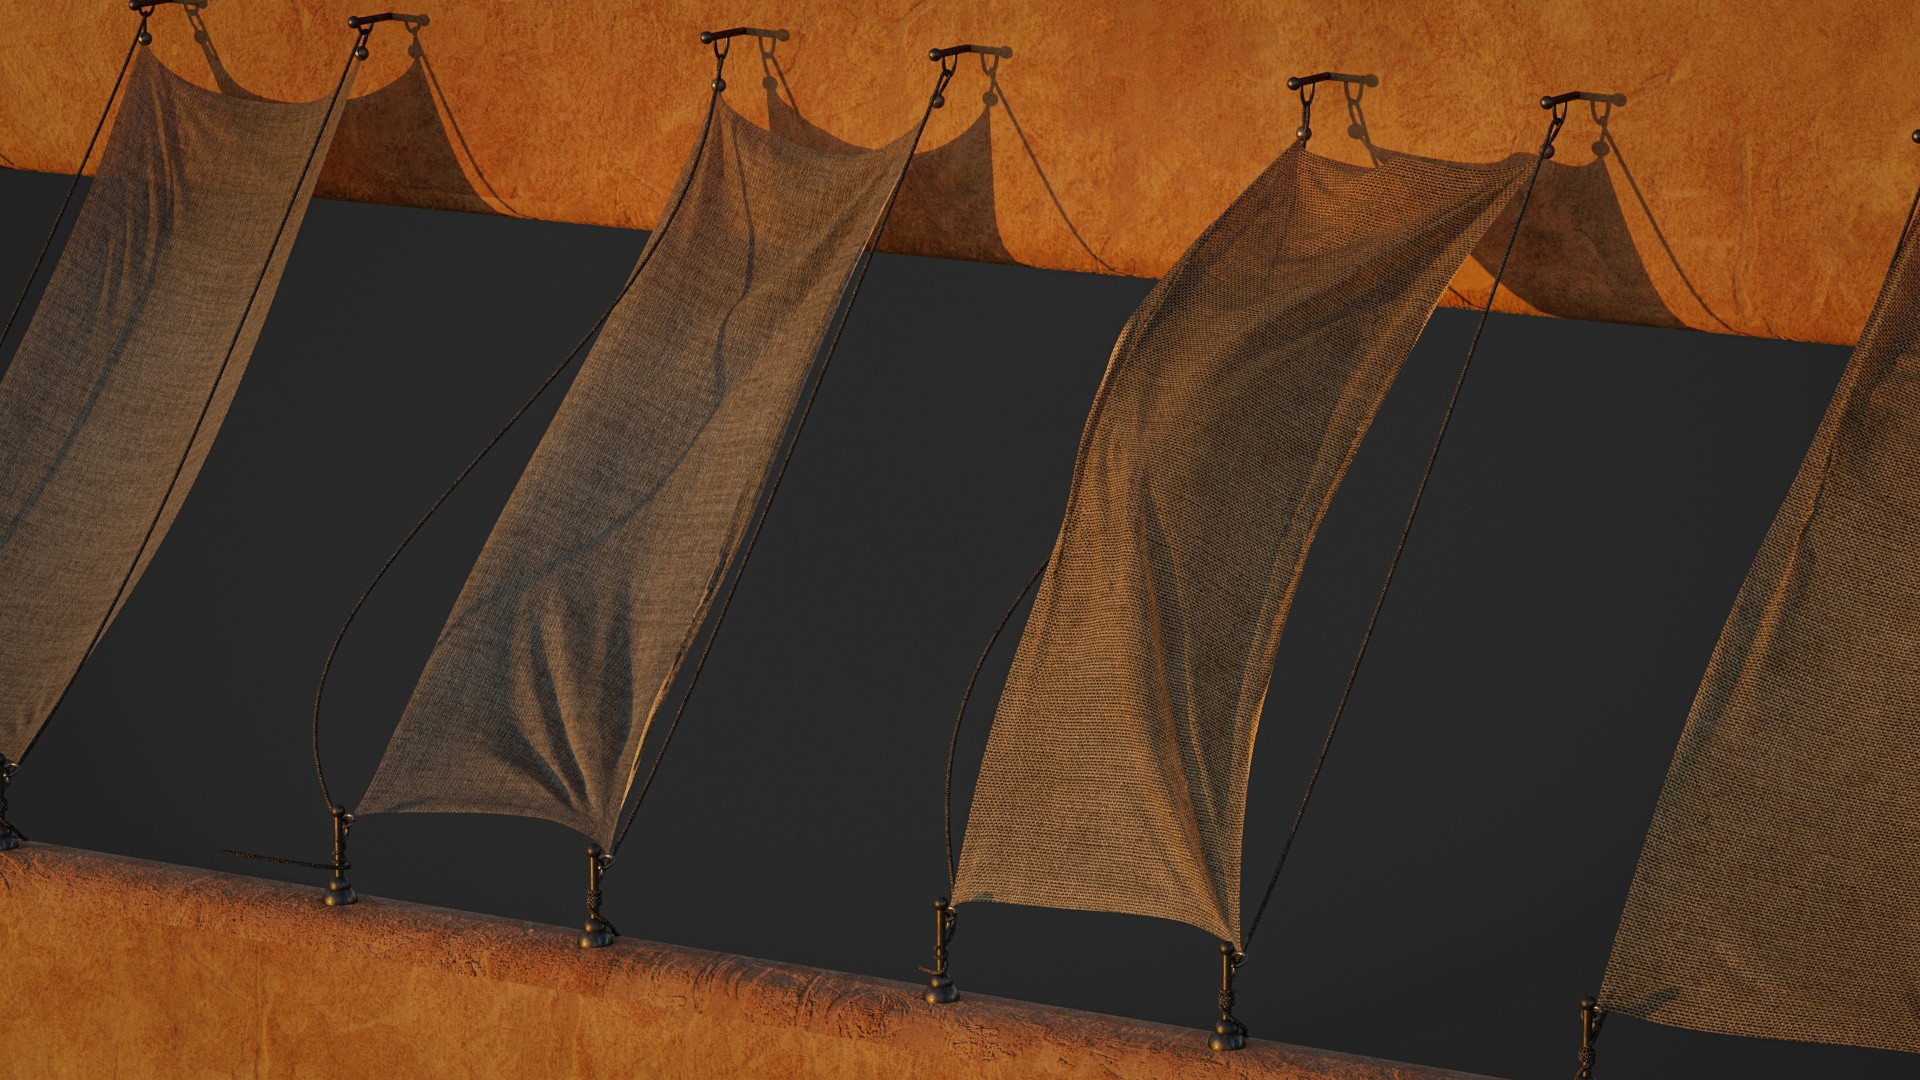
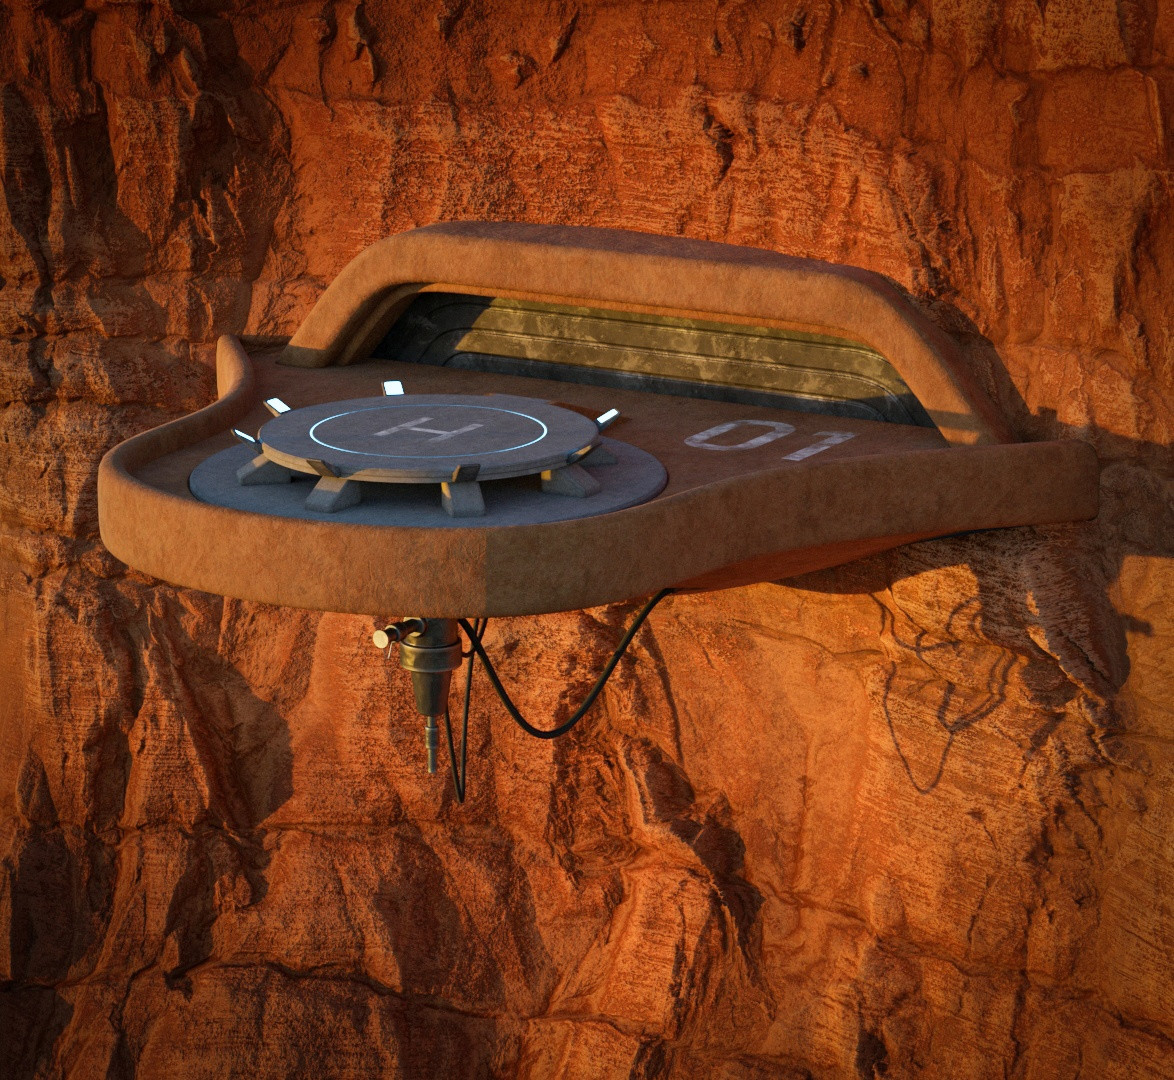
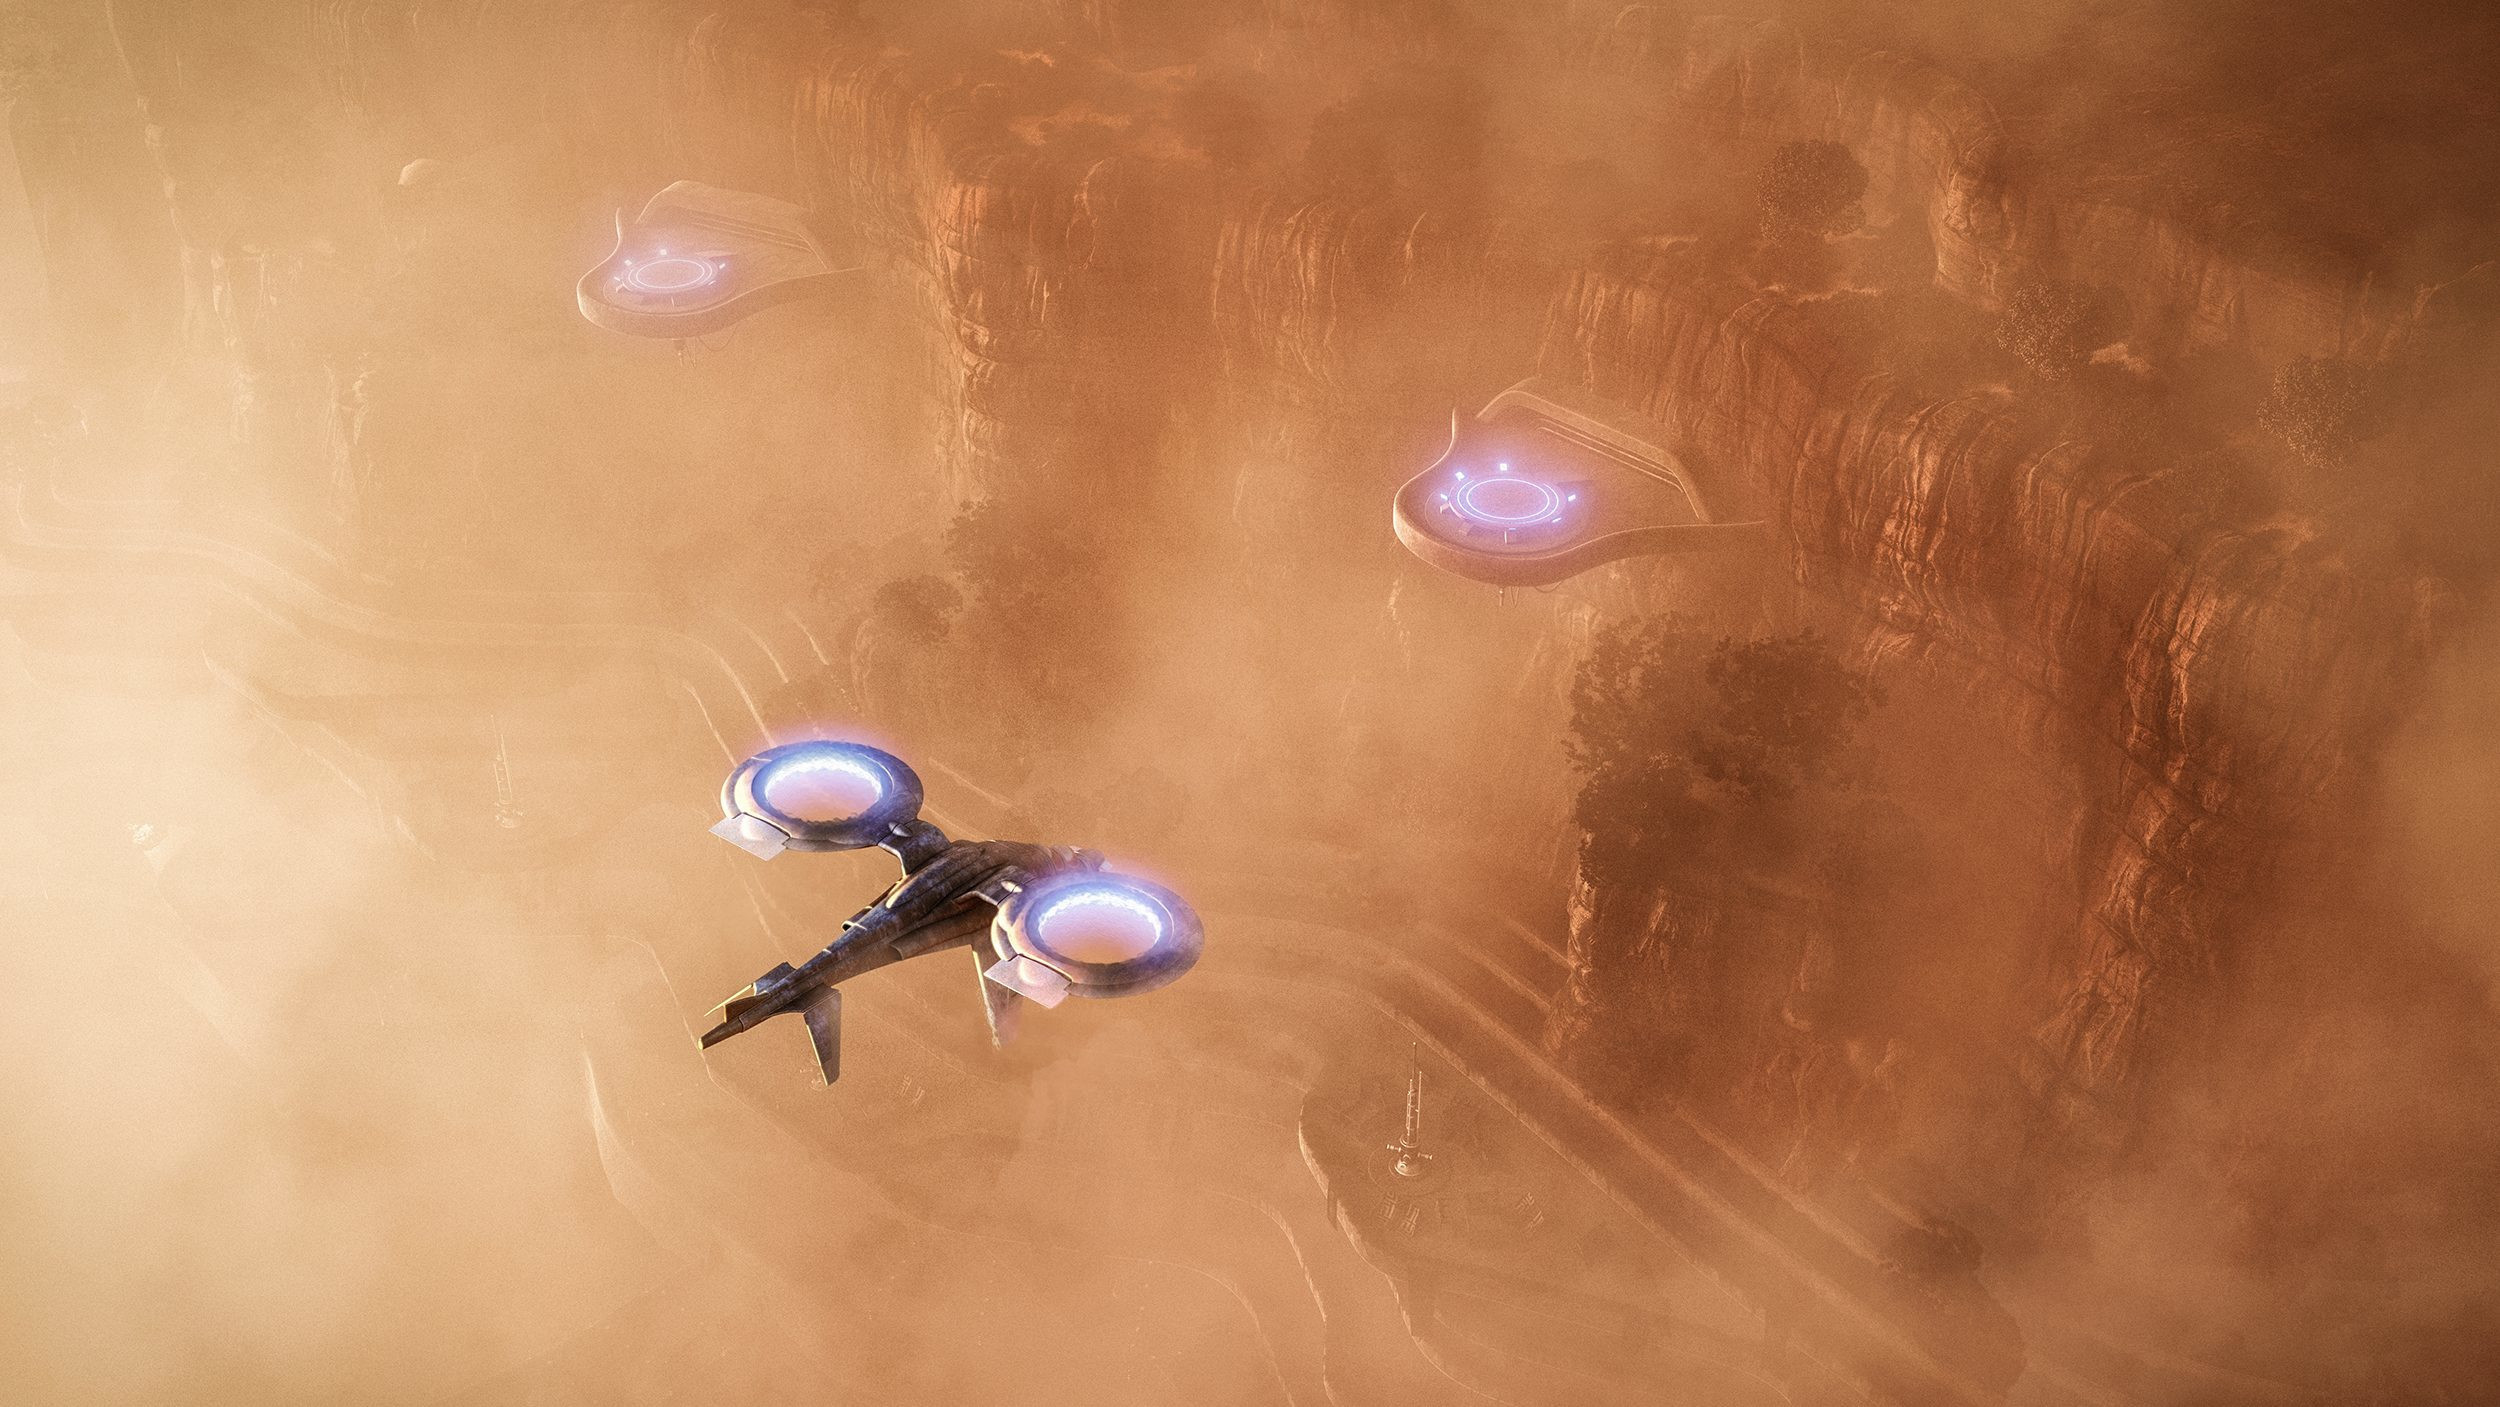
I knew a drone-ship would be present in at least three of the images so I decided to make a simple model of it as well.
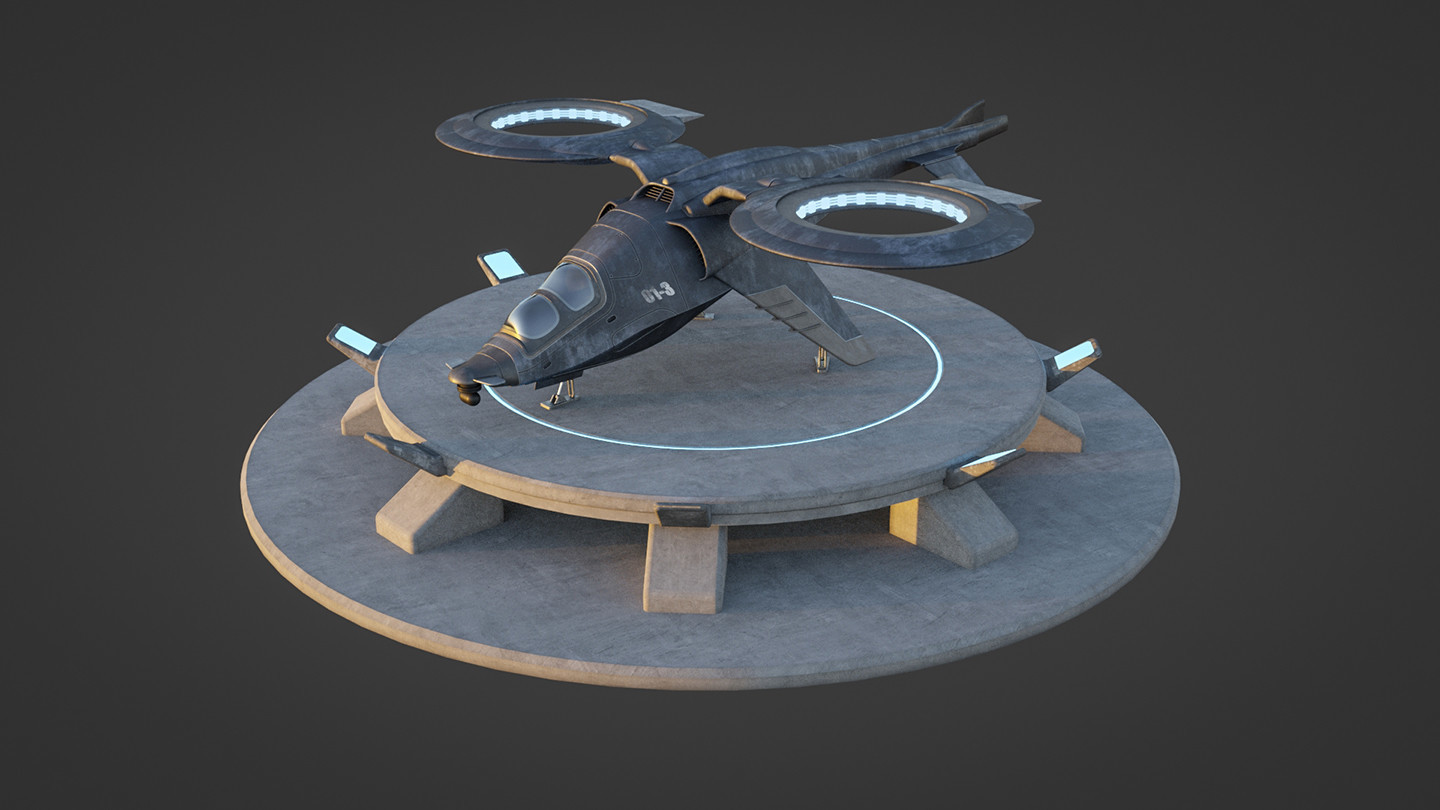
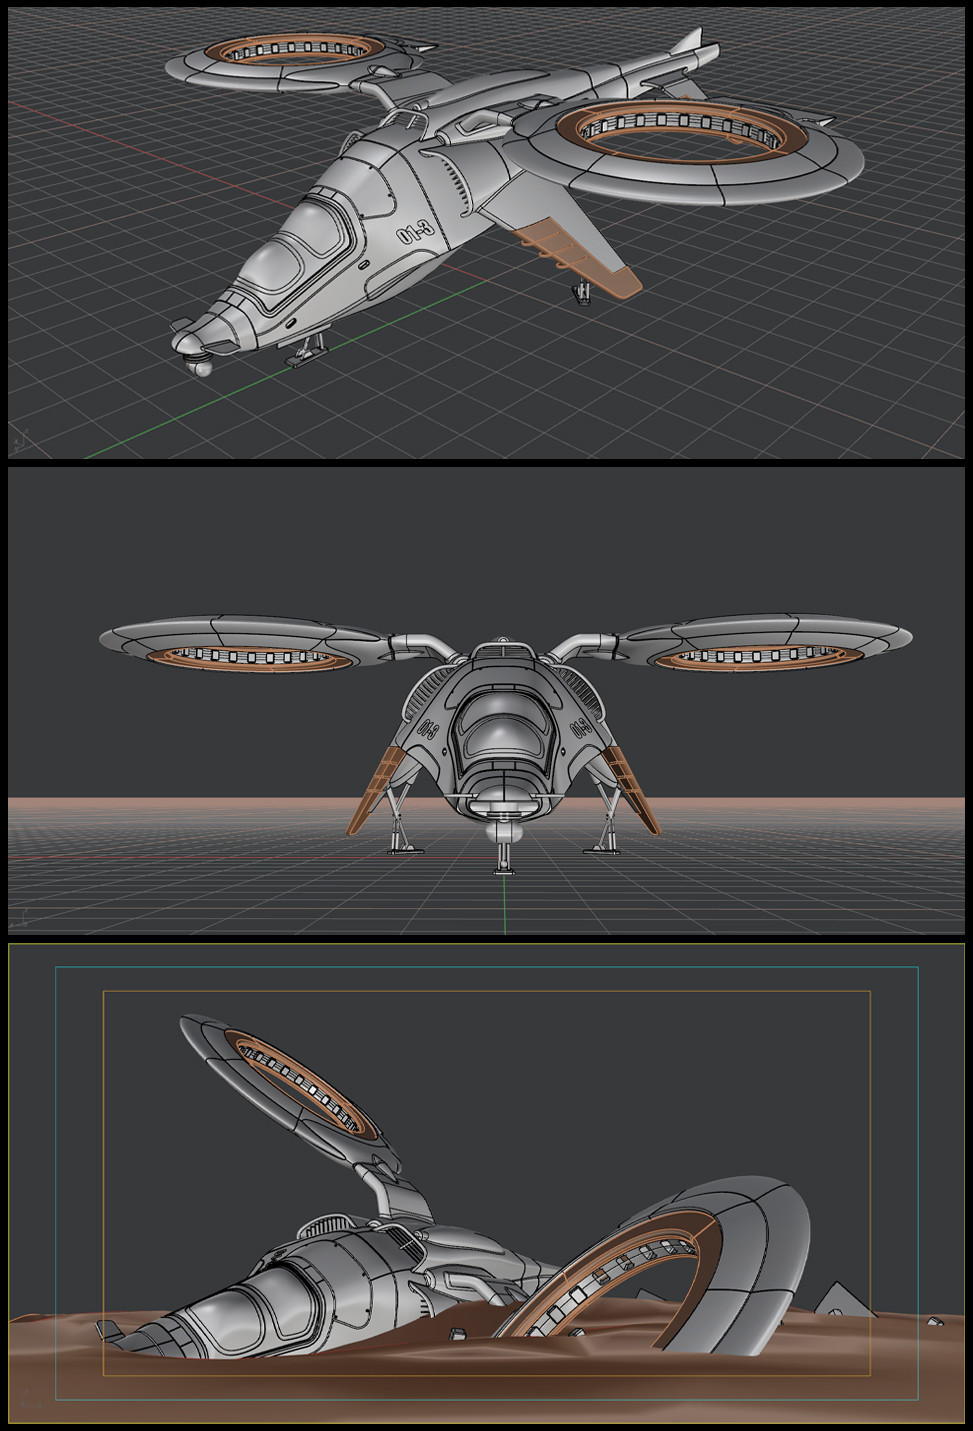
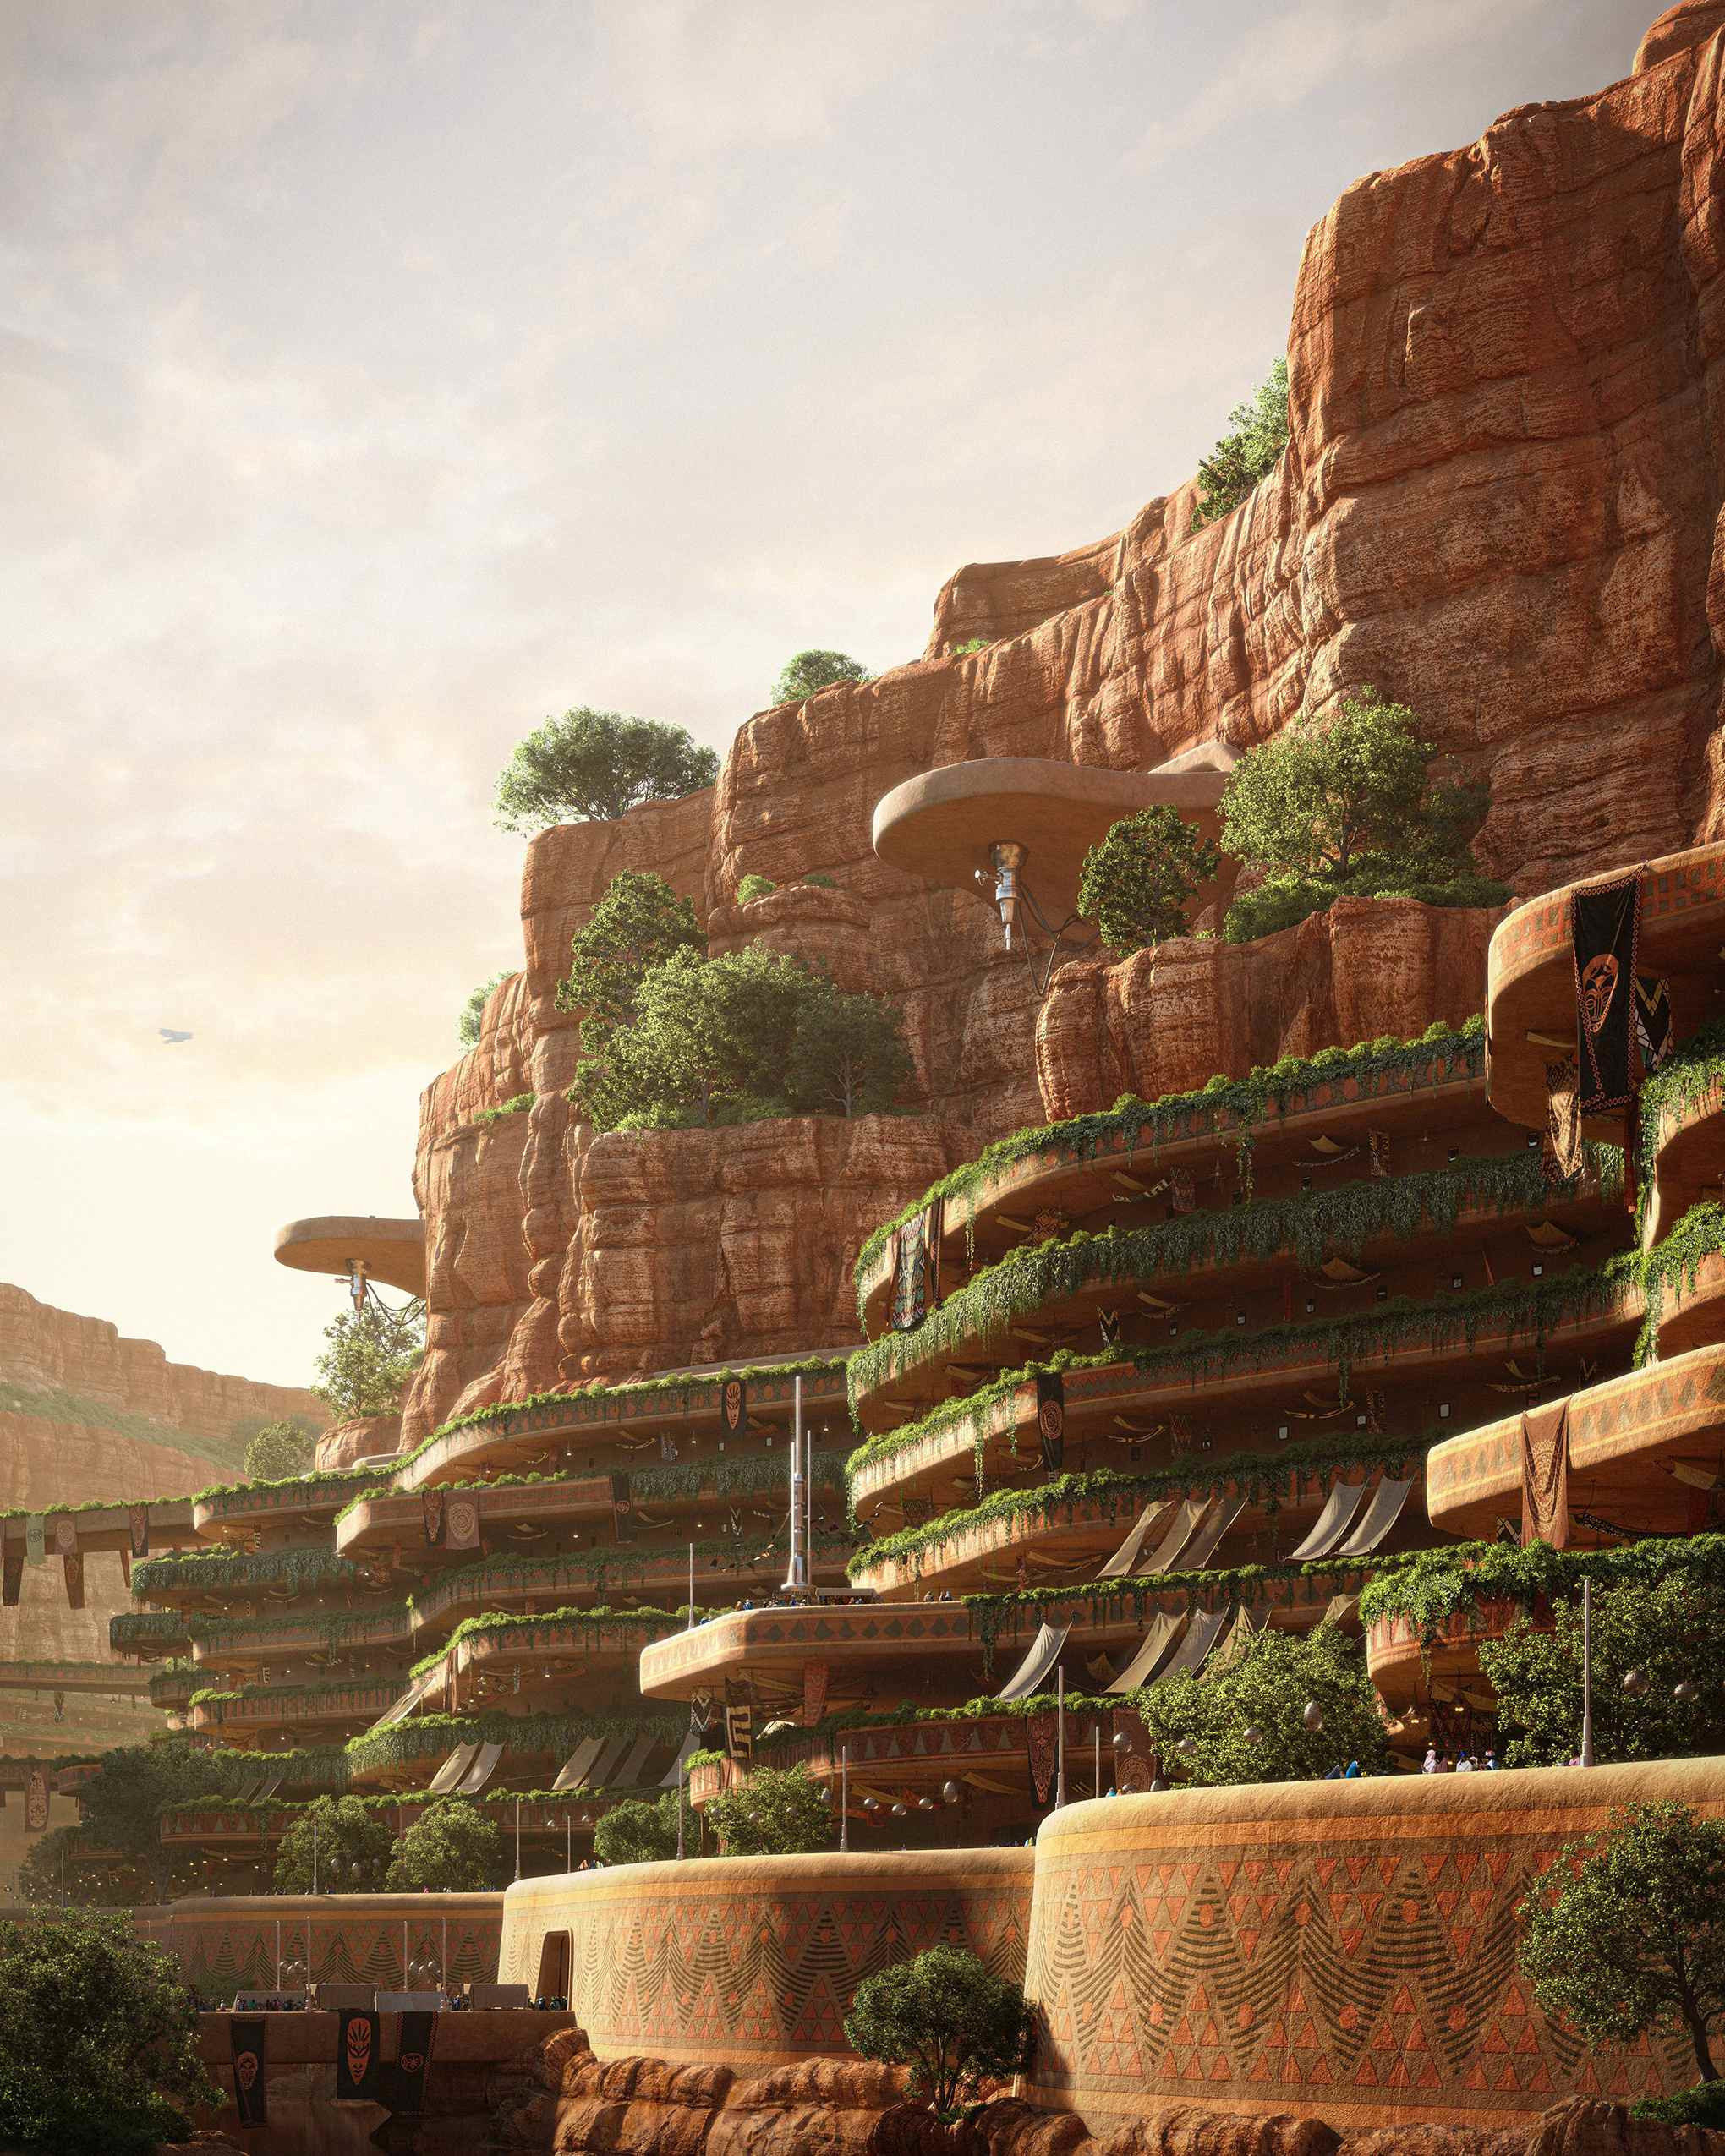
After most of the work was done I've began preparing the views. There was a ton of possible views while walking through the model, so it took me a while to choose. Many were scrubbed because of changes in the concept, some were left out as I wouldn't have the time to finish them all. Others seemed repetitive, not really adding anything new into the storyline, just merely increasing the quantity of views. It is possible that a couple of them may be finished sometime in the future. The inhabitants of Desert Ark keep expanding their knowledge with every soul they save from the clutches of the desert; some of them may even prove crucial in their plans.

Any ideas, thoughts or questions? Leave me a note in the comments below:

