Realtime walkthrough: Lake Cabin, part 3
Terrain
When dealing with terrain in Unreal Engine we have several options. Terrain sculpting tools in UE4 provide a very smooth experience and with addition of alpha brushes you can get pretty realistic detail. However sculpting large-scale believable terrains is a time consuming process and you need a keen eye for how the terrain is formed in the real world. Another viable solution is the use of heightmaps. Unreal provides us with the option to import external height map textures and also masks for different terrain layers like snow, green fields, water, debris etc.

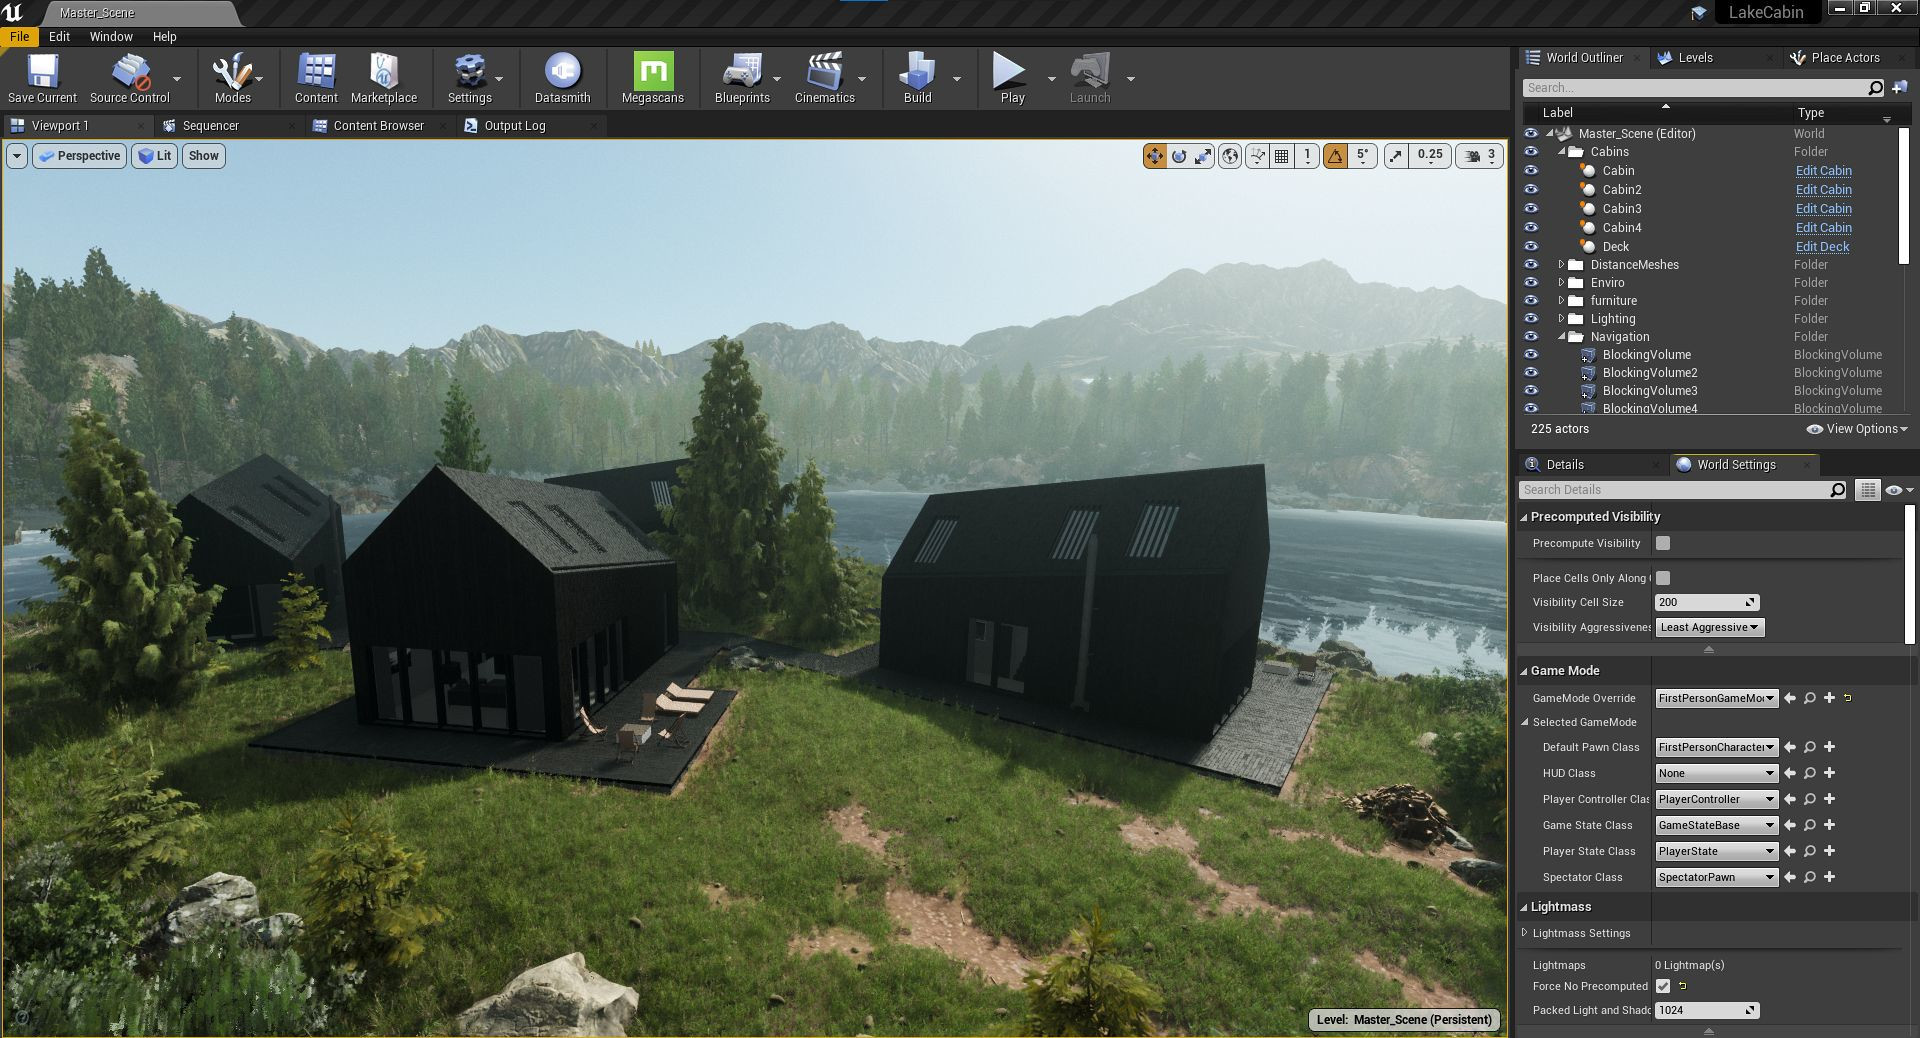
Terrain generated from heightmap created in external DCC (Houdini)
These textures are generally generated in an external DCC like World Creator, Gaea etc. We have experimented with Houdini for heightmap generation. Houdini Engine in UE provides us with an almost real time preview of the generated heightfield right in the Unreal Engine viewport. For any external procedural work, Houdini Engine is the way to go. As the project progressed further and we came back to the original concept, a combination of hand sculpted terrain and heighfield generated detail was used, with another hand sculpted pass on top to fix some local issues or to exaggerate certain details. In the final project, we've used a solution from Unreal Marketplace, which generates heightmaps right in the engine and blends this heightmap with the sculpted data.
Since version 4.26 Unreal Engine has introduced a new system called Landmass, which allows Blueprint-driven terrain creation. While this seems like an interesting approach, the other thing that is even more important for us in this update is the Landscape Layers system.
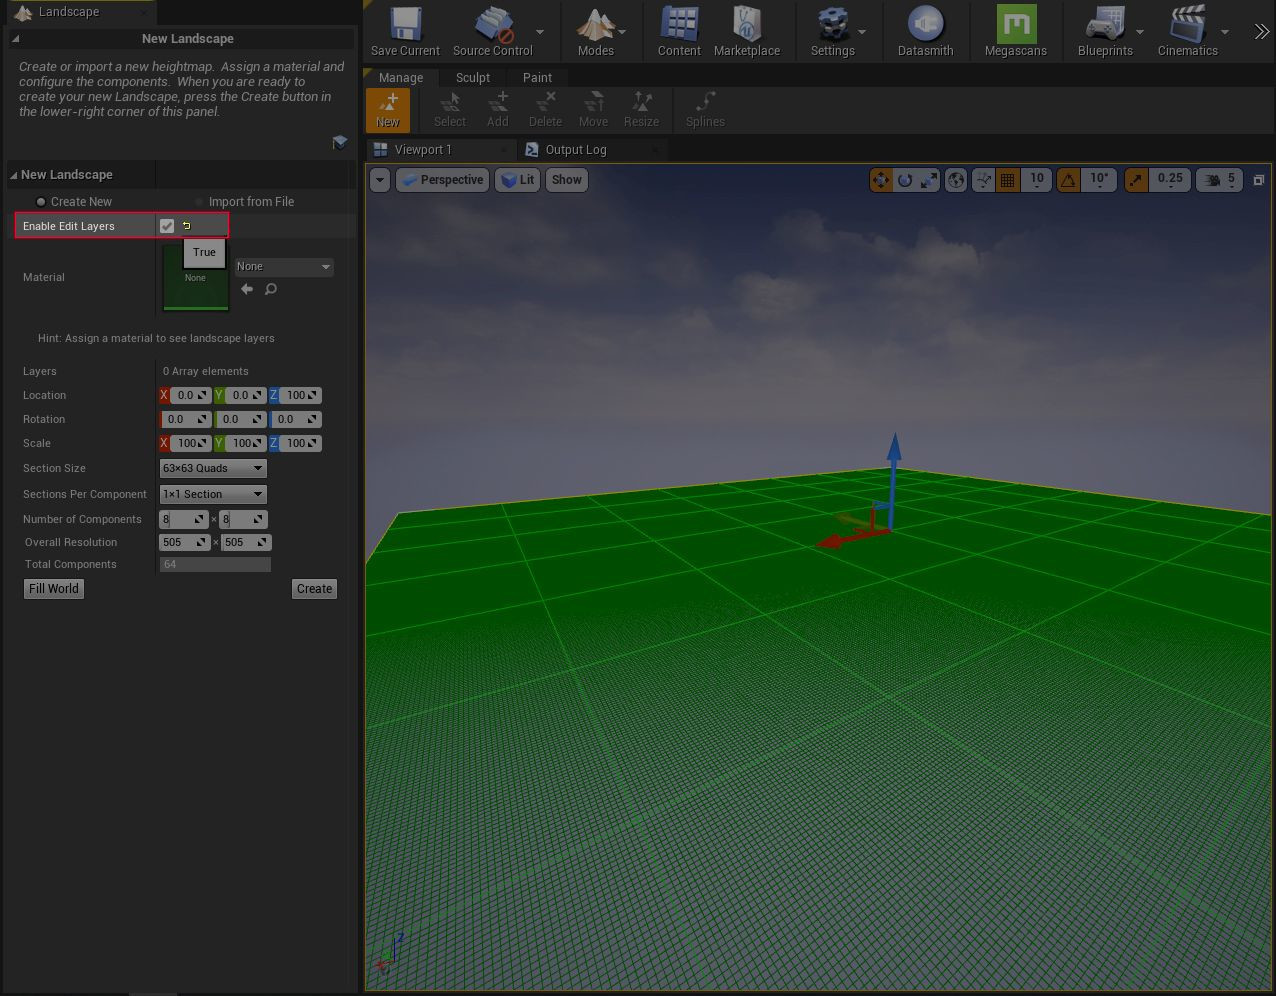
This system allows us to make non-destructive edits to our terrain. Having the various edits and sculpts divided into separate layers. You might recognize this behaviour from different sculpting software and it's a nice addition to Unreals toolset.
Materials
Archviz projects can easily incorporate from tens to hundreds of materials. In a typical offline renderer like V-Ray, it's convenient to make a duplicate of material and tweak the duplicate's attributes. In order to tweak materials (or their copies) in Unreal Engine, one must edit the underlying shader* in UE's material node editor. Each change in the shader is recompiled (recomputed) which is a huge time consuming process. This makes the whole process very tedious. Fortunately, there are ways to cope with this, and we will explore them in a moment. The language used in the node editor is not very artist friendly and incorporates a lot of math related stuff. In larger productions, it is common that shaders are the domain of Technical Artists and other artists mostly use the preconfigured Master Materials. While it might involve some time and research to produce even the basic materials, there is no need to worry. The internet is full of useful resources and you can get your first material up and running in almost no time. It's also possible to use some of the available material libraries to speed up the process. Both Megascans and Twinmotion libraries offer preconfigured Master Materials for various scenarios, however I suggest building some less complex materials on your own, to get a grasp of the whole process. It will save you a lot of time later, when you need to tweak something in the more complex Master Materials and you have at least some idea what you're doing.
*computer program running on GPU that is responsible for calculation of per-pixel light reflections, therefore giving the objects the visual properties of different "materials"
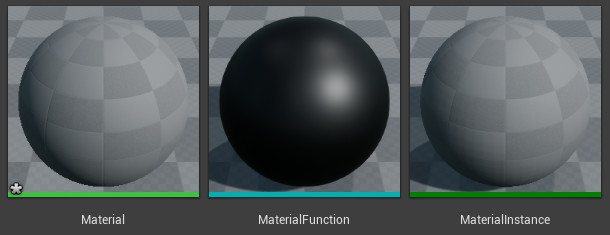
Master Materials are generalized material definitions containing all the necessary functionality, with certain values parametrized, so the whole shader does not have to be recompiled on every value change. This is very handy as they become the underlying building blocks for all the Material Instances in the scene.

Master Materials basically serve as a template, and Material Instances are being used on meshes with material-specific values and textures. To edit the Material Instance, there is no need to use the shader node editor to edit the low-level logic (and possibly break the functionality). Instead the commonly changed values and texture slots are exposed as high-level editable parameters.
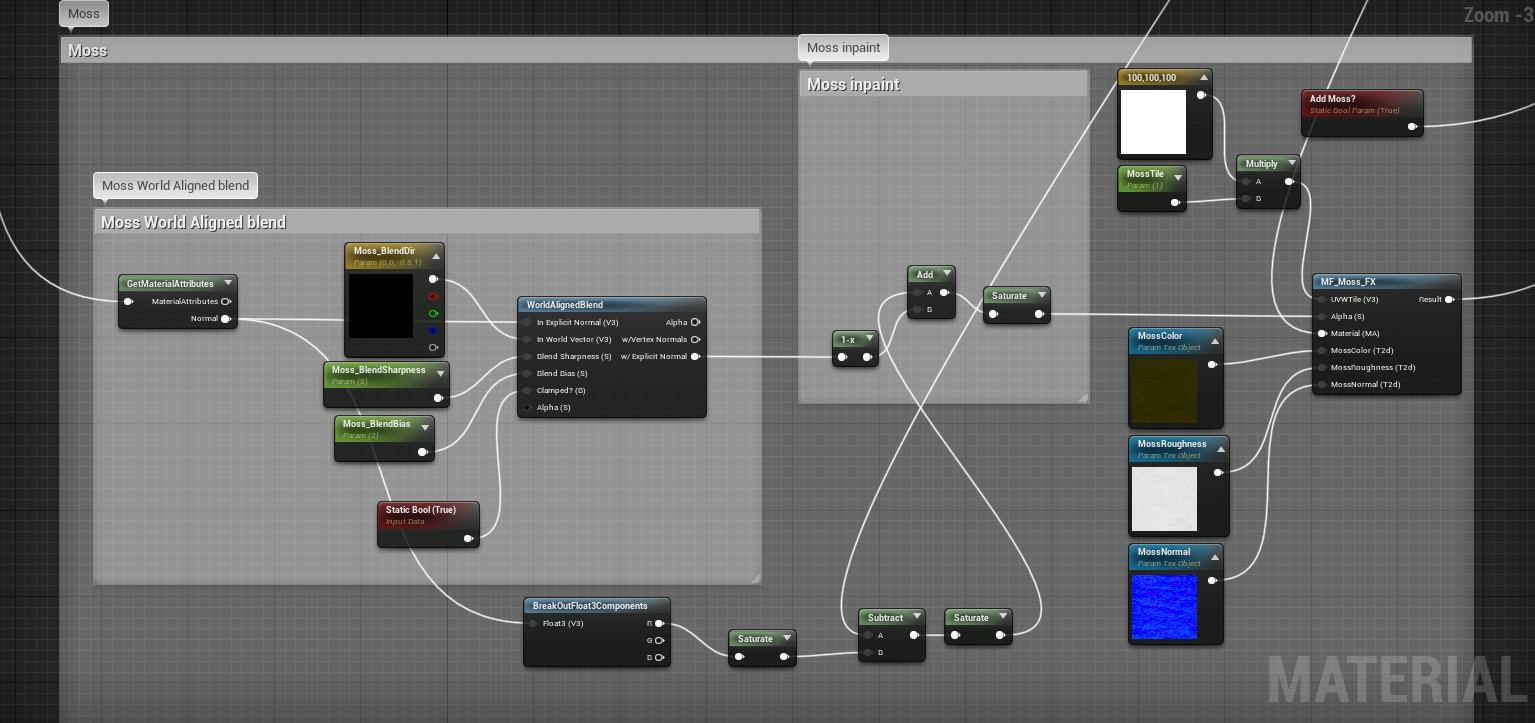
When building your Master Material library from scratch, it might be convenient to group the common used "functionalities" for reusability. Stuff like UV Tiling, tweaking HSB levels, or changing the normal map's intensity will probably be used in more than one Master Material. This approach allows you to build modular building blocks for your material needs and makes your life much easier in the long run. It's important however, to not go too deep down the rabbit hole and always reflect the project's goals. We will further explore the Master Materials, Material Instances and Material Functions in an upcoming technical tutorial.
To be continued...