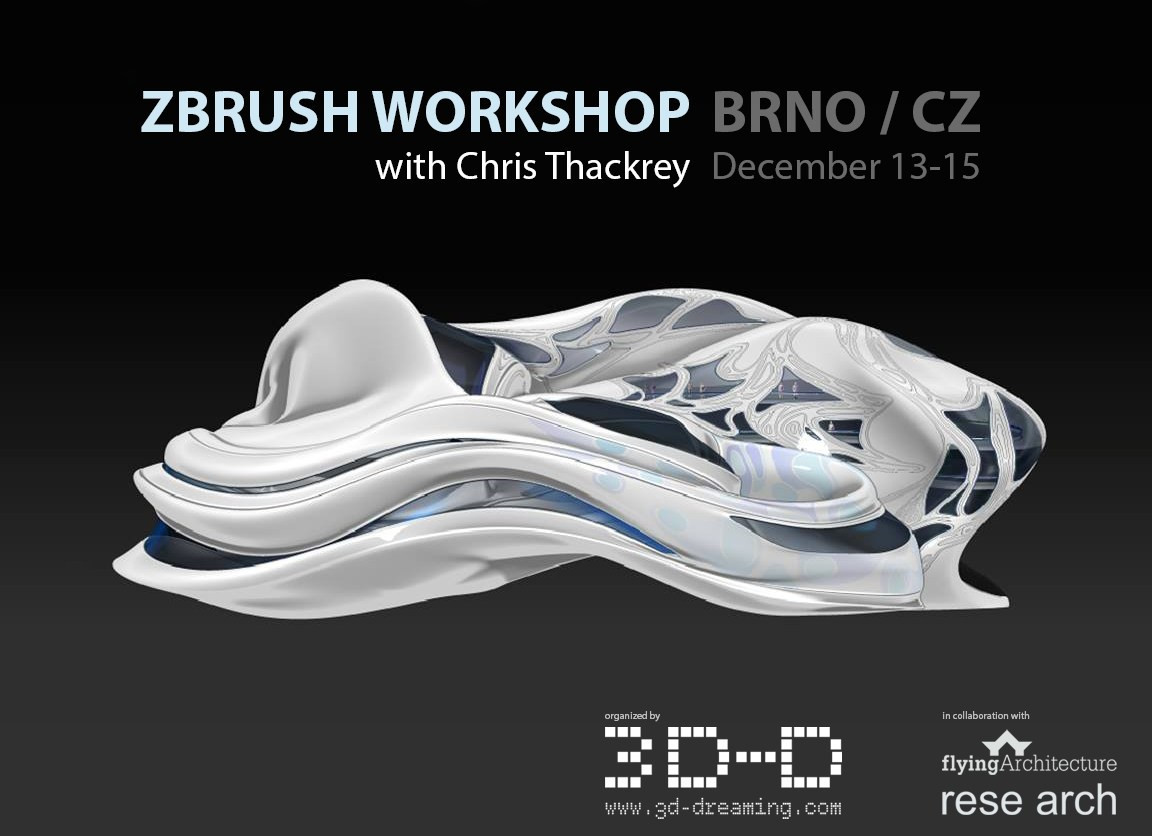
Digital Design in Zbrush workshop
Lecturer:
Chris Thackrey / USA
In Collaboration with:
rese arch & FlyingArchitecture
Dates:
13-14-15 December 2013
There’ll be a big Xmas party in the middle of the workshop :) You’re all welcome!
Programs Required
- Pixologic Zbrush (version 4r6 strongly recommended)
- 3d application of choice (Blender, Maya, 3ds Max, Cinema 4d, Modo)
- Adobe Photoshop CS5 or higher (make sure EXTENDED version is installed)
- Adobe Illustrator
Venue:
Centrum office building
Kobližná 24
Brno, 602 00
Czech Republic
Check the location on the map>>
Our place is about 5 minutes walk from the main train station and about 4 minutes walk from Student Agency’s station. It’s pretty close to anywhere! :)
Capacity:
We’ve got some limitations and we have a capacity of 12 people for this event. So hurry up and send us a message to book your place :)
[Segment 1]
Introduction to Zbrush
> Interface Essentials
> GoZ Accelerated Workflow
> Importing Base Geometry as .obj
> Interface Navigation & Customization
Digital Sculpting Fundamentals
> Sculpt Setup [enable sculpt-mode, hotkeys, brush commands]
> Working in Subdivisions & Poly-counts [essential workflow]
> Enabling Symmetries
> Essentials Masking Techniques
> Selections & Subtools
> Sculpting with Deformers
> Zremesher Re-topology
PolyPaint
> Fundamentals of PolyPaint
> Working in Layers
> Alpha Workflow
> Using Stencils
> Using Alphas to Manipulate Polypaint [advanced alpha settings]
> Alpha Creation
> Texturing Fundamentals
> Painting with Custom Photoshop Documents
> Spotlight Painting
Zbrush Materials
> Uploading Custom Matcap Materials
> Manipulating Material Characteristics
> Painting Material Attributes
Zbrush UV Workflow Level 1
> Why use UV’s? Workflow explanation.
> Tiled UV creation for fast export
> Texture Map Creation
(After-hours help session)
[SEGMENT 2]
Advanced Sculpting
> Adaptive Dynamesh Workflow
> Additive & Subtractive Booleaning
> Combining/ Merging Subtools
> Mesh-insert Brushes
> Mesh Extraction
> Zsphere Workflow
> Zsketch
PolyGroups Level 2
> Manipulate Object by Grouping
> Deleting, Splitting Geometry
>Extruding
Advanced Masking Options
The UV Master Plug-in [create perfect, editable texture maps]
> Advanced UV setup with UV Master
> UV Adjustment
> Saving UV’s
> UV Optimization in Photoshop
Advanced Painting Workflows
> Zbrush to Photoshop Extended Workflow using GoZ
> 3d Texturing in Photoshop
> Painting with Editable Curves
> Baking Custom Materials Using ZappLink
Exporting a Heavy Scene
> Displacement Maps
> Normal Maps
Zremesher Level 2
> Using Adaptive Retopology
> Dynamesh Retopology Workflow + Polycount Decimation
(After-hours help session)
[SEGMENT 3]
HD Sculpting/ HD Painting
Advanced Brushes
> Hard-surface sculpting
> Surface Creasing [Crease edges, crease brushes]
> Intricate Detail Brushes
> Clipping/ Cutting Brushes
> Brushing w/ Editable Curves
> Manipulate Brush Behaviors
> Advanced Settings
> Lazy Mouse Modifier, Snap it Edges, Involutions
GroupsLoops Worklow
> Workflow and Examples
Fibermesh
> Make Grass, .etc on Mesh
> Convert Fibermesh to Geom. for Export
MicroMesh
> Building a MicroMesh
> convert Micromesh to geometry
Bonus: Extra Tips & Tricks
> Creating Hard-line Vector Decals
> Baking Custom Materials using ZappLink
> Painting Transparency, Specular Maps using Zbrush
> Optimizing Texture Maps Secret Adobe Illustrator Workflow
> The Wax Preview Setting
(After-hours help & troubleshooting // improvised sculpt by Chris)