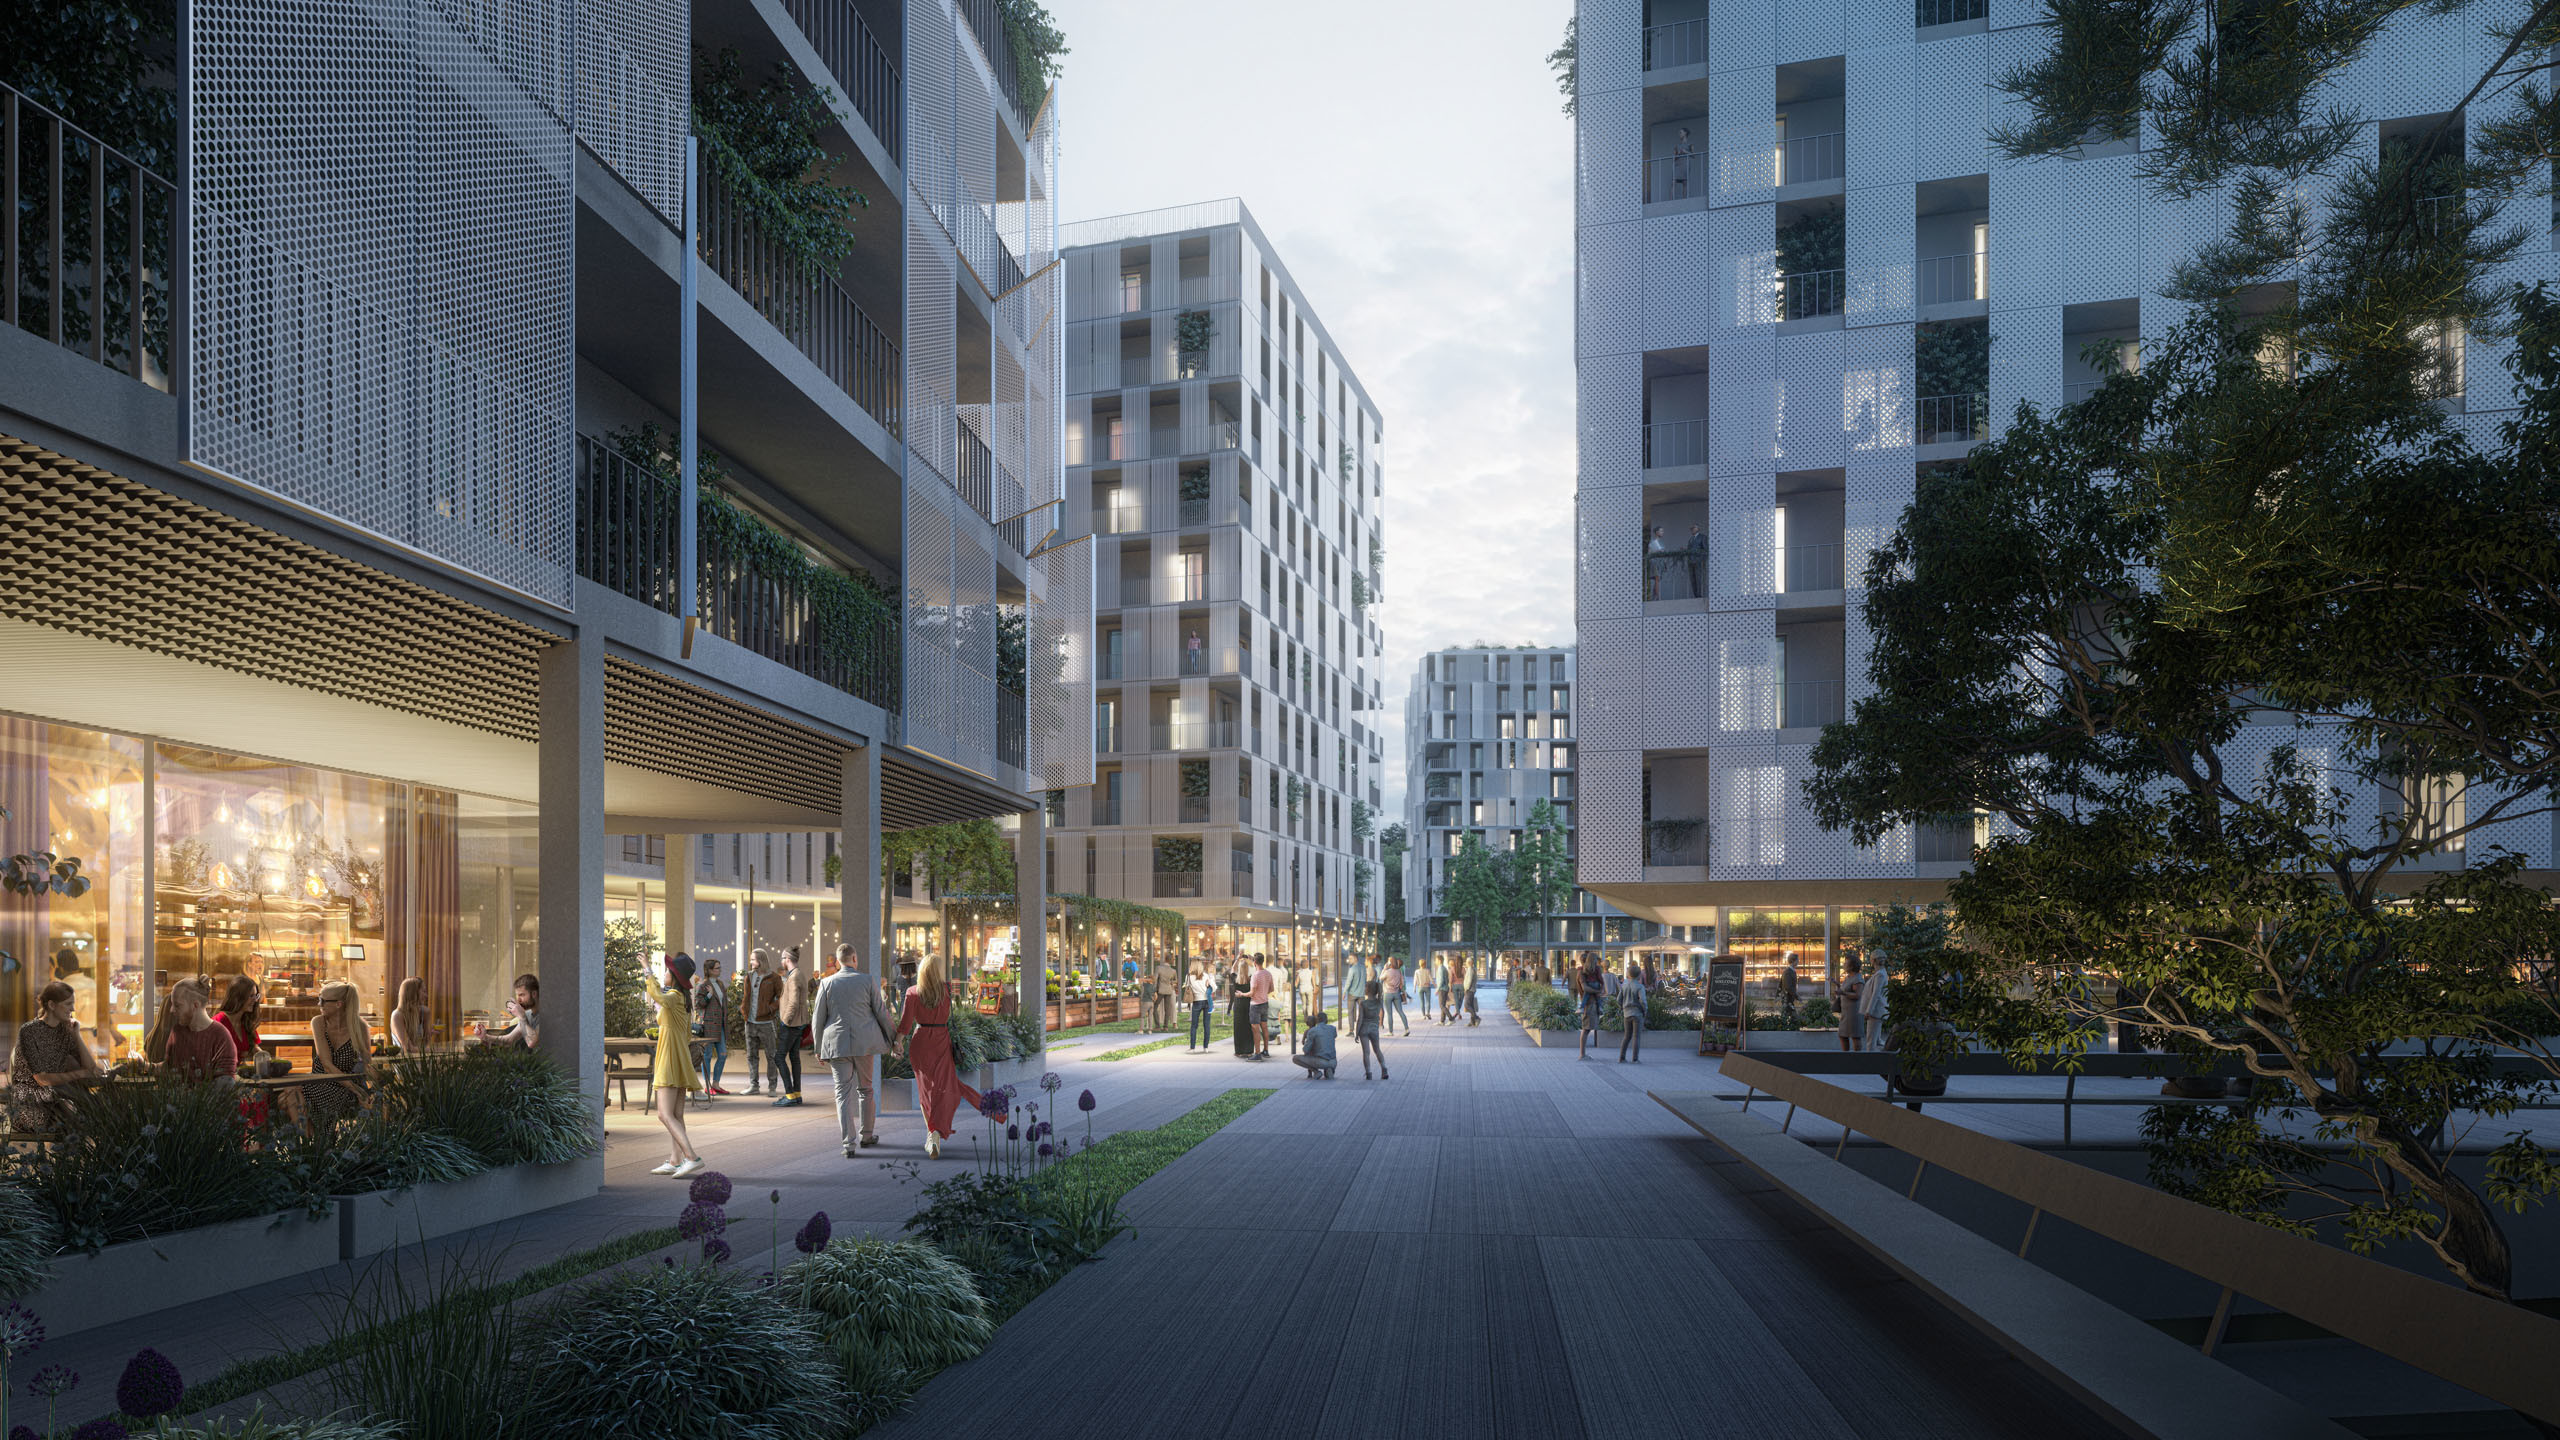
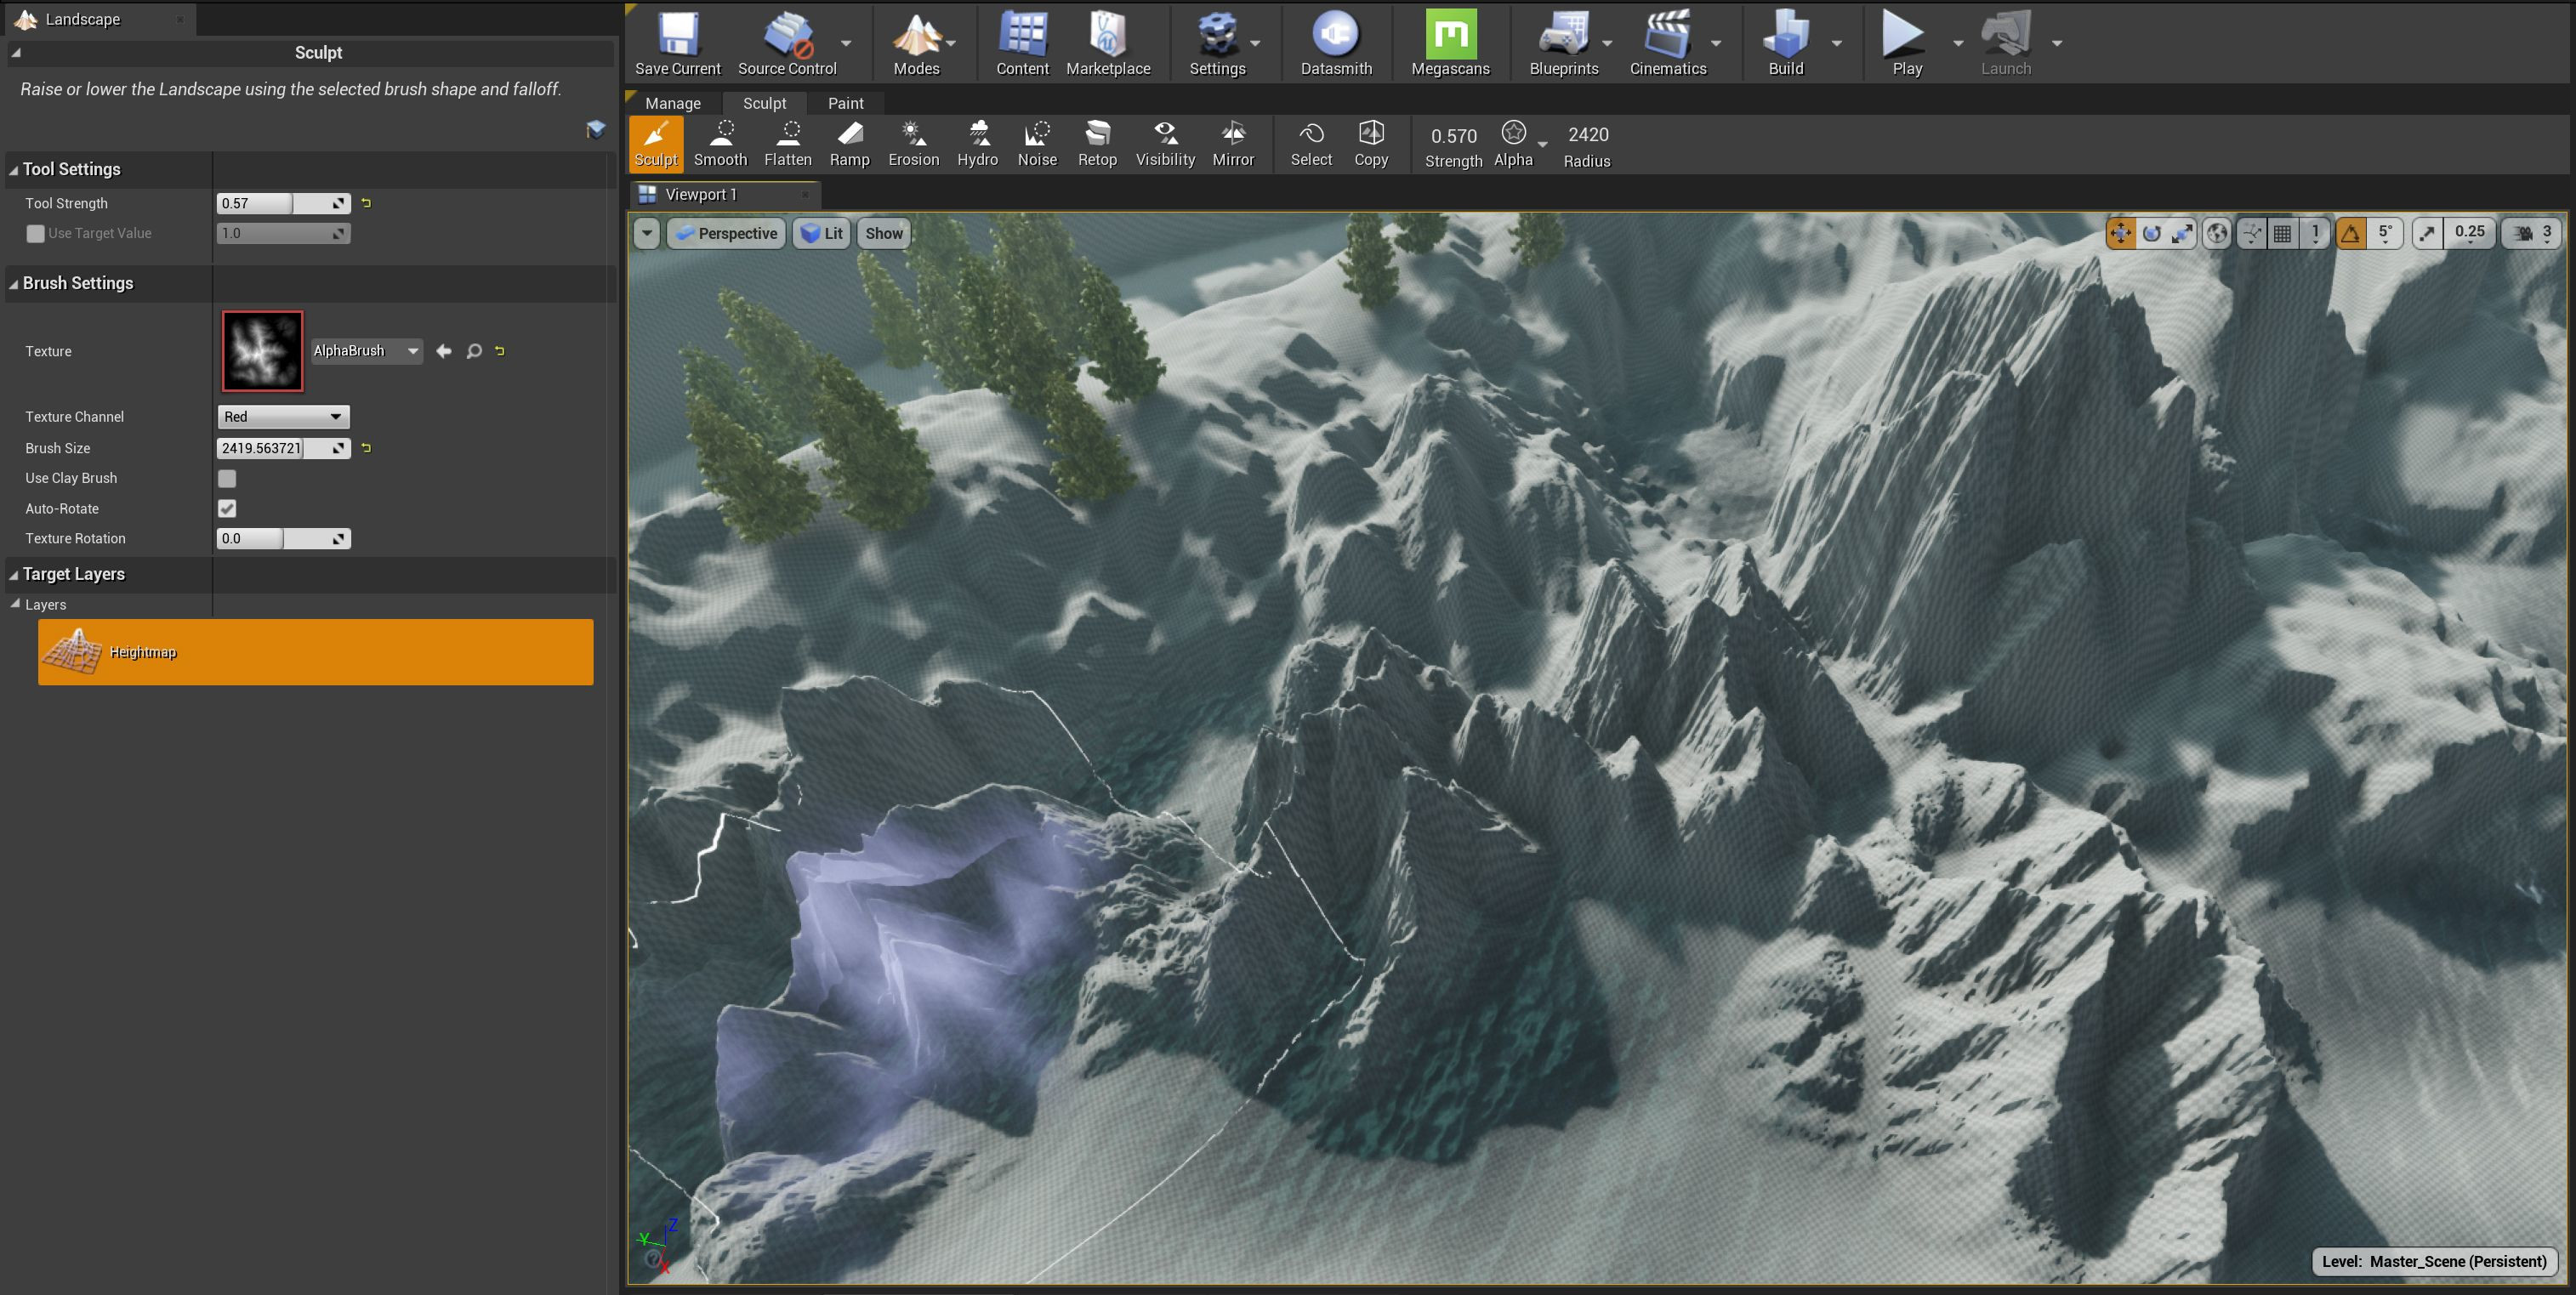
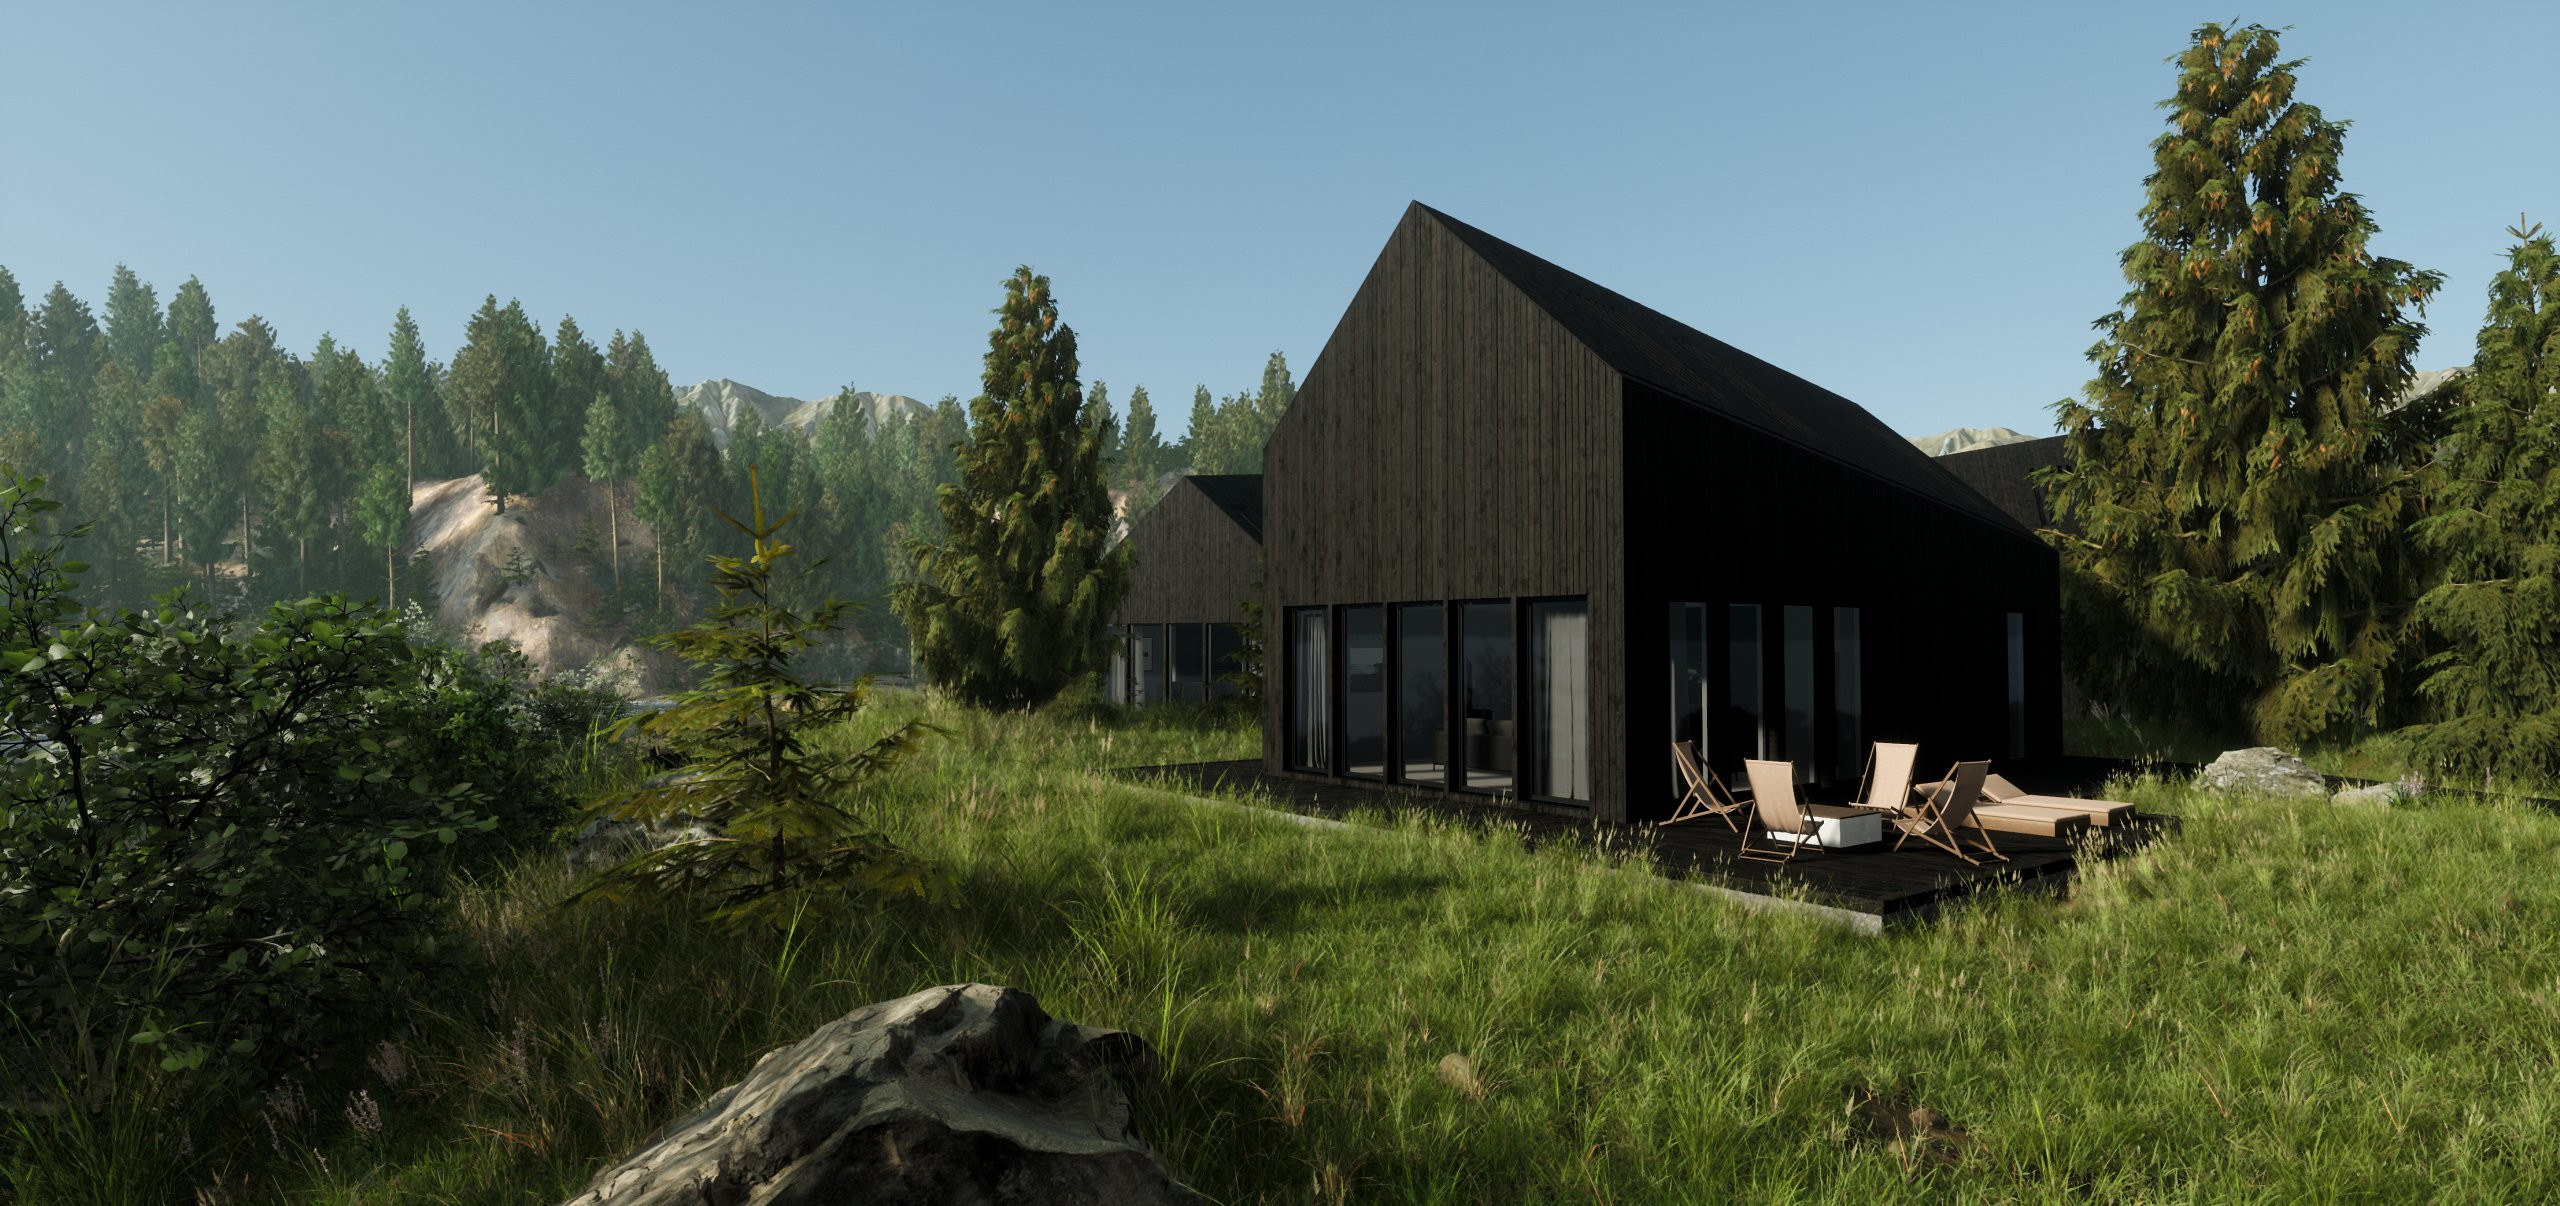
Realtime walkthrough: Lake Cabin progress
Read the previous article from the series: Article No. 1: Realtime walkthrough: Lake Cabin introduction.
UVs
Most of the UV related work was done in Blender. I personally find Blender's tools for UV manipulation the most user friendly compared to other DCC software. The native tools can (and should) be further enhanced with the help of various available addons, making the whole workflow faster and easier.
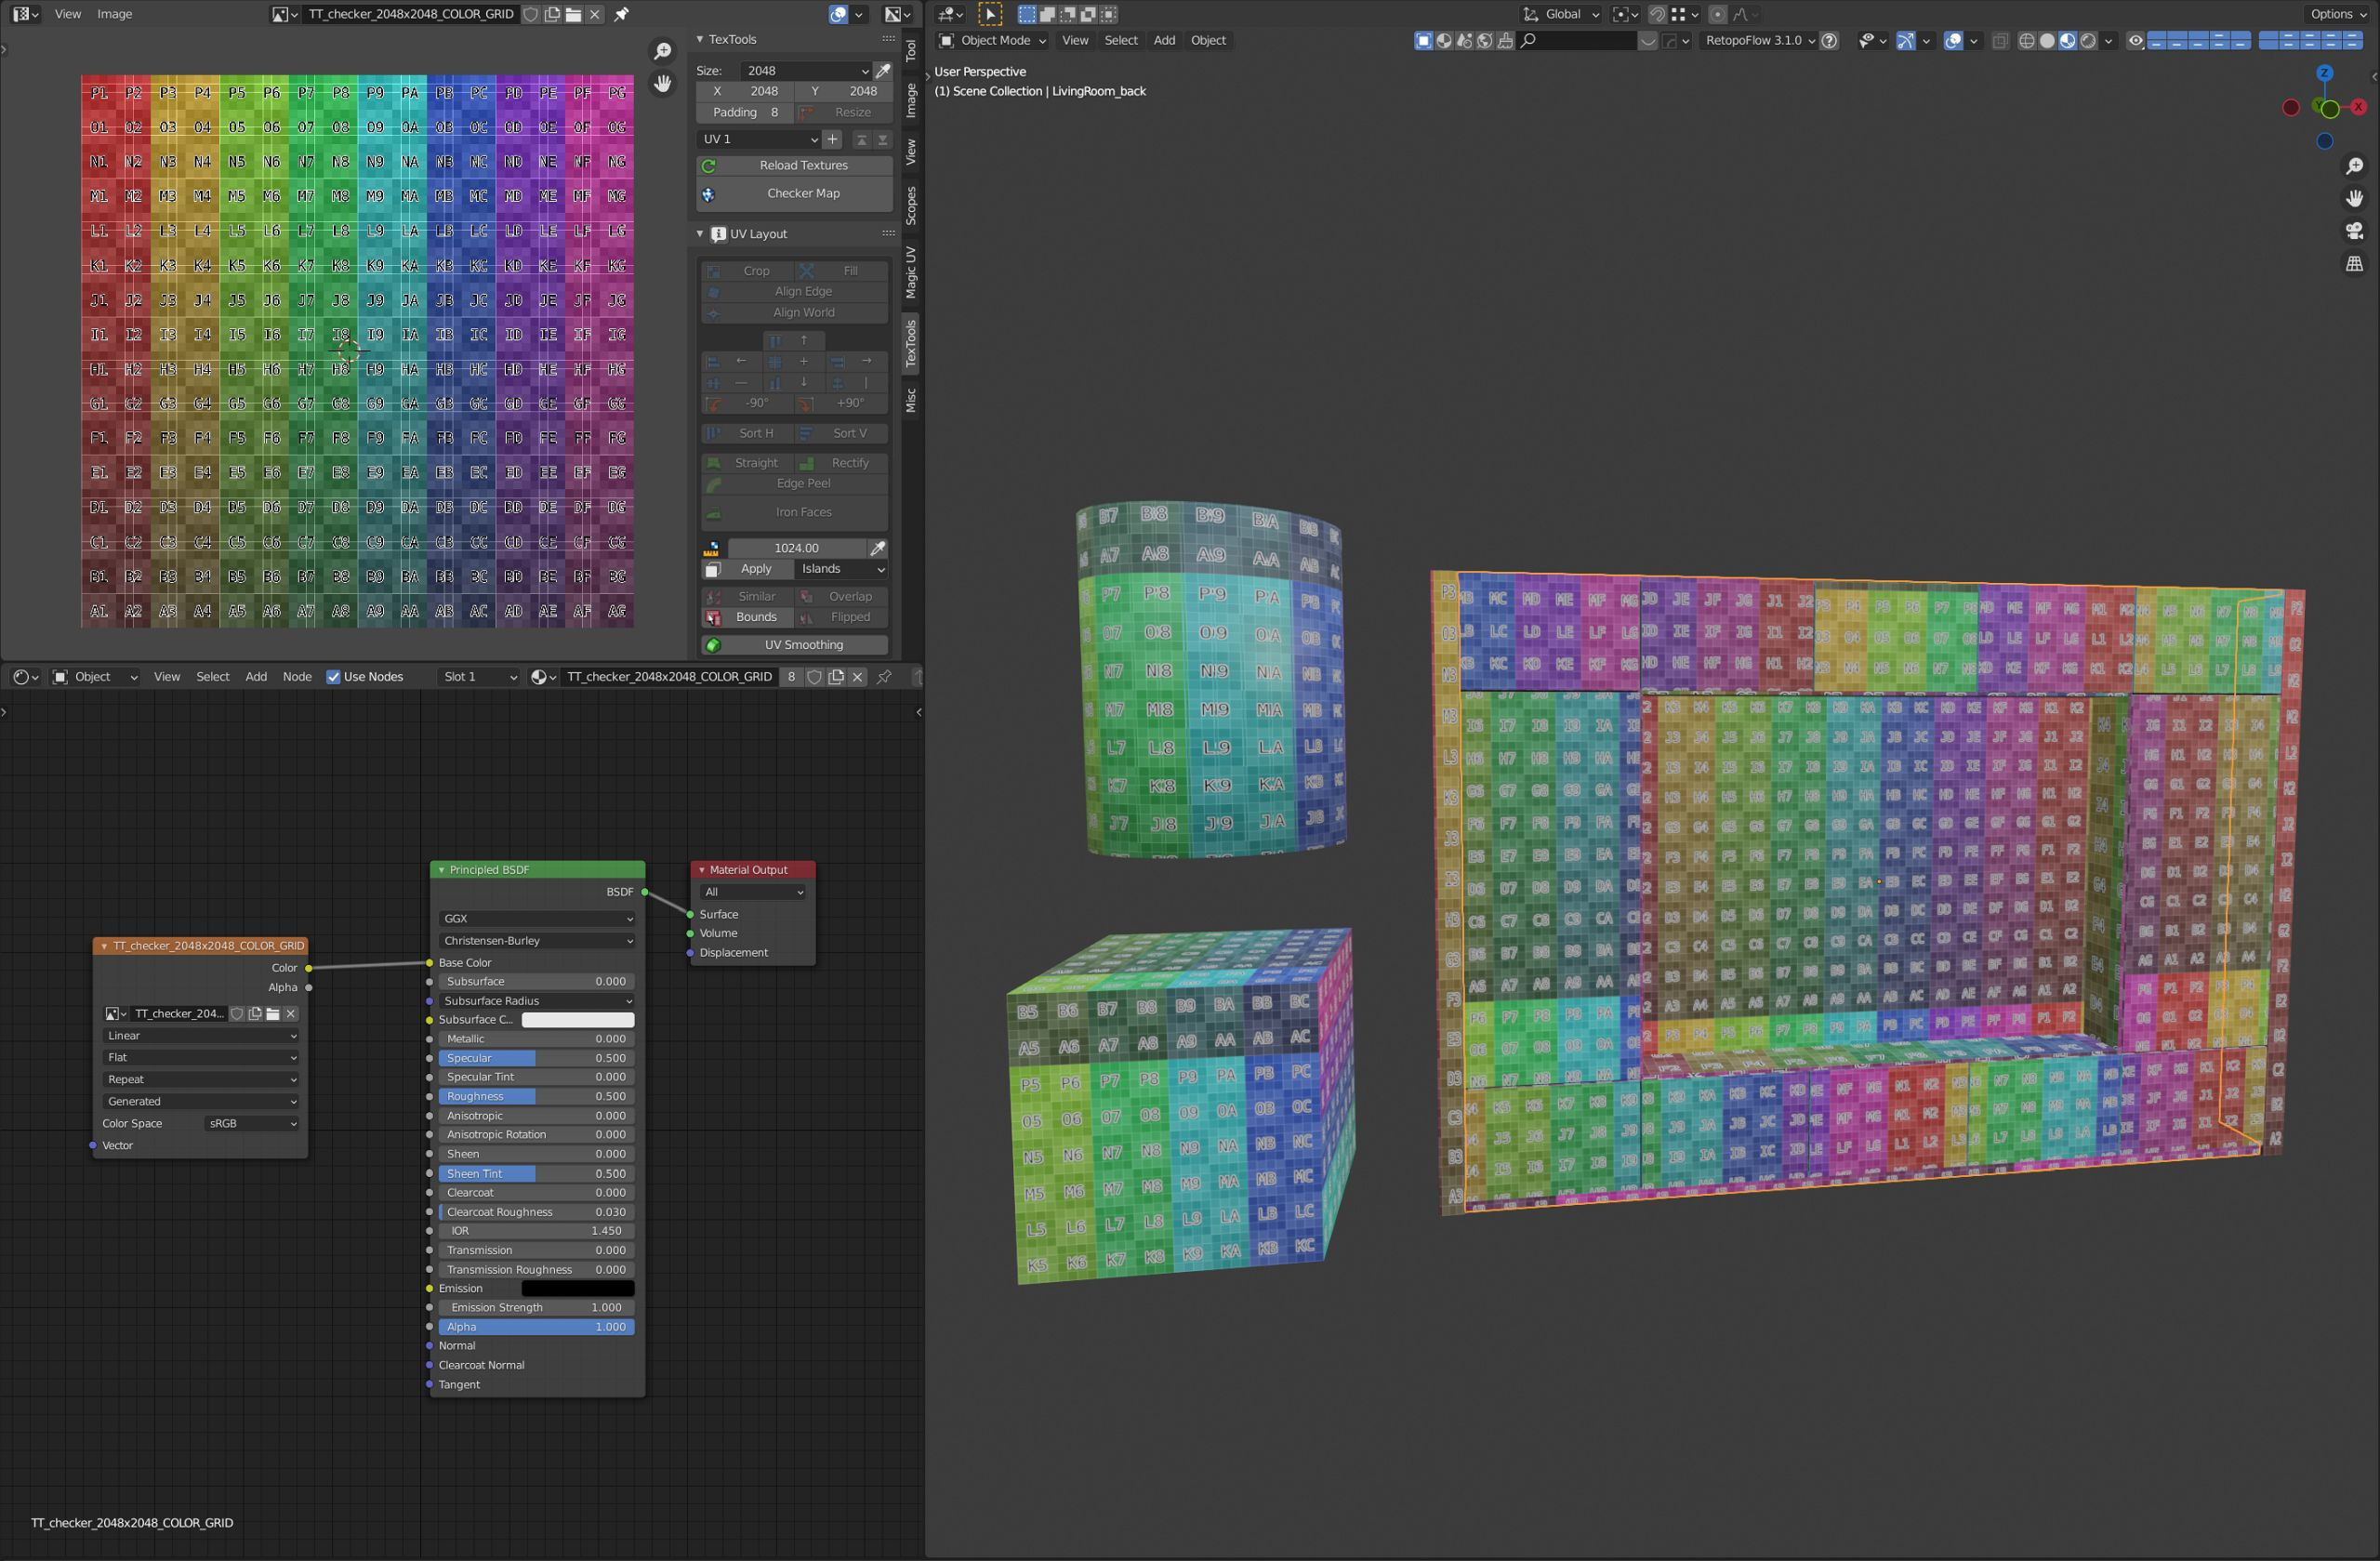
While there are a lot of different UV related addons for Blender and I'm eager to try some of the other popular choices, currently I prefer working with the free TexTools addon. (https://github.com/SavMartin/TexTools-Blender) This is a Blender port of a popular 3Ds Max tool for UV manipulation and has various little tools to make your life when unwrapping models easier. It's always important to preview your UV's with checker textures when working on the unwrap and this addon gives you several options to check not only the scale and density but also direction of your UV islands. The other thing I like about this tool is that it provides you with a very capable out-of-the-box solution for texel density. Texel density is a ratio of texture resolution to scene units, i.e. 1024px/1m. It is a way to ensure overall consistency of the detail. While having textures with a very low resolution might provide blurry images, using textures with very high resolution is the biggest waste of resources (VRAM).
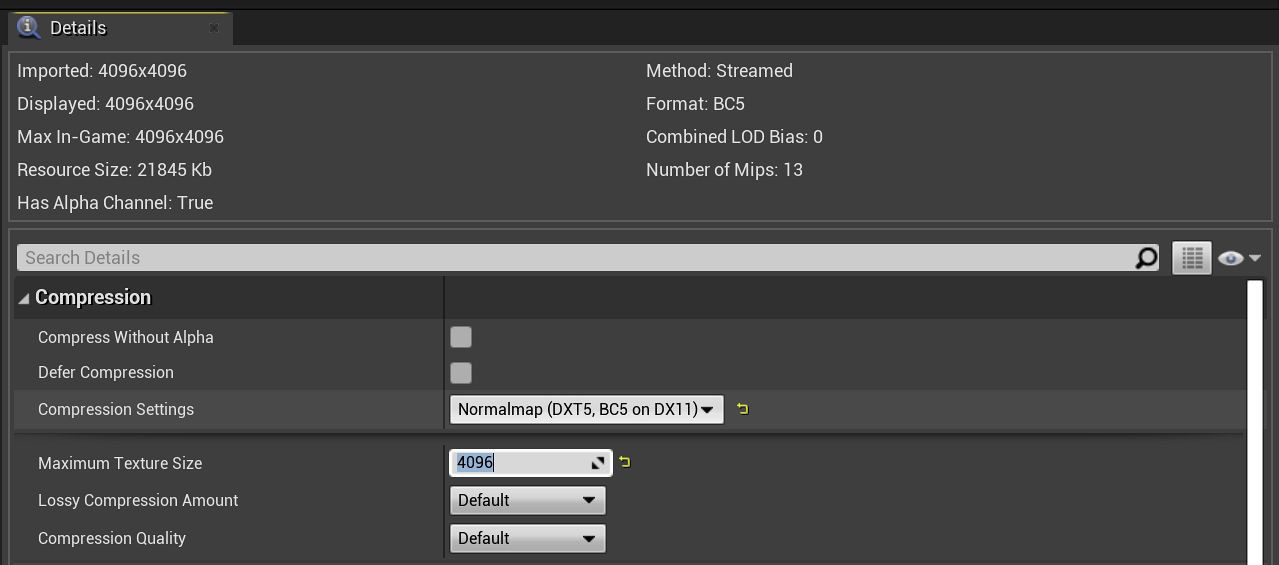
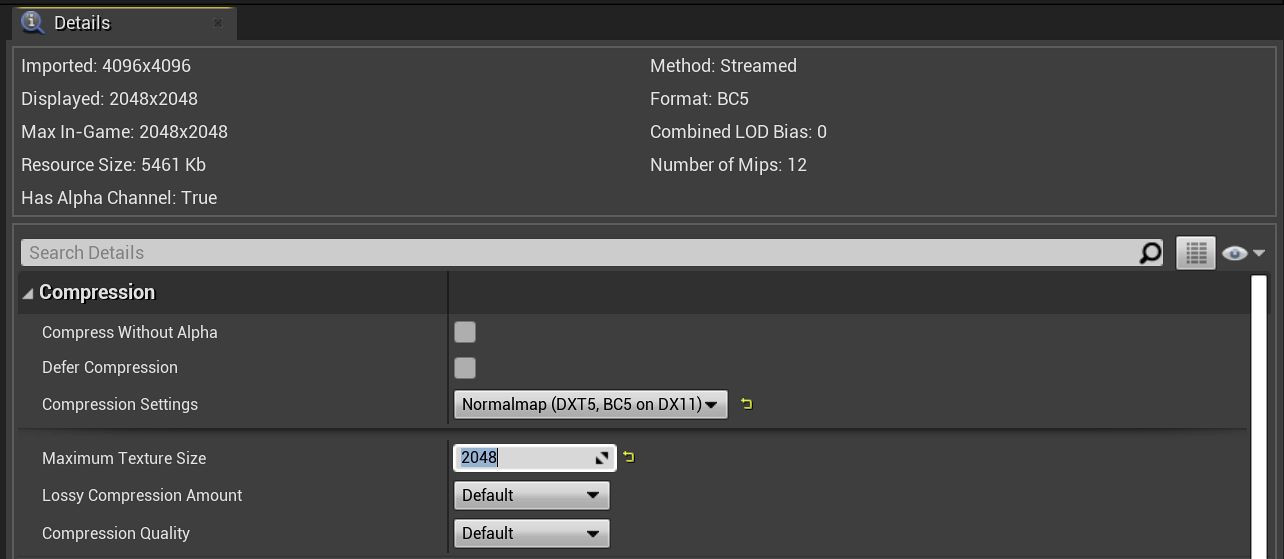
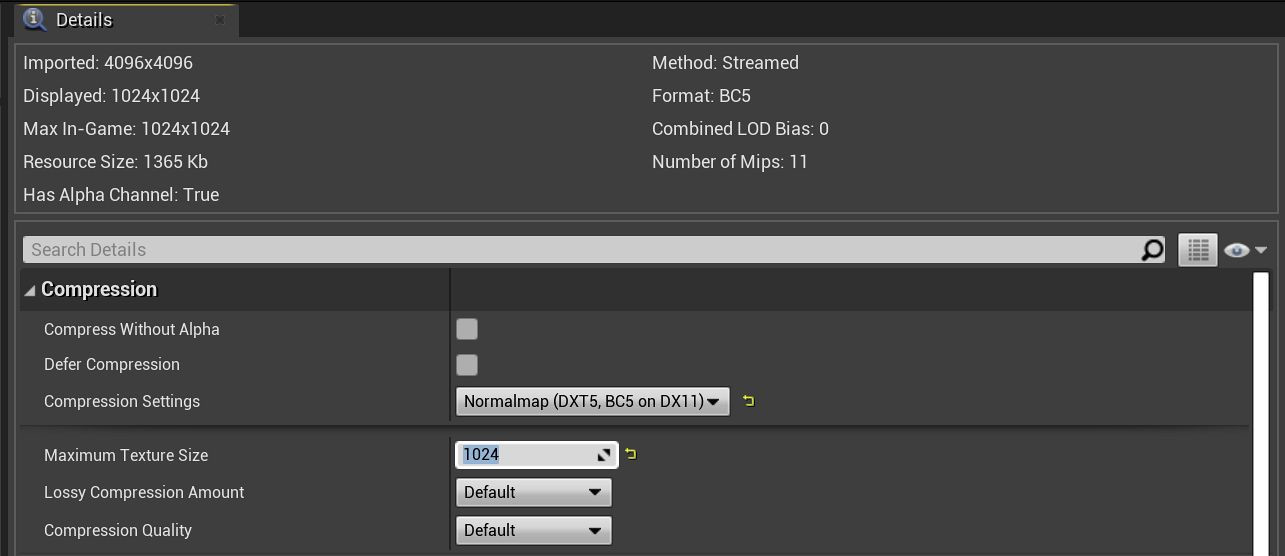
Comparison of resources used by normal map texture with different resolutions being used.
There is an important difference between the resolution of an image texture used and an actual displayed resolution. Zooming on or scaling the object causes the texture's pixels to be projected onto more pixels on the screen. This often results in a blurry image. Also vice versa - zooming away or scaling down the object causes the texture's pixels to be mapped onto less pixels on the screen. Just imagine what happens when you put two identical objects with different texture resolution next to each other.
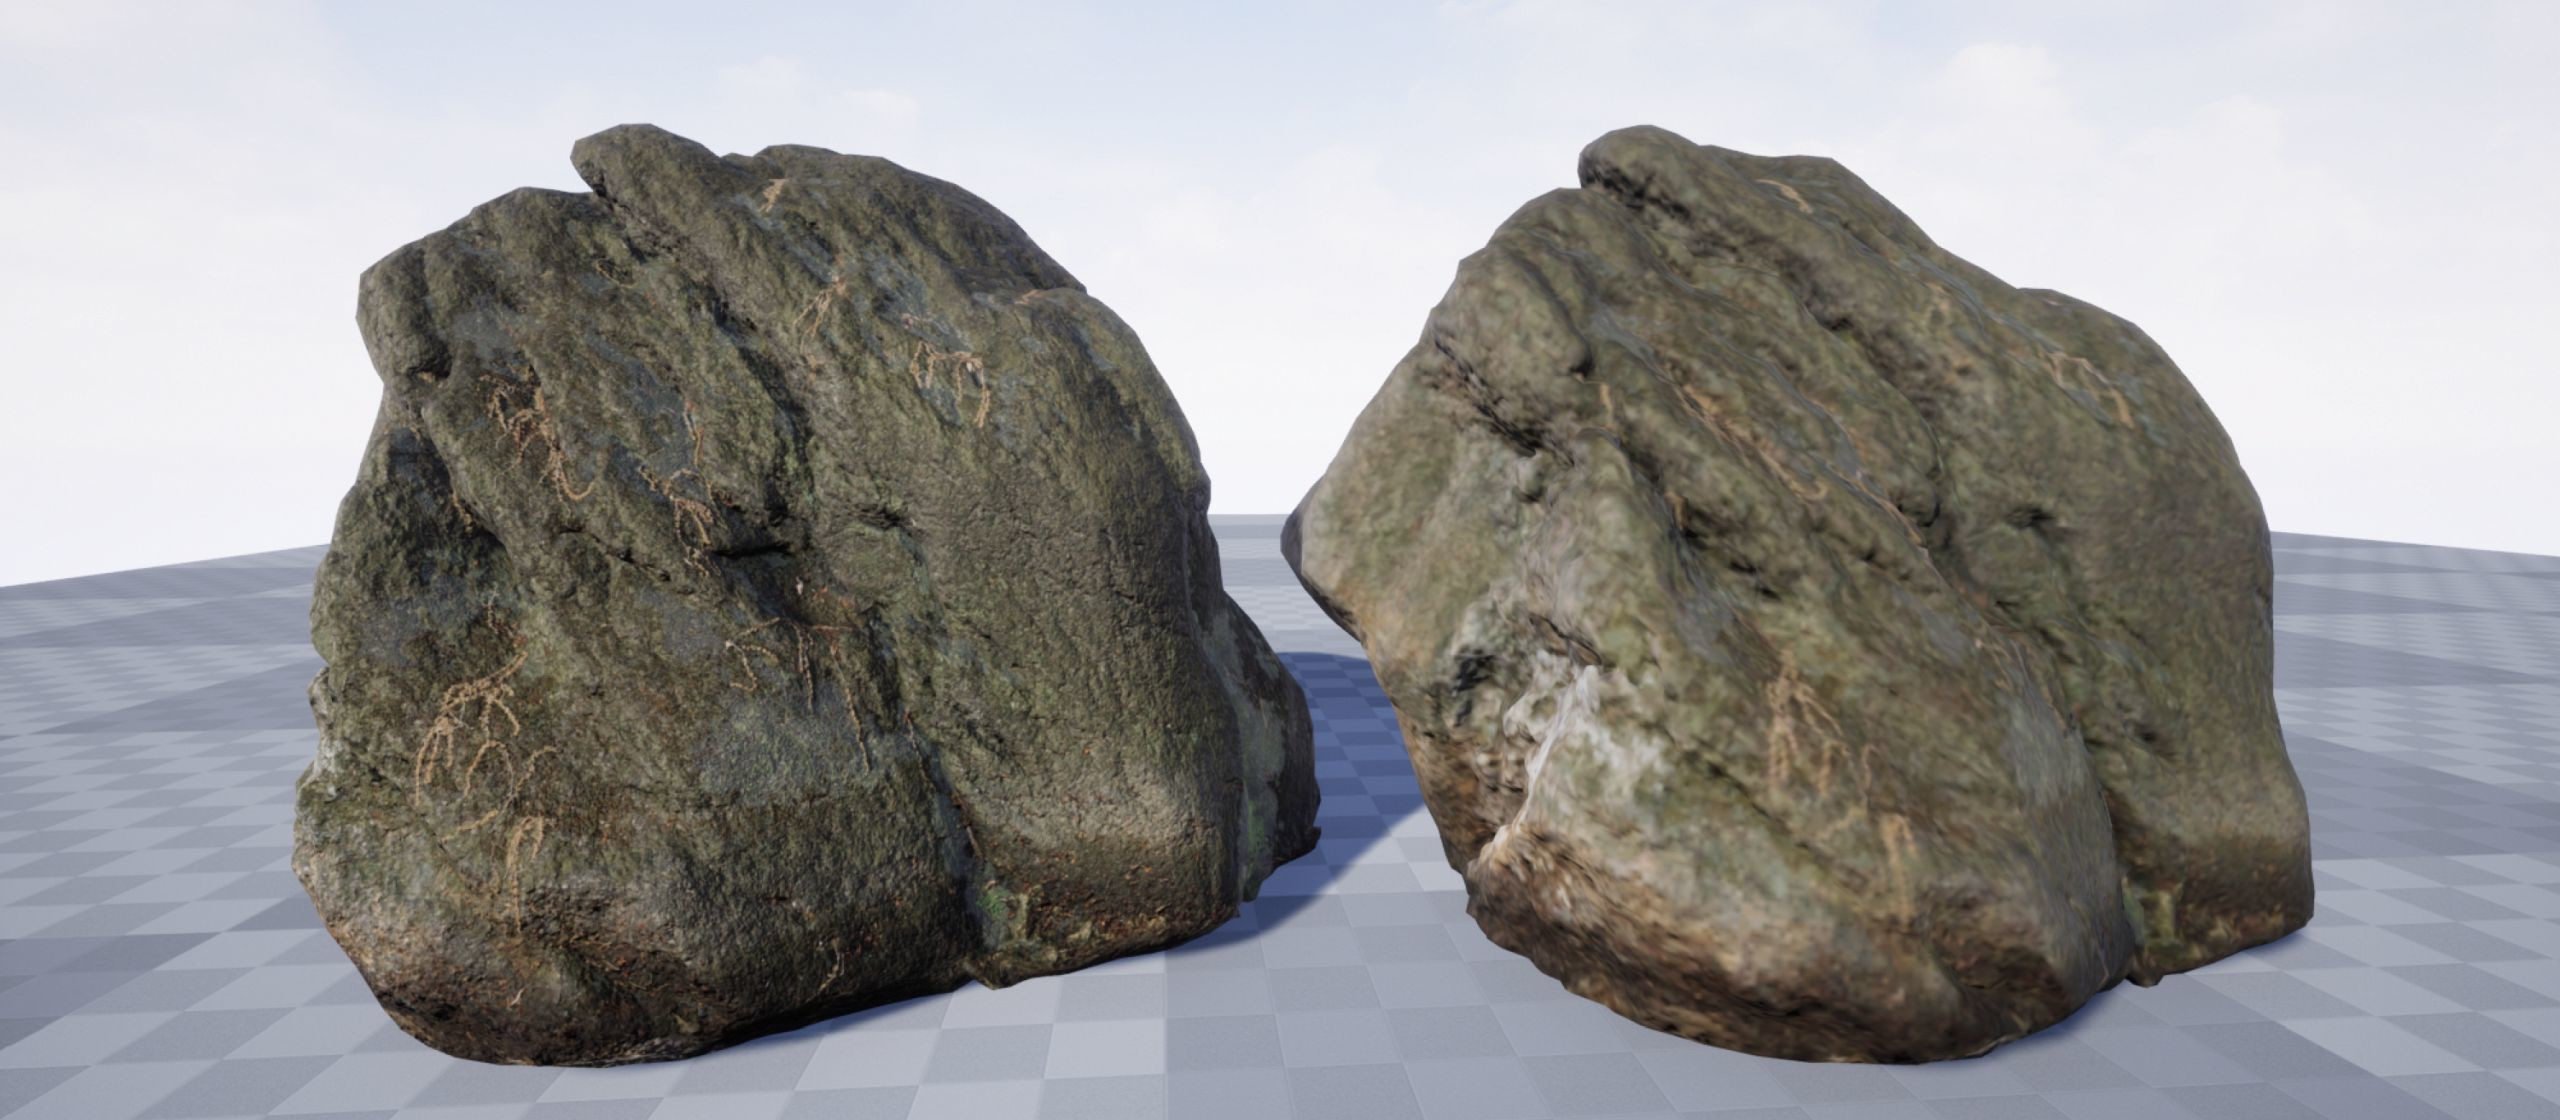
This often produces unwanted flaws in the overall visual experience, since the inconsistency between the amount of detail of the mapped pixels is very obvious and makes the whole image look cheap. Establishing texel density is a way to cope with this unwanted effect. Another viable technique is an incorporation of tiling detail maps. We will focus more on texel density and detail maps in one of the upcoming technical tutorials.
Randomization
To achieve realistic results, randomization of certain elements is necessary to get the feeling of a man-made environment. Having a slight variance in the rotation of repeated elements like wooden decks can get you a long way.
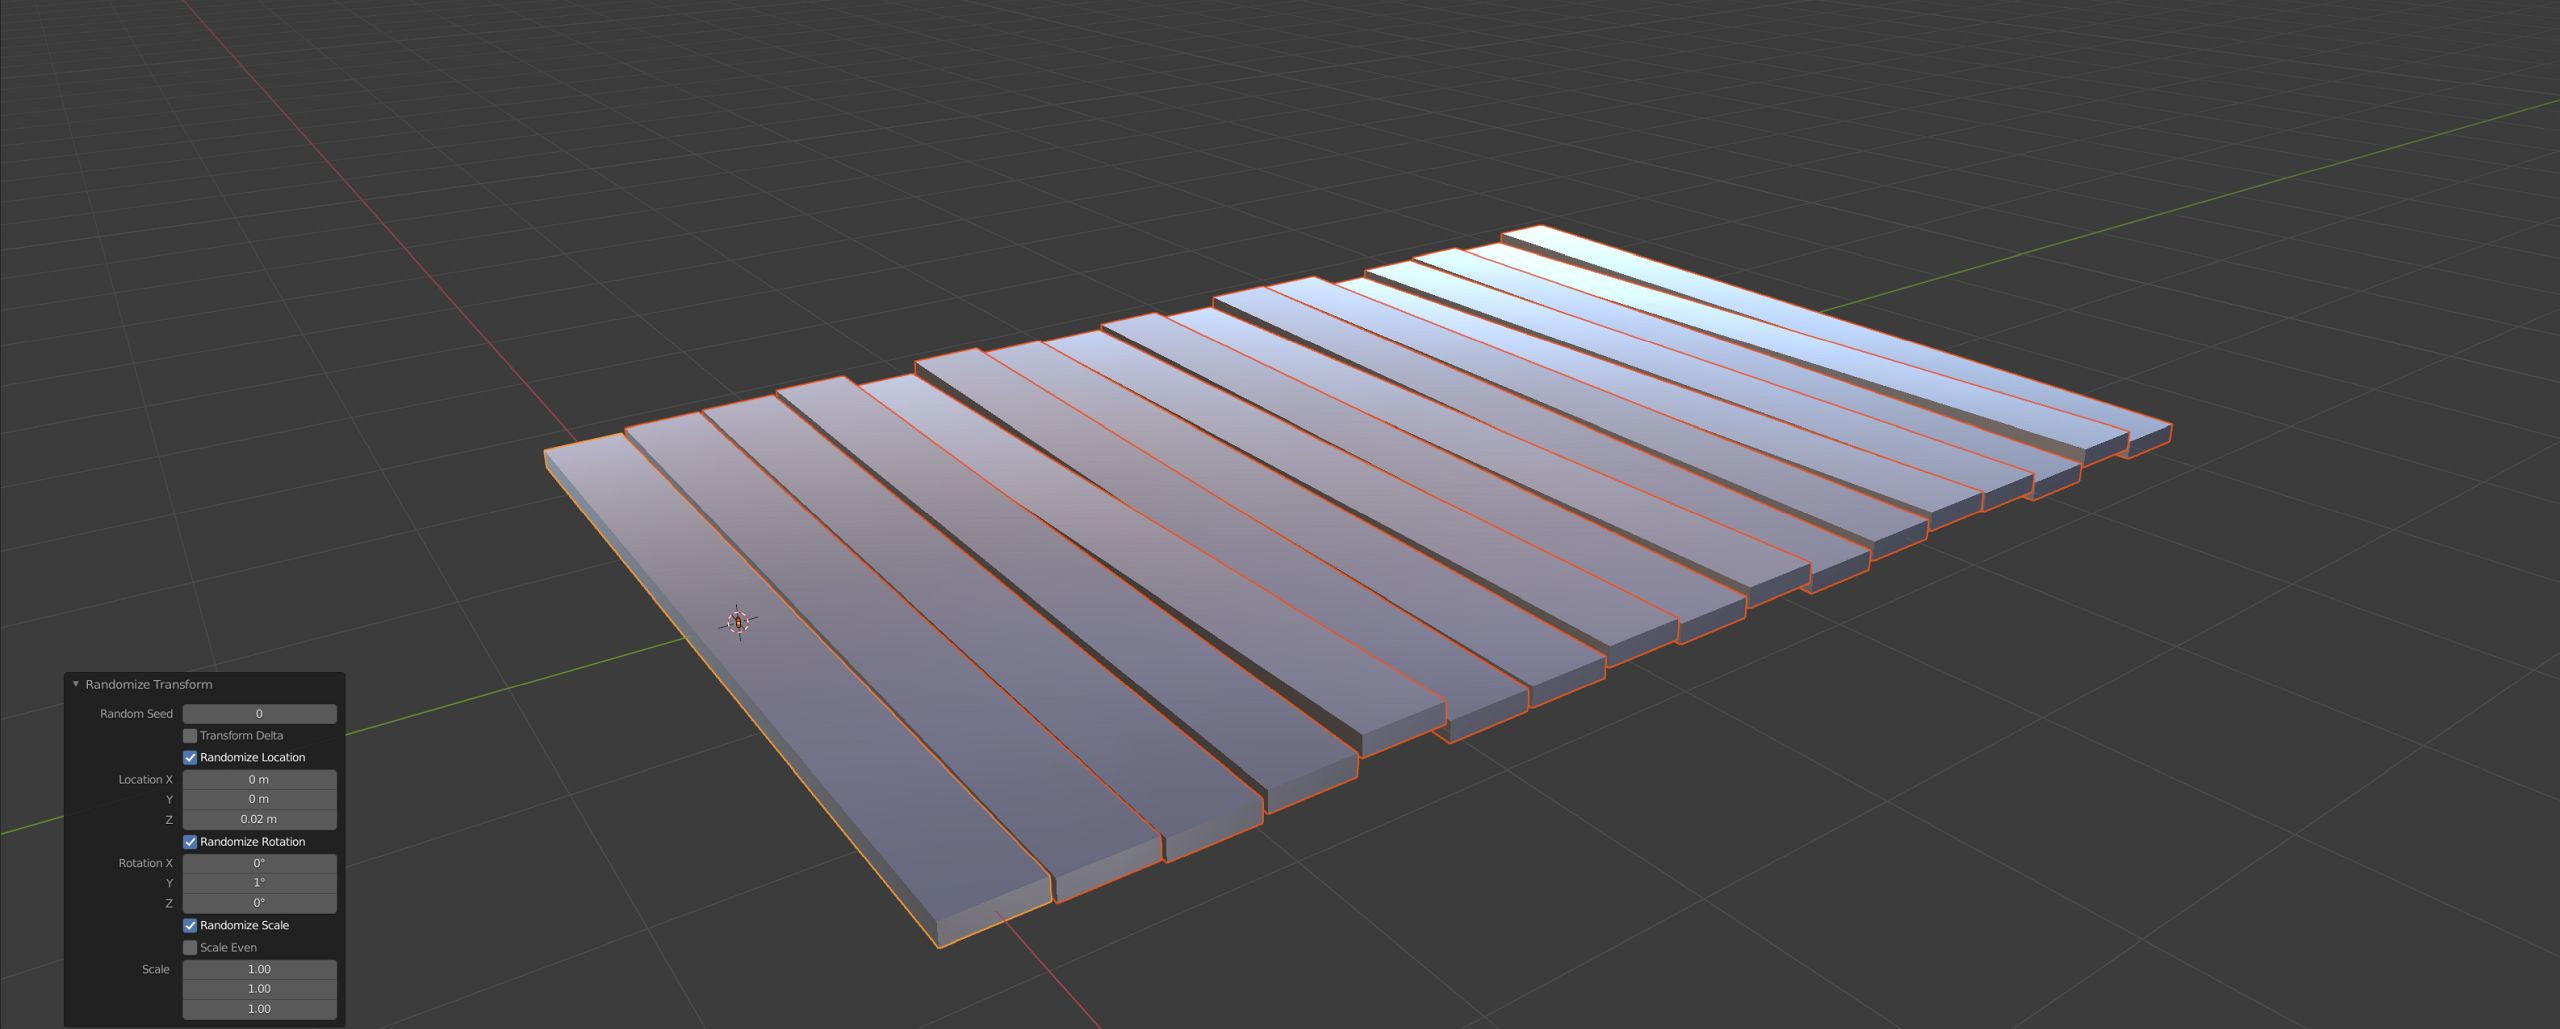
Blender has a handy tool called "Randomize Transform'' which allows you to randomize an object's location, rotation and scale. It's very important not to go overboard with this effect, finding the thin line where you almost won't recognize it at all. Sometimes it's useful to randomize the UV islands of your meshes. While it's certainly possible to do it by hand, it's smart to automate the process when you are dealing with possibly hundreds of objects.
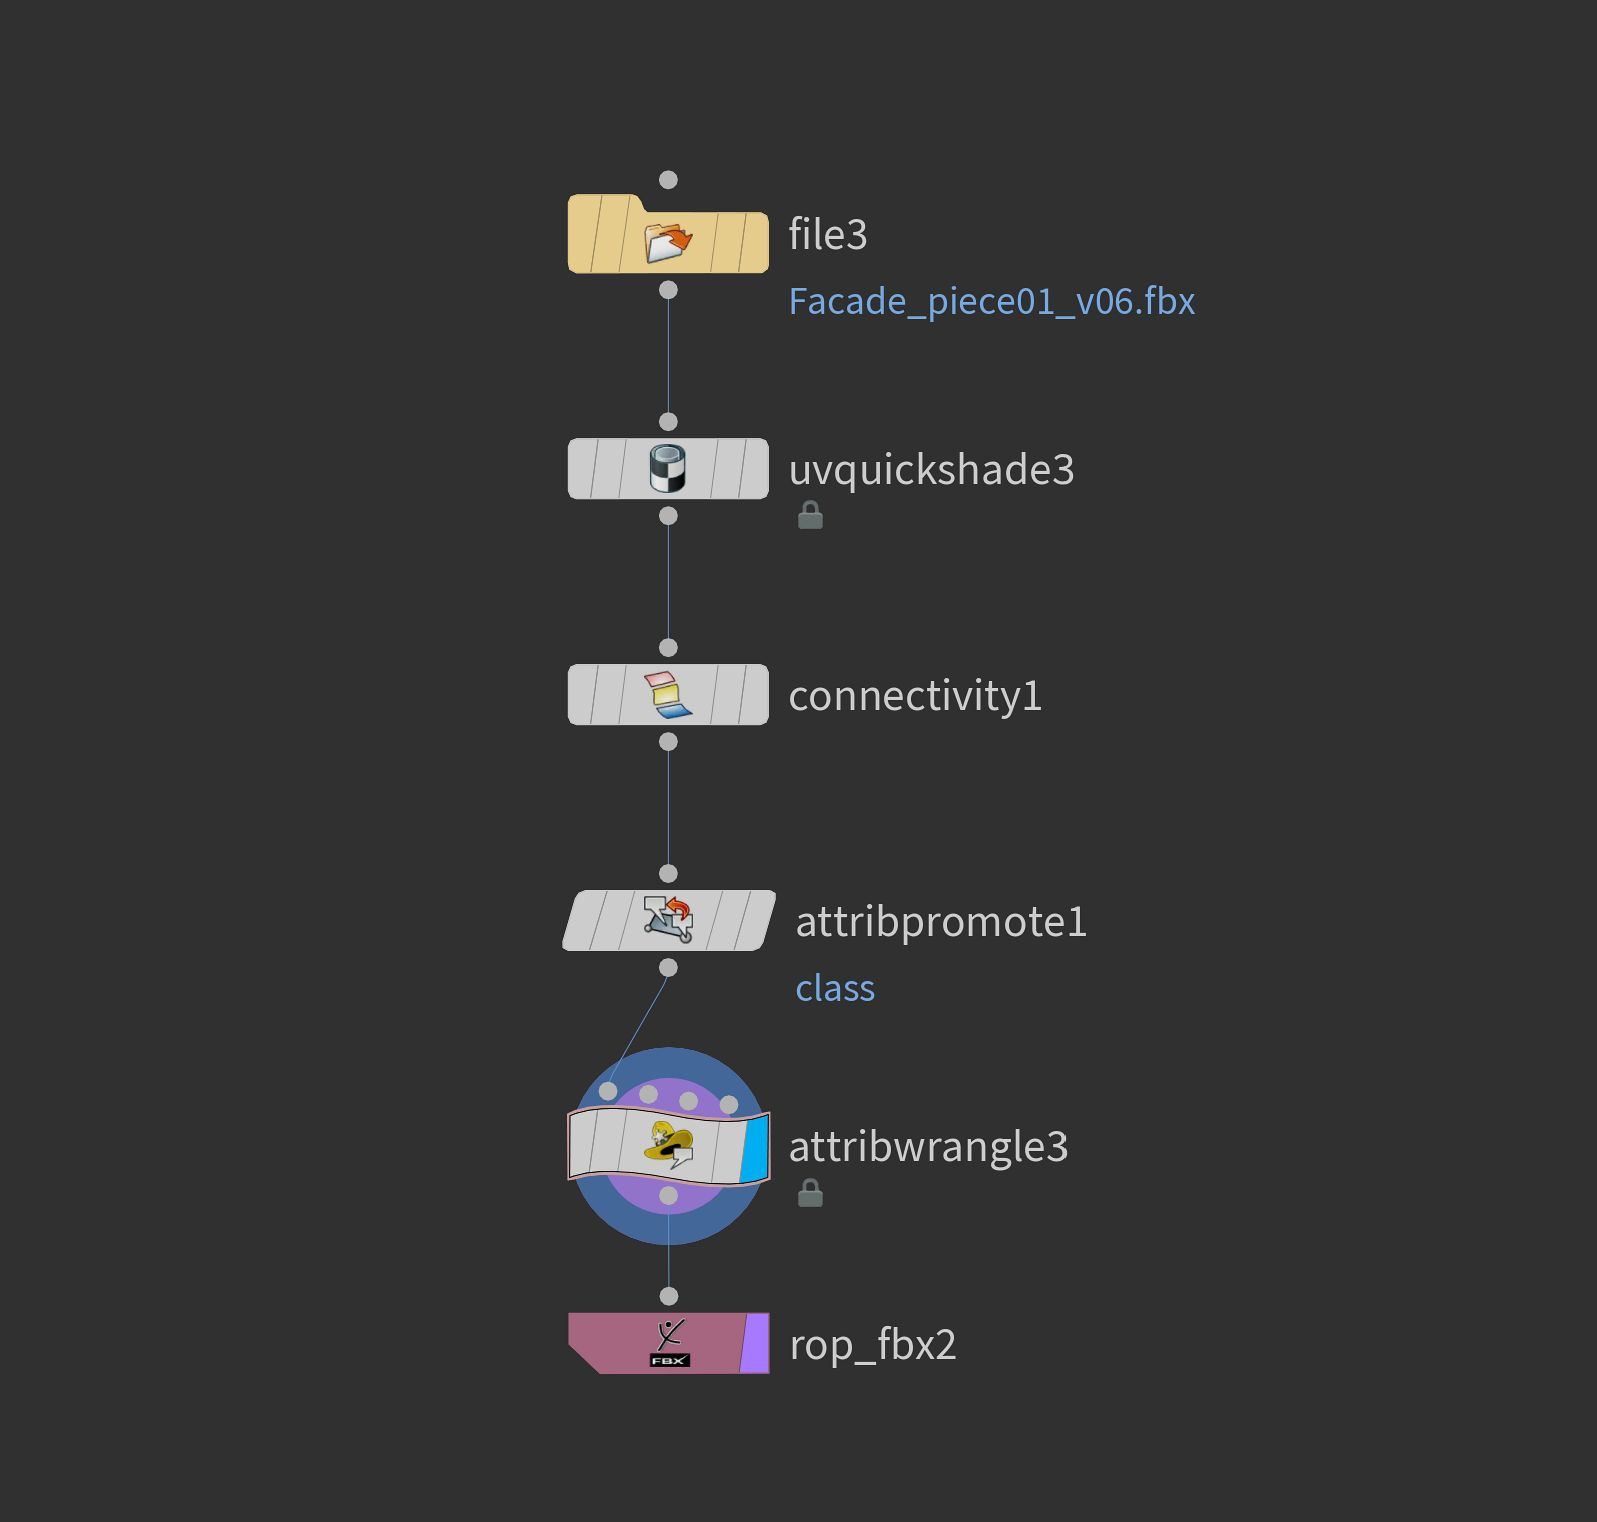
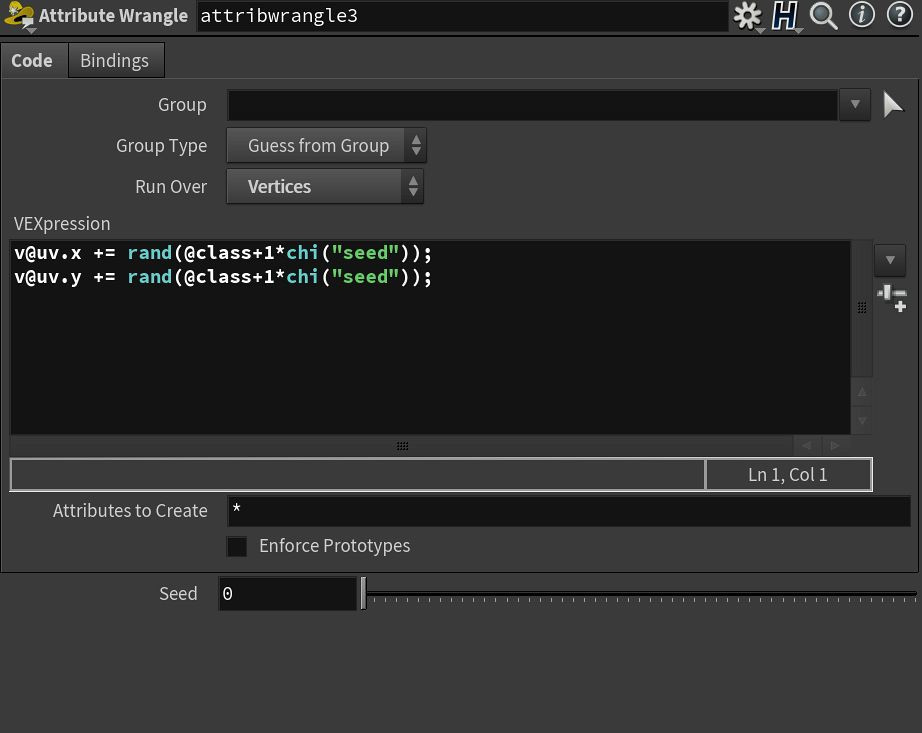
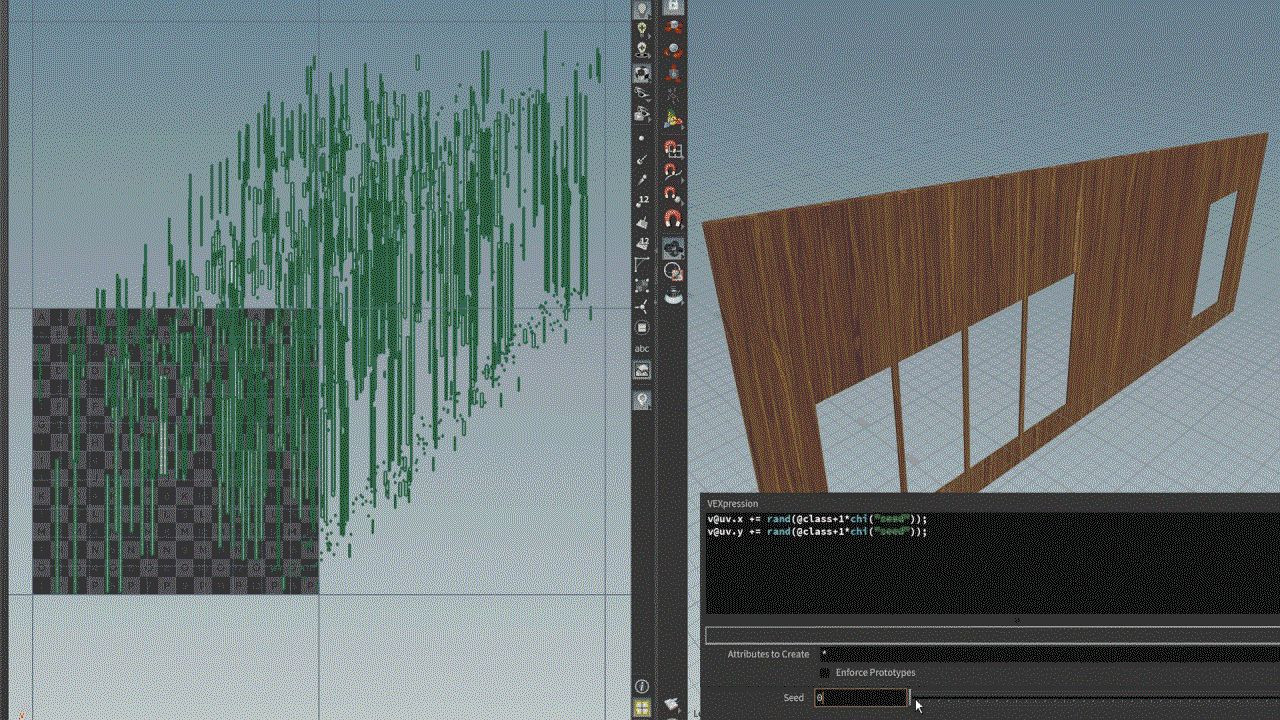
To streamline the UV randomization, I've prepared a simple script in Houdini which randomizes the U and optionally V coordinate of your UV islands for any number of objects with just one click. Little tools like these help to cut down hours of mundane work and let you focus on what's important.
To be continued...

