Realtime walkthrough: Lake Cabin introduction
Since the reveal of our Parisian apartment project, we were asked by our clients about our abilities to create an exterior scene. That's why it was a natural step for us to not wait and dive deep into building an exterior real-time scene in Unreal Engine 4, learning the dynamic lighting system and a lot of other technologies and workflows along the way.
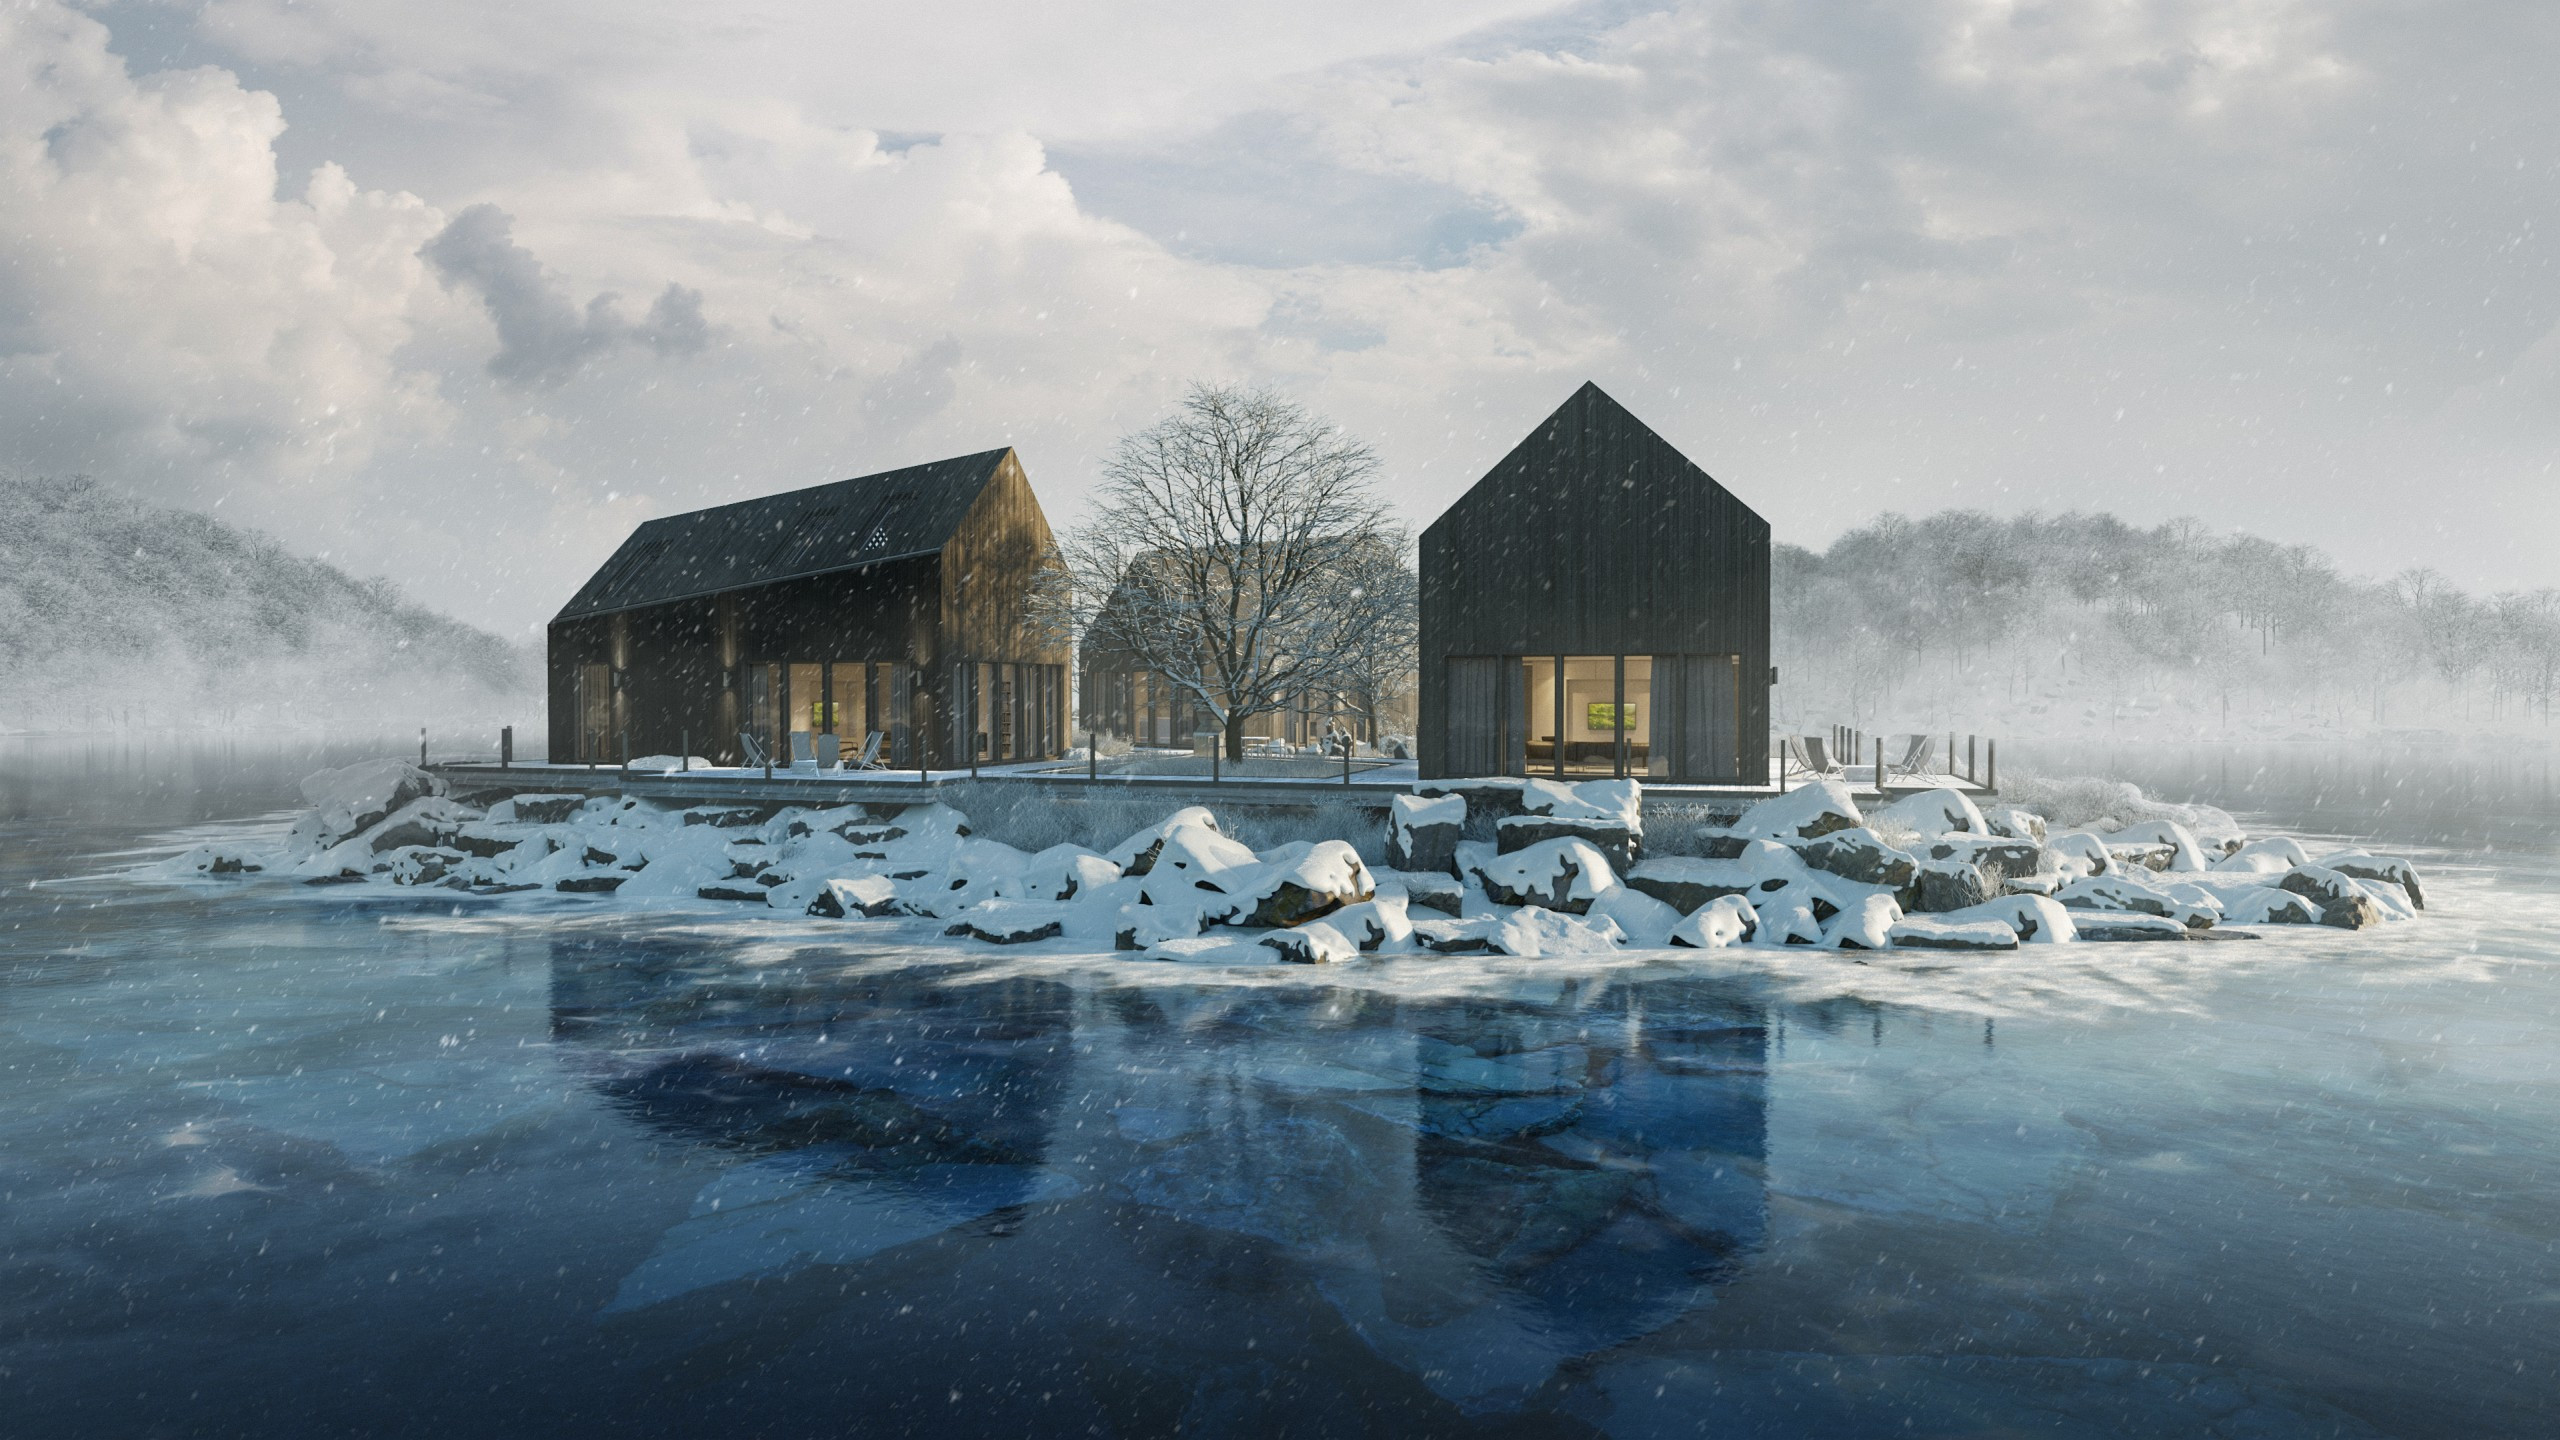
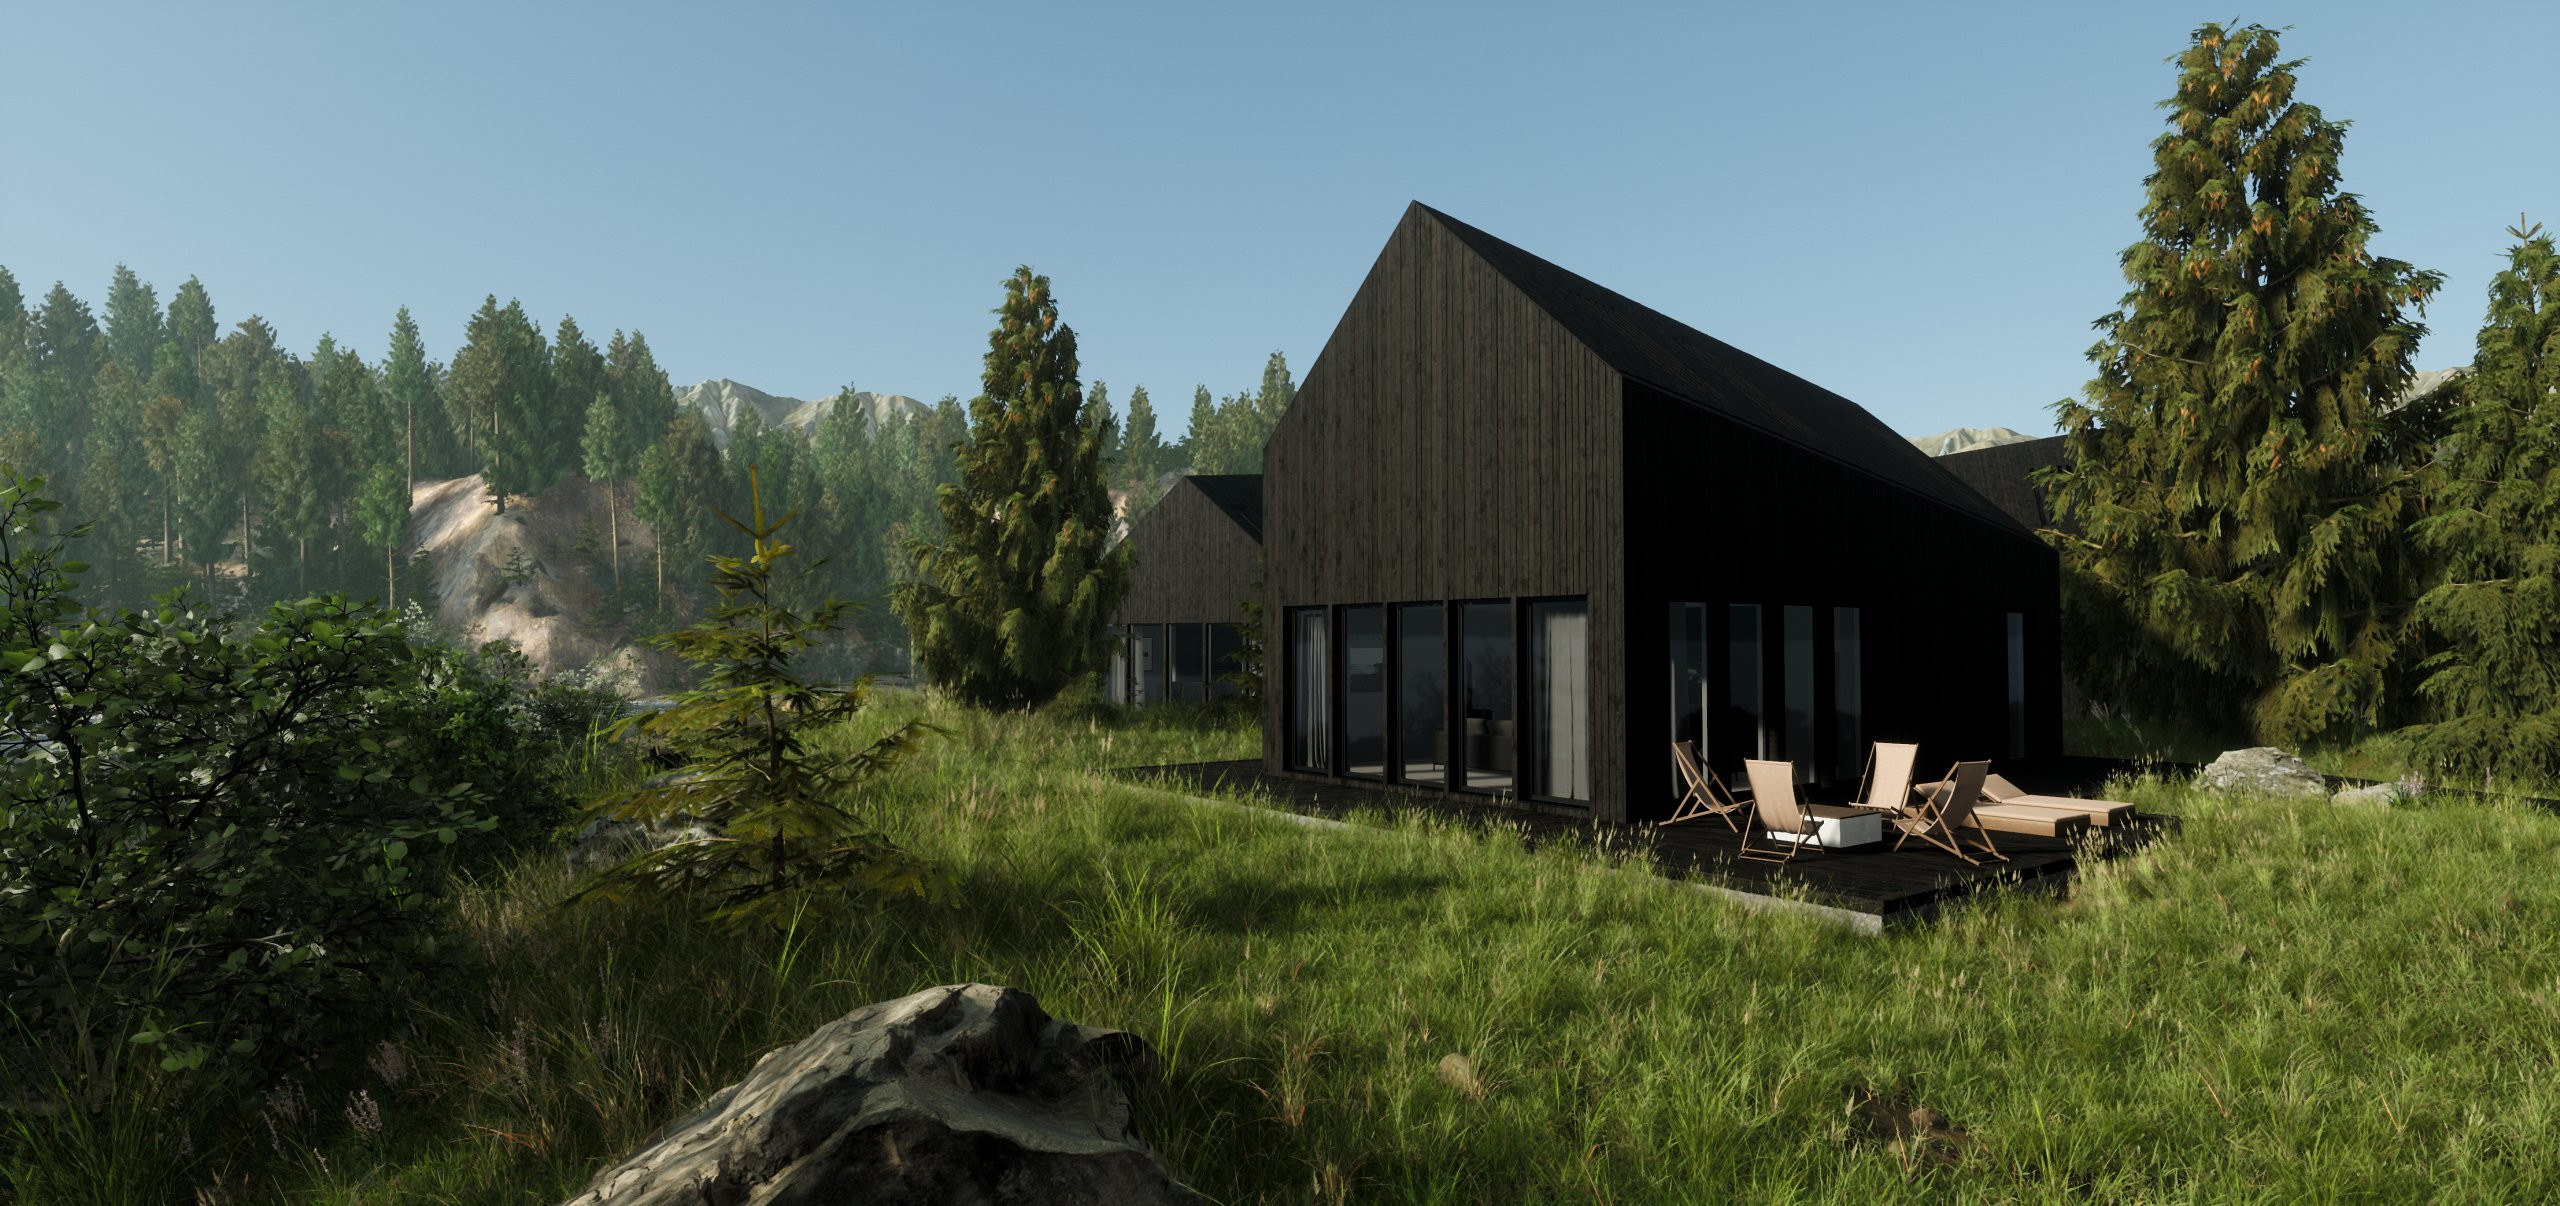
When coming up with the concept of the upcoming scene, there was one clear idea from the very beginning - to focus on the creation of realistic outdoor environments for the architecture to live in. To save some time during the concept phase, we've digged through our portfolio and picked the Winter Fairy tale scene as a starting point. To give it a little twist, we've decided to make a summer version of these recreational cabins.
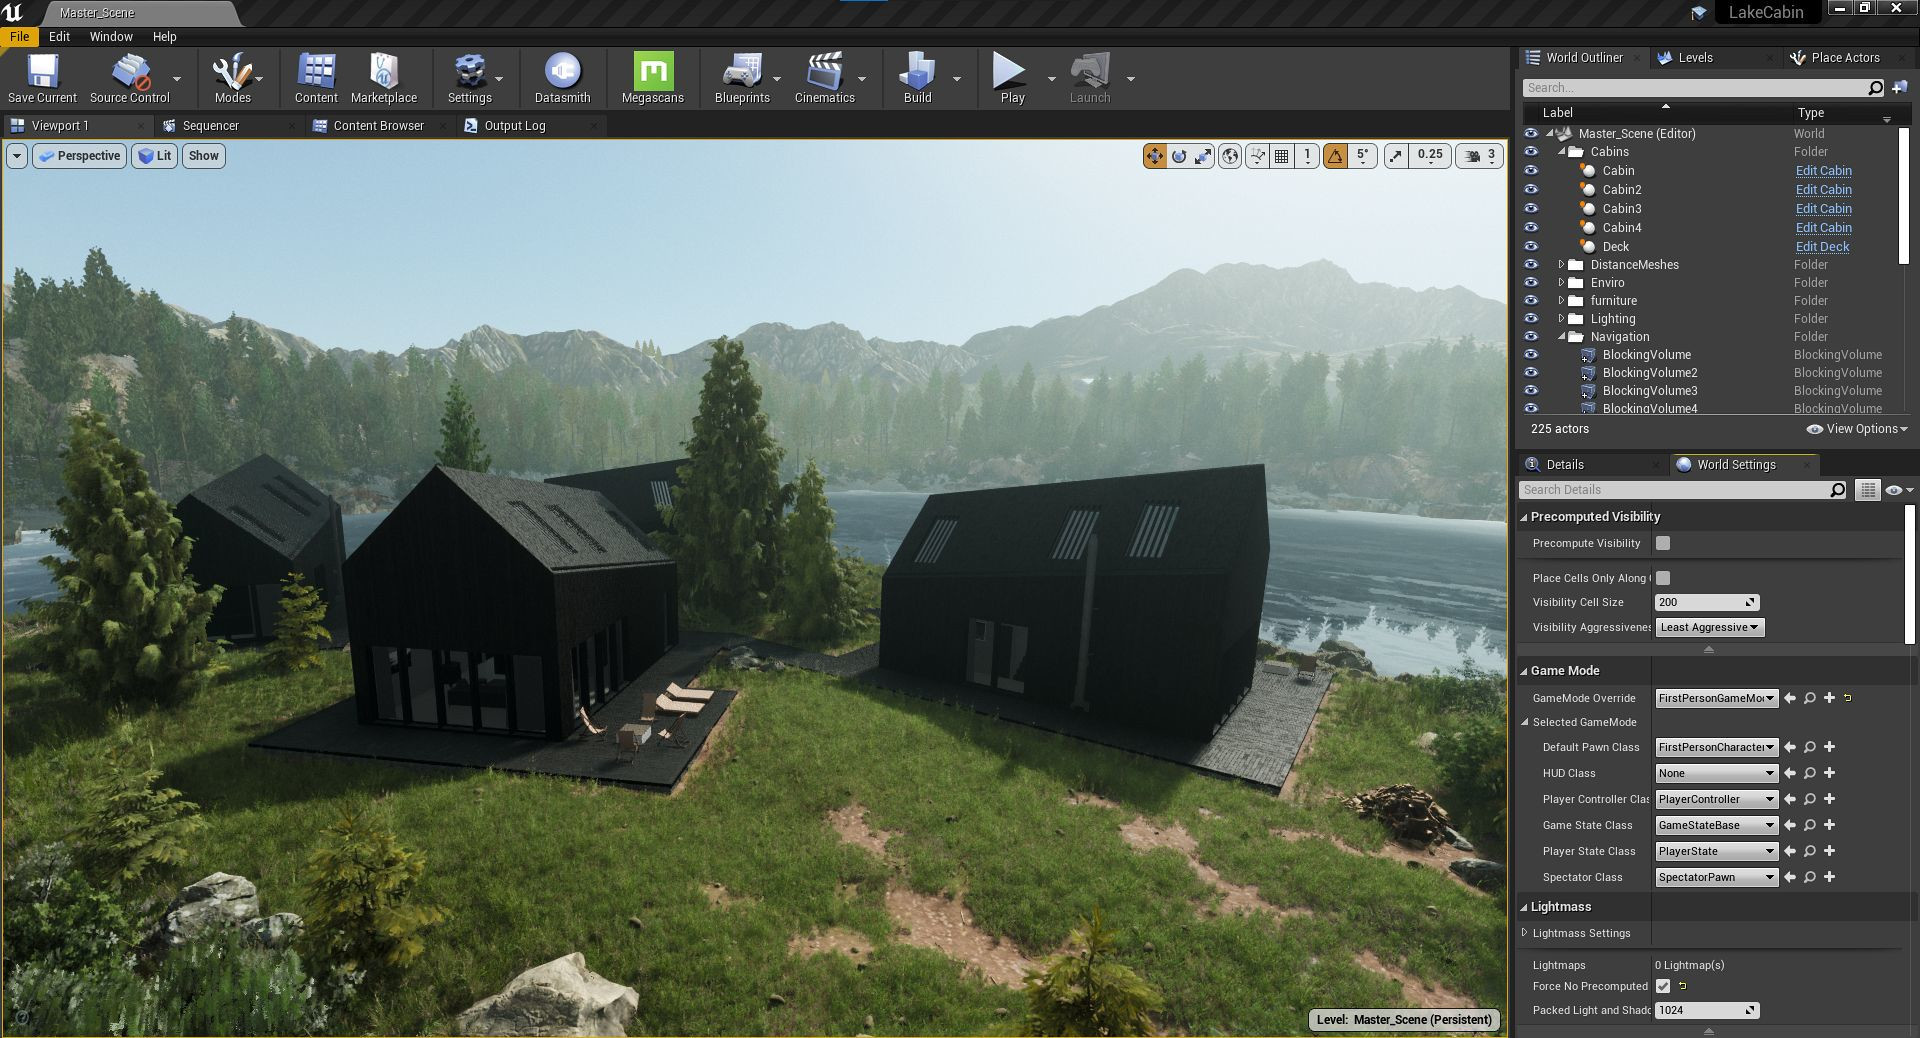
The Rhinoceros scene was imported to Unreal Engine through the Datasmith plugin as a .3dm file and tessellated from NURBS into triangular mesh right in Unreal Engine.
Rhino's own meshing algorithm is not very capable and produces problems like duplicate vertices etc. I suggest to avoid it when possible, or clean the output mesh in a mesh editing software like Blender.
Importing Rhino files with datasmith on the other hand is a pretty straightforward process and I suggest this guide - to further understand the various import parameters.
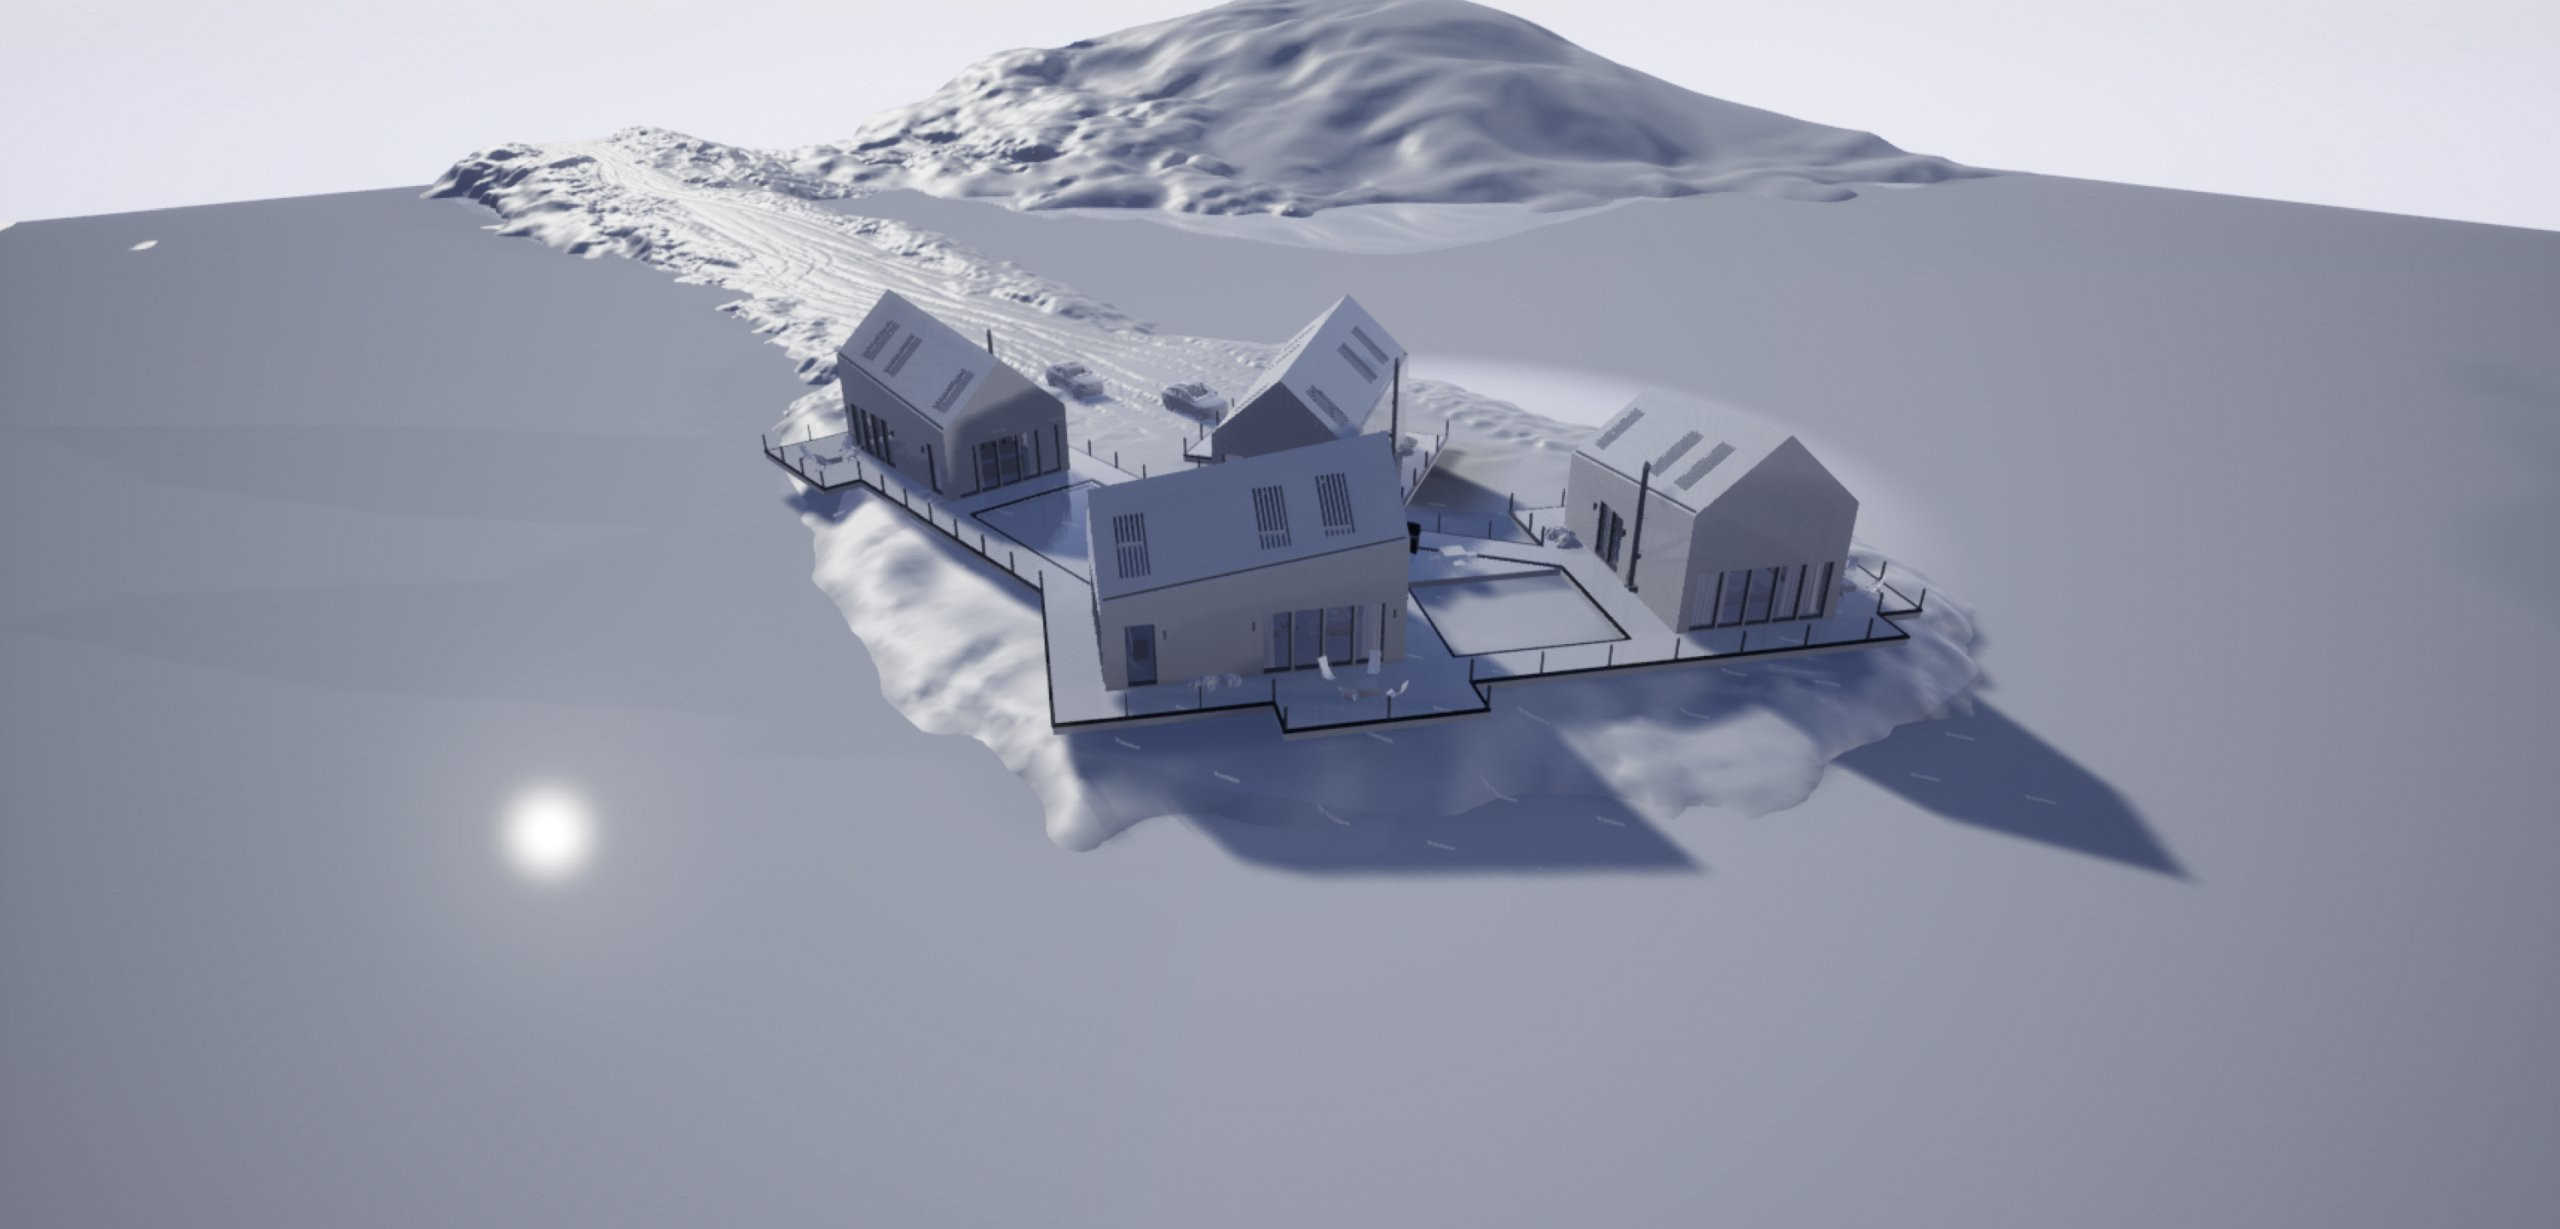
Even though working with native Rhinoceros files might seem comfortable and Datasmith tessellation technology is of high quality, the geometry modeled for static archviz needs is usually not very "game-friendly" and caused massive drop in the framerates. As a general rule of thumb, you should avoid using chamfers and fillets as much as possible if you want to work with Rhino geometry. Not to mention that the generated UVs are also not very usable, since most of the time we use simple UVW mapping (box mapping) in Rhino. The original scene thus served "only" as a valuable reference and majority of the geometry was remodeled from scratch or retopologized in Blender.
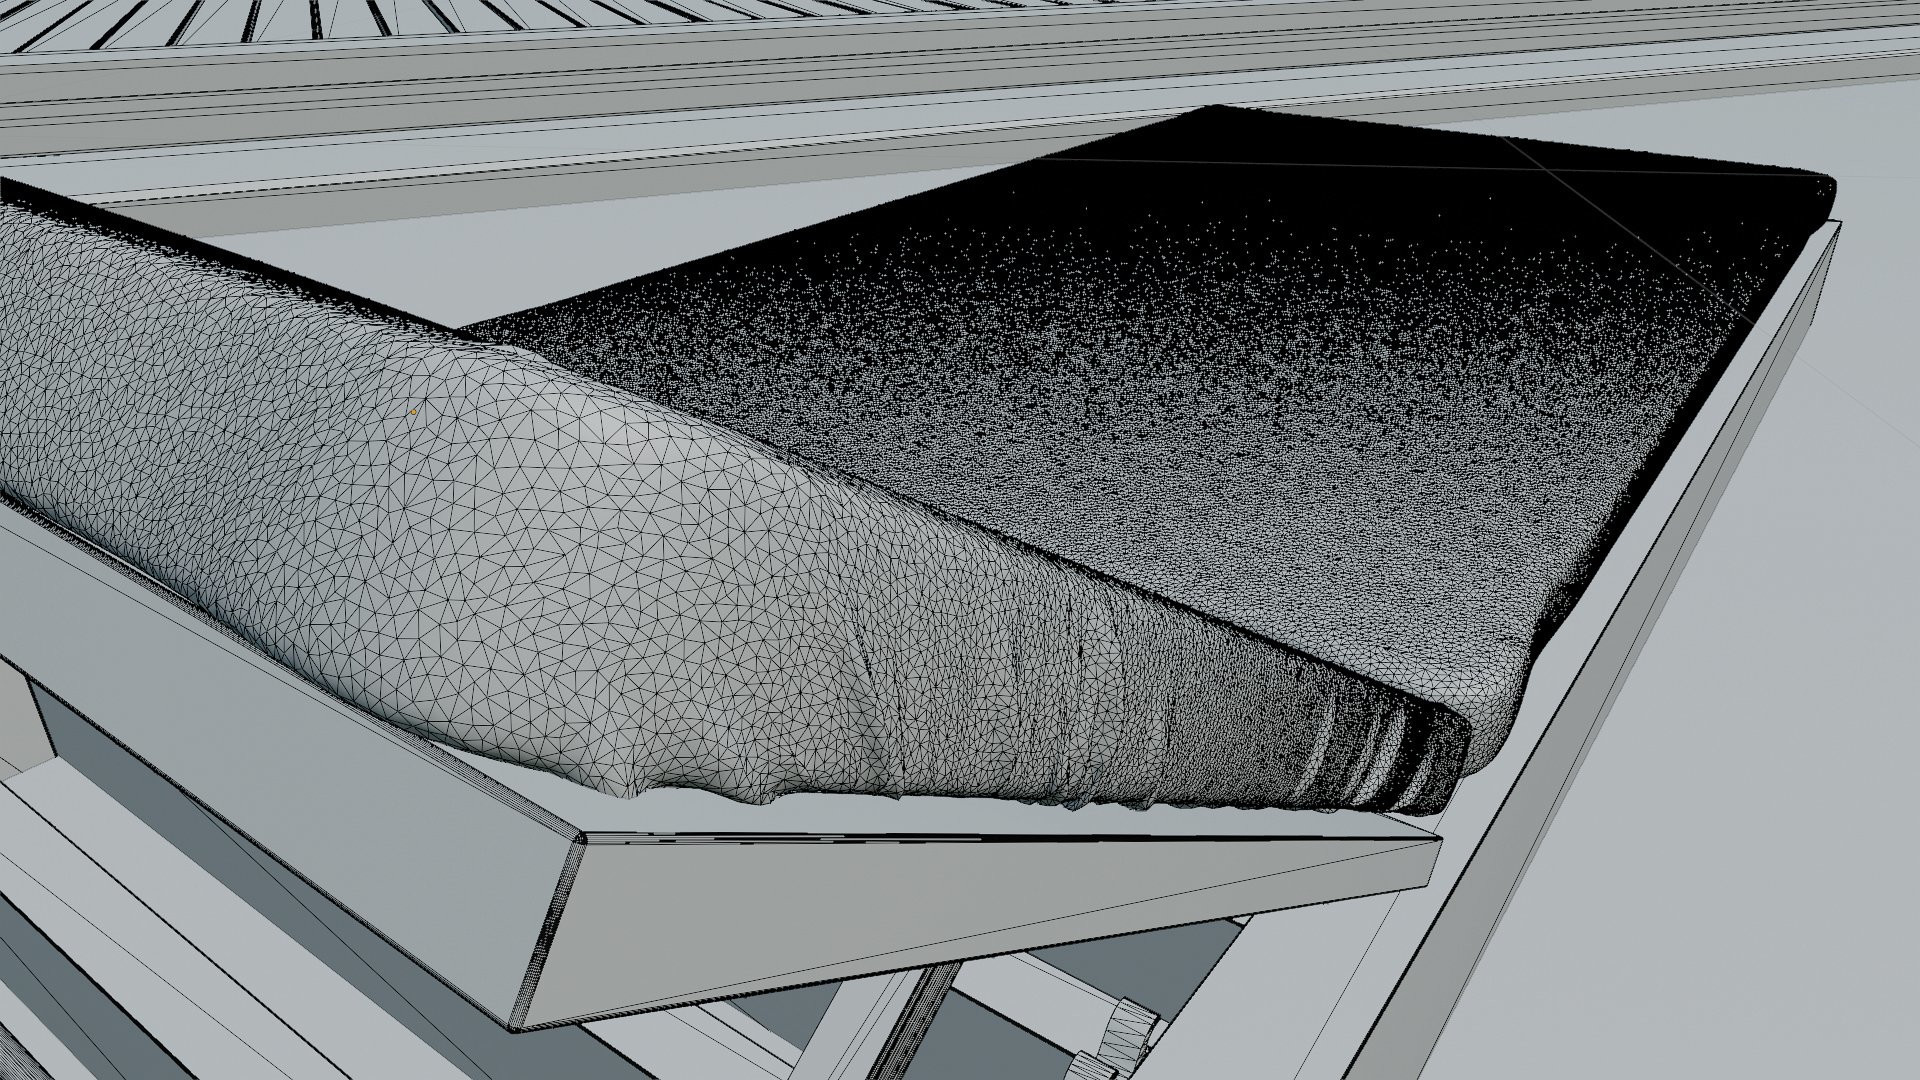
Examples of heavy topology, unsuitable for real-time needs.
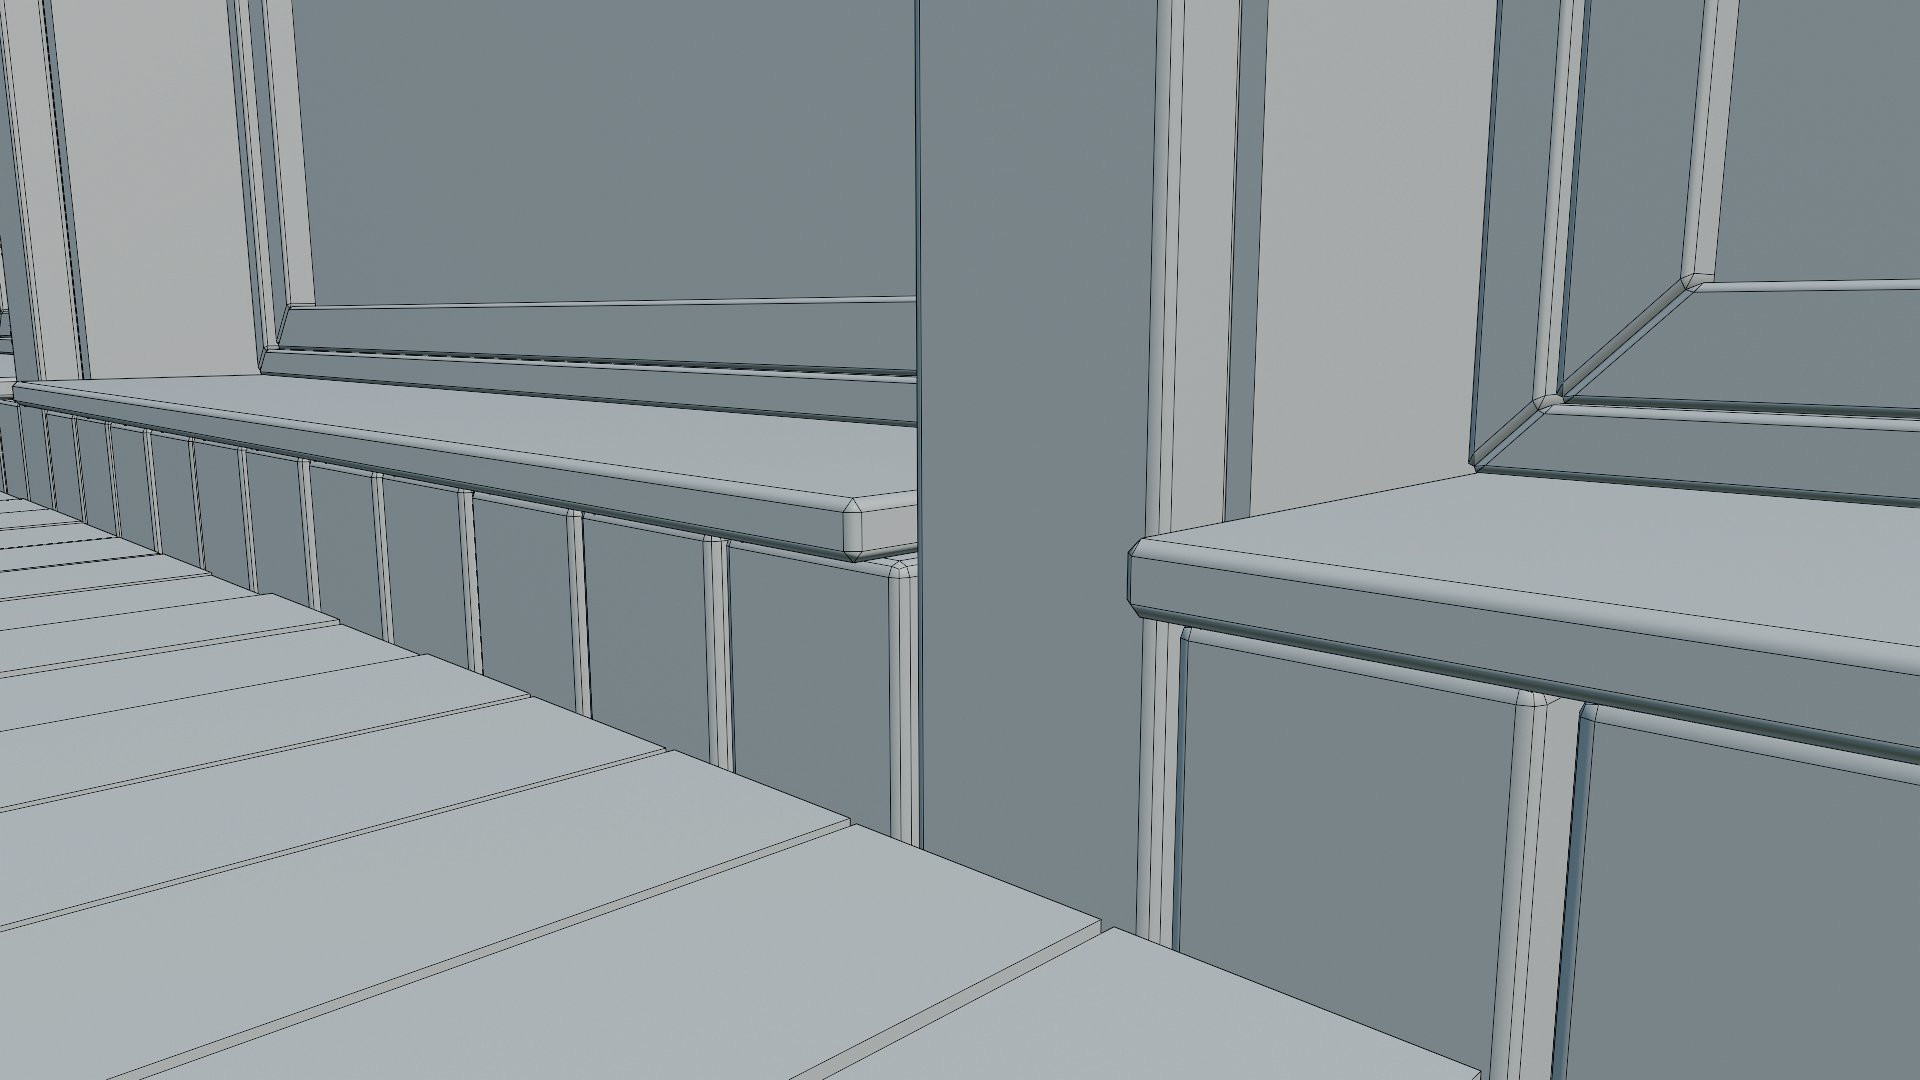
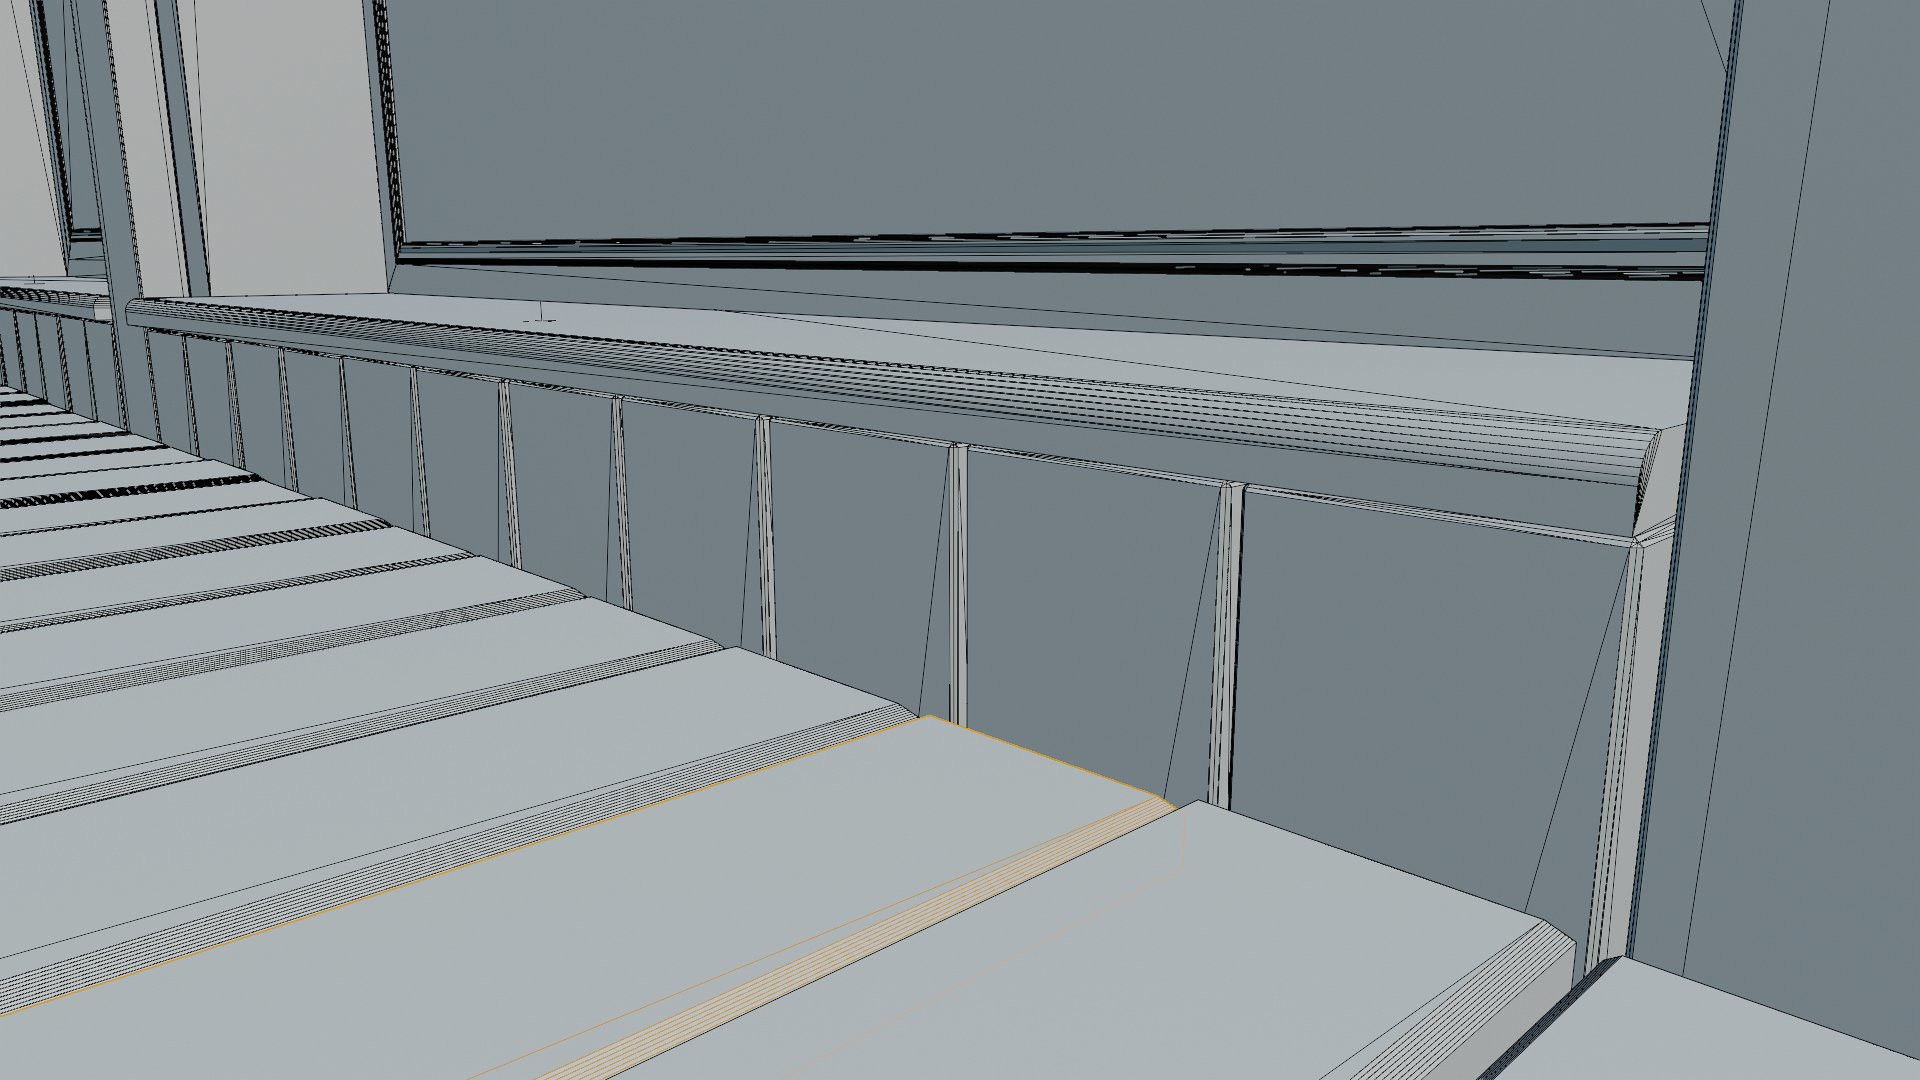
Example of geometry being retopologized.
The clean-up stage in Blender was mostly focused on creating optimal topology - low polycount and consistent triangle flow. While there is no need to create a perfect quad-only topology for static game engine assets, a general rule of thumb is that the distribution of triangles should be even, and there should not be any big contrast in the size of the resulting triangular faces. Thin, elongated triangles should be avoided when possible, since they often tend to cause various shading issues in the rendering process and lightmass baking. When dealing with fillets and chamfers, try to use as few triangles as possible. If you are interested in pushing the optimization further, there is a common technique used in the gaming industry to establish a desired "vertex density" to ensure consistency in the density of triangles across all the assets and the whole scene. This technique comes very handy when working with vertex painting, since the granularity of the resulting material blends depends greatly on the density of vertices across the mesh. Thus there will always be a need for compromise between a low polycount and a higher vertex density.
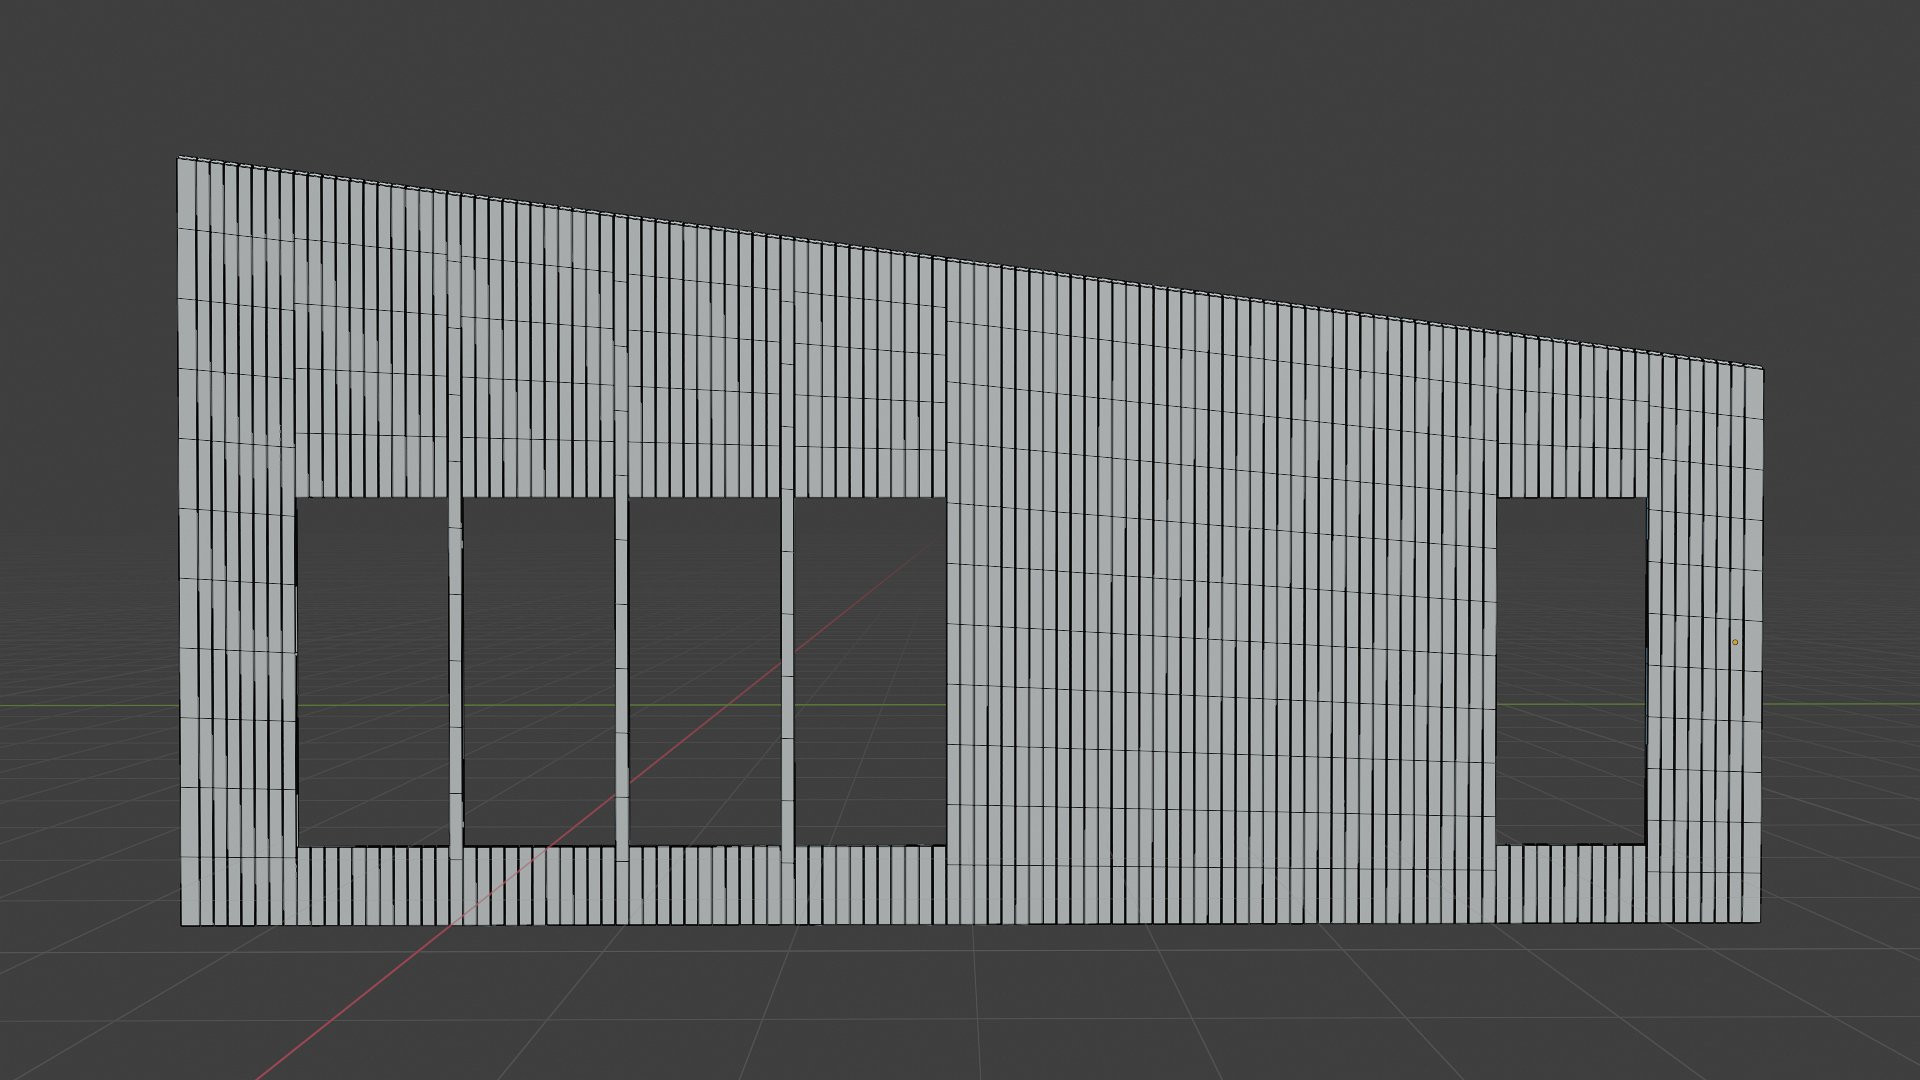
One of the earlier versions of the facade topology, trying to achieve a consistent vertex density with enough resolution for vertex painting. Vertex painting on facades was ditched during the production due to unresolved bug causing crashes. We will show you how to add detail to your materials with simple painted masks and alpha blending in the later part of the series instead.
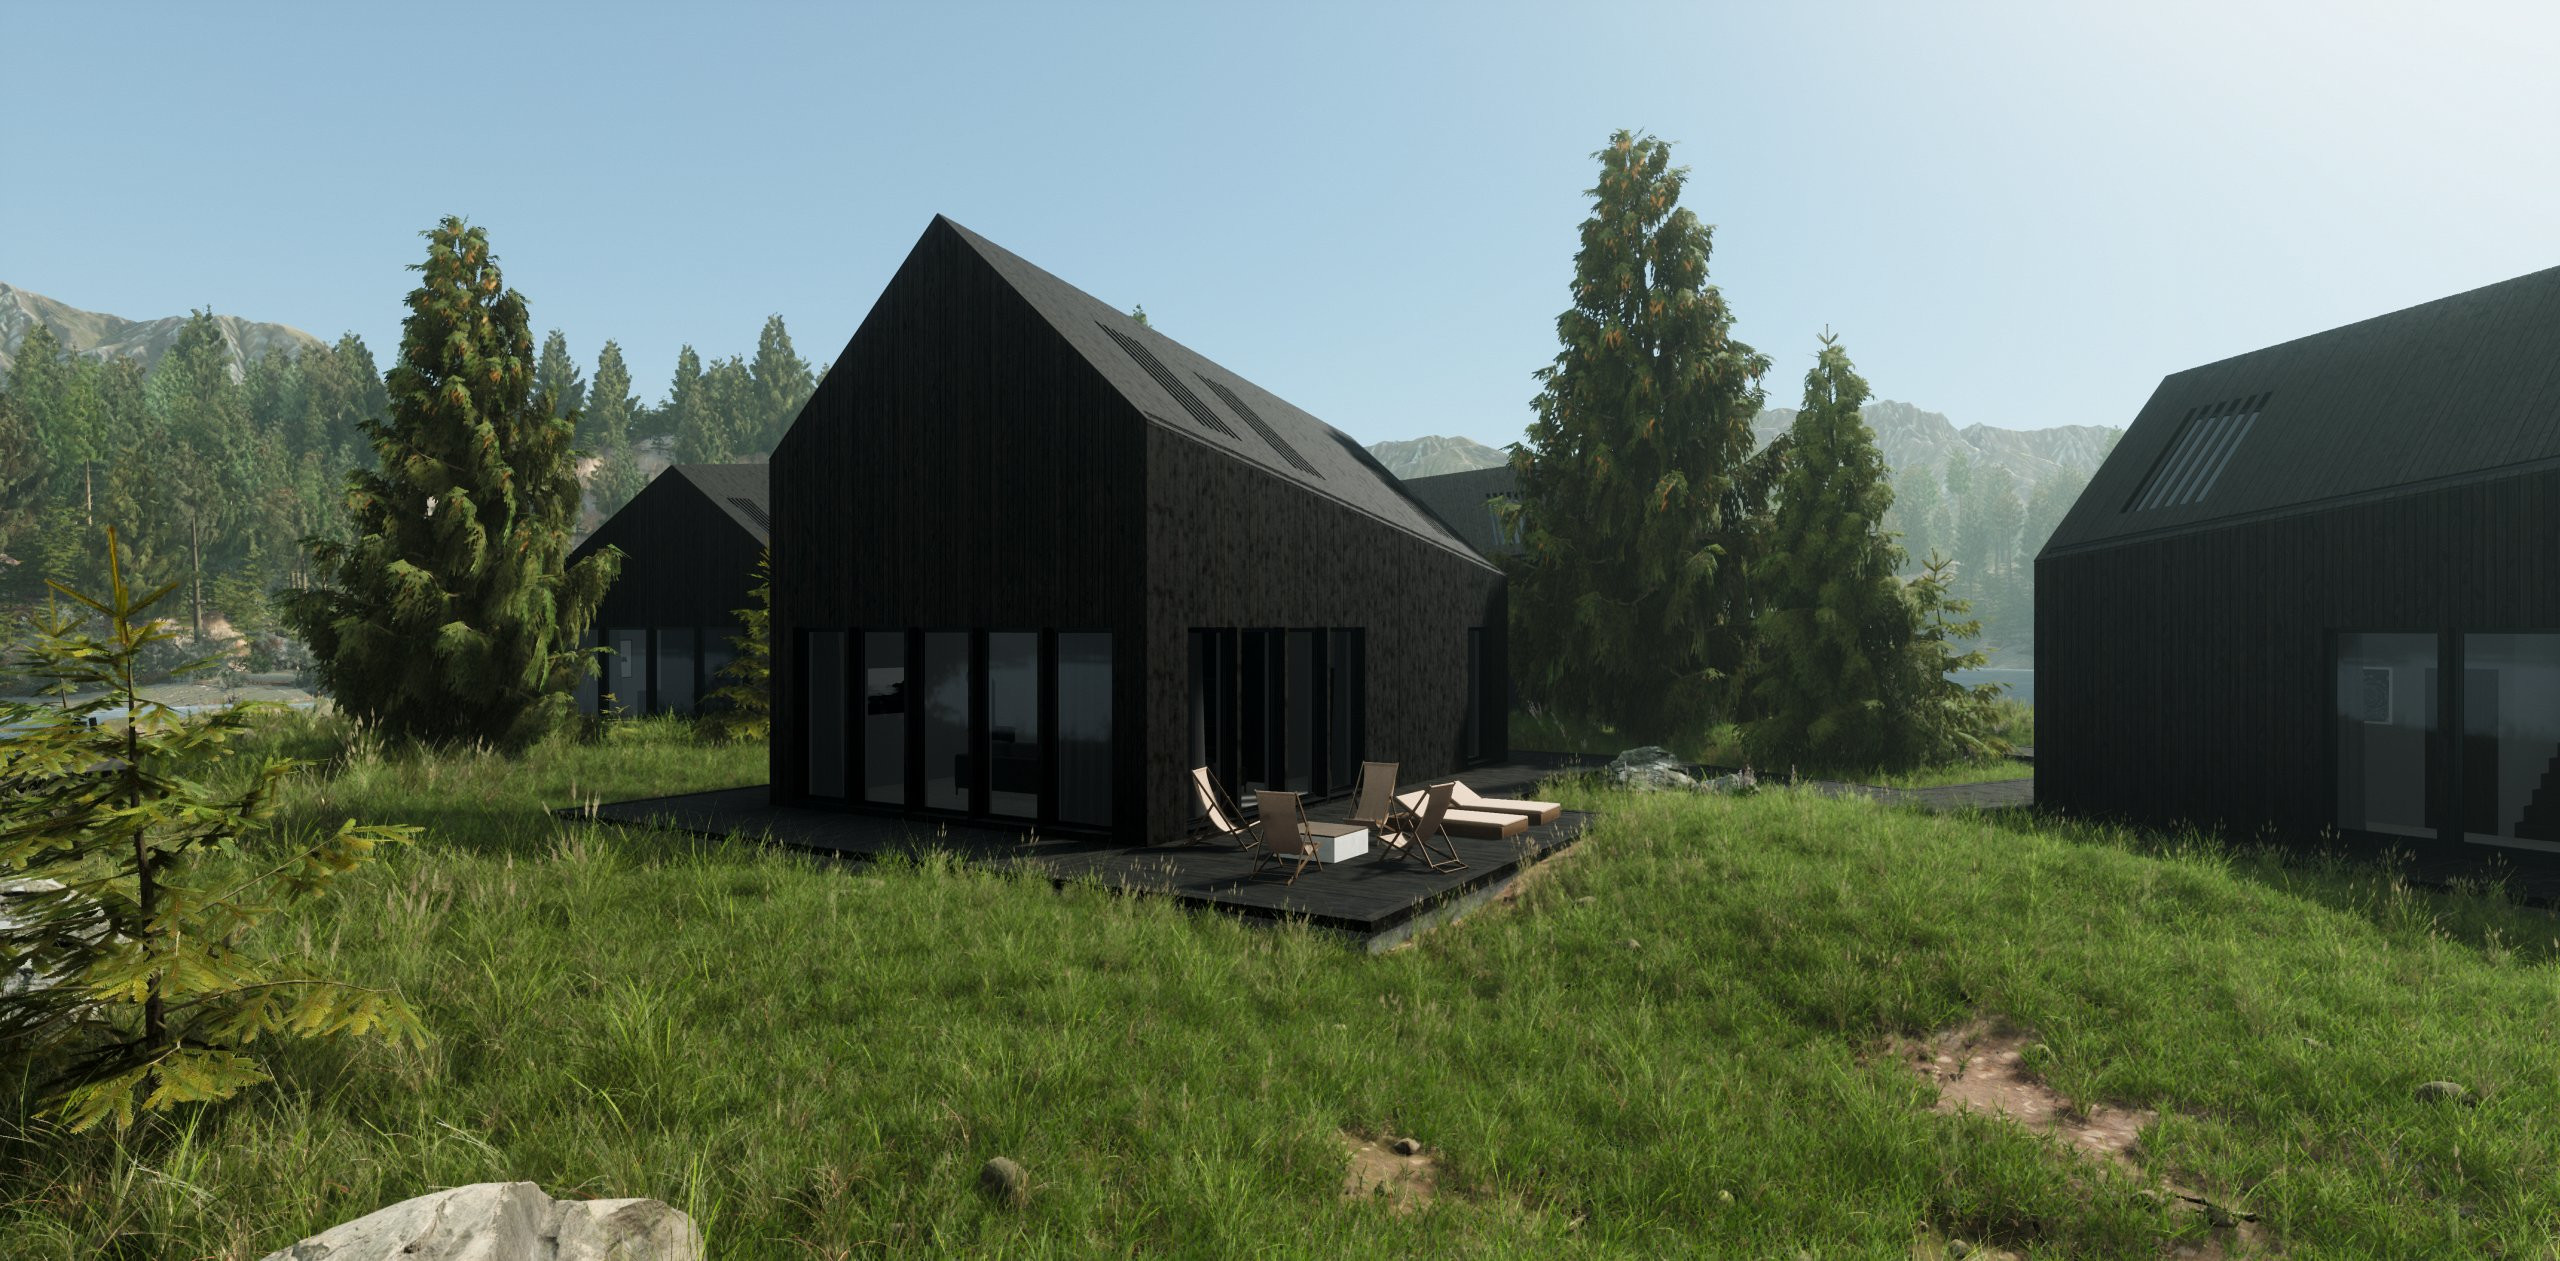
And here's the result:
note: Nanite technology in UE5 provides us with the opportunity to use huge polycounts in our static meshes. While this will definitely be a game-changer in the overall asset creation pipeline, there are still several things to be concerned about, mainly mobile performance, filesize and the ease of use of such assets in external software for editing needs. There will always be a need for proper topology in places where such huge static meshes are not an option. Anyway, we are interested in what this technology will bring in the upcoming future.
To be continued...