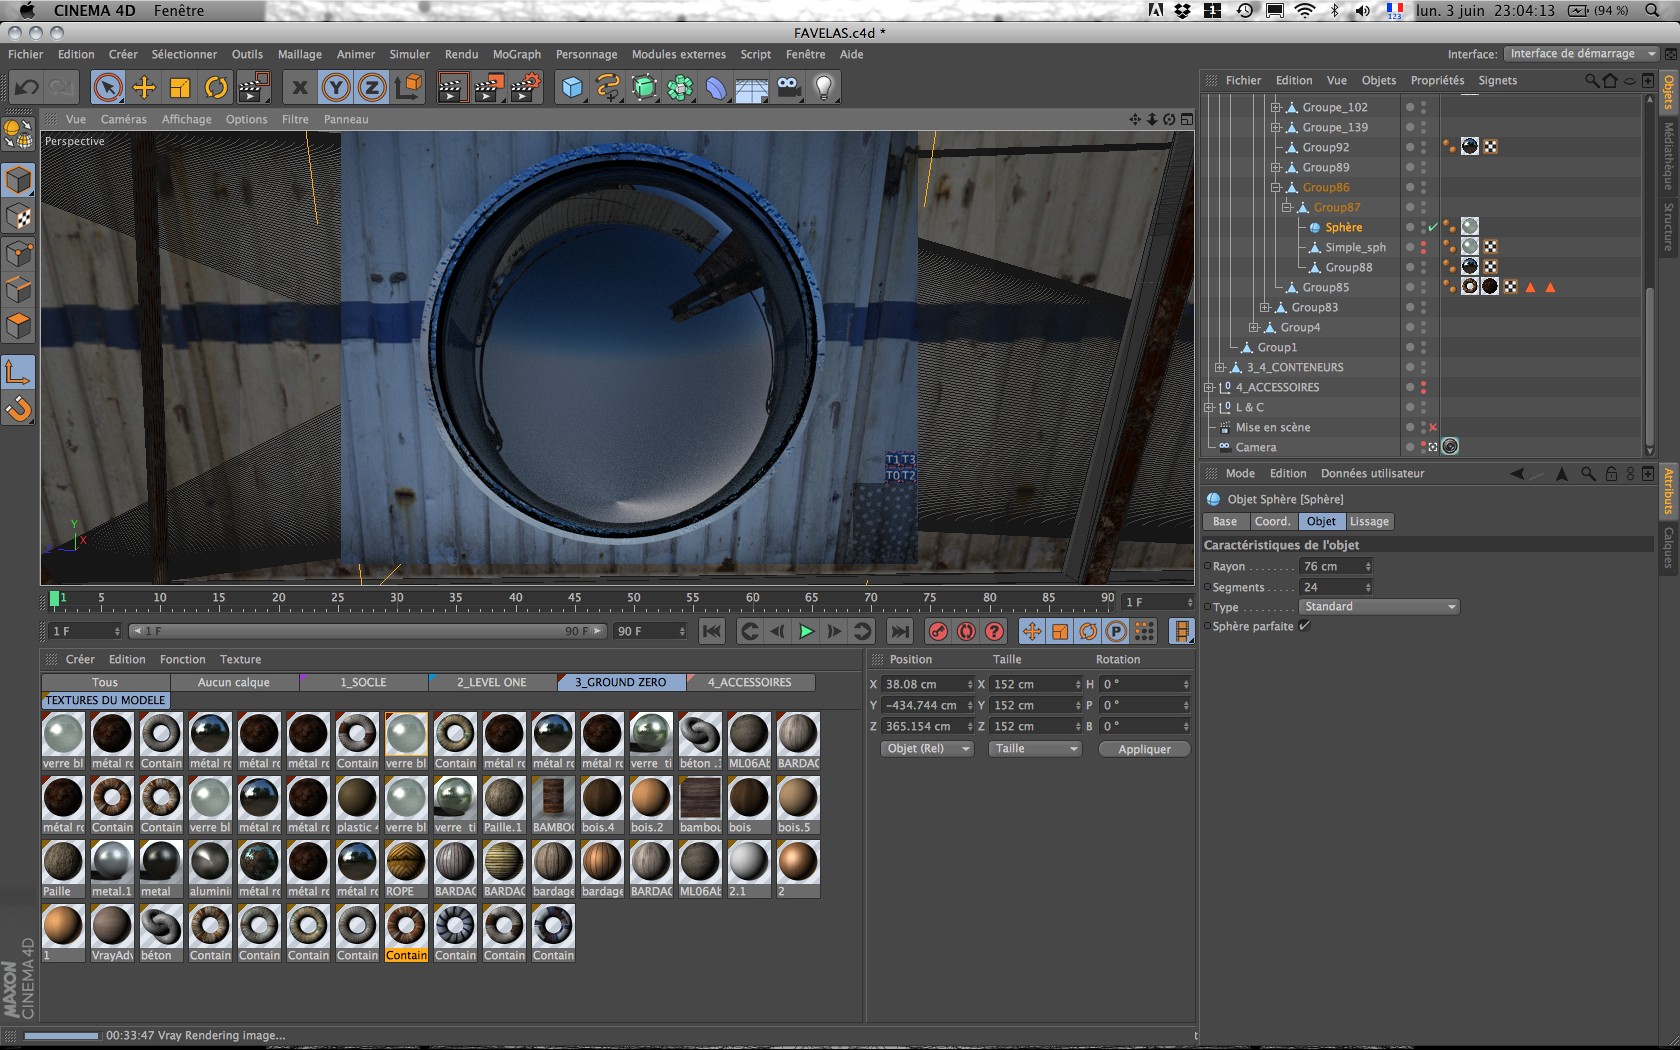
Textures
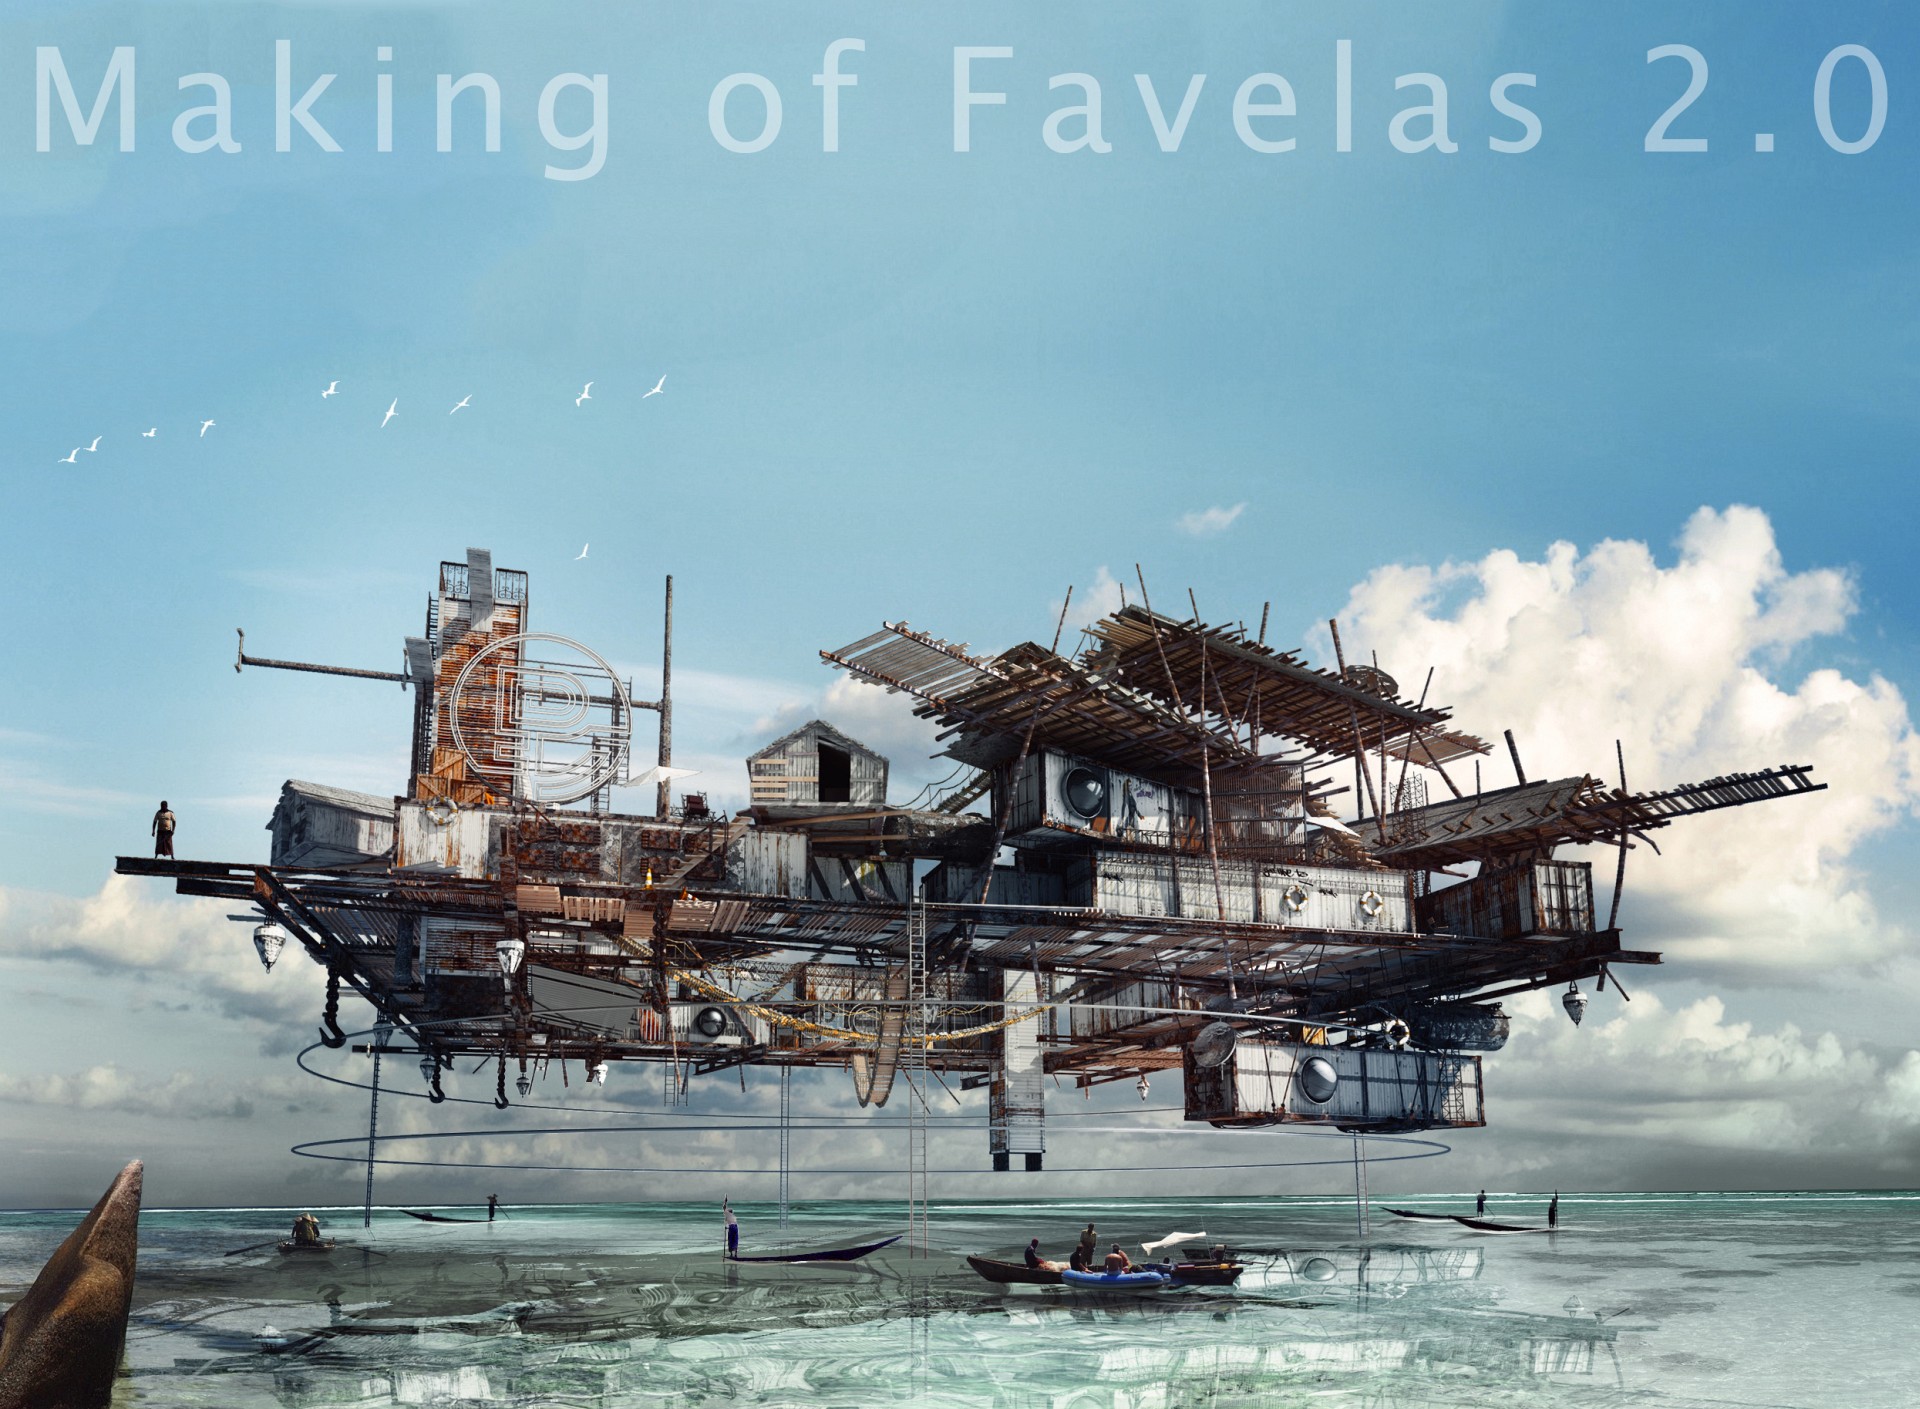
Step 12/25 - Assembling
As I said earlier, there are almost thirty materials on the full model (shared on Sketch'up). So each material is made on my own on Photoshop, some are taken from CGtextures, and some are made with both.
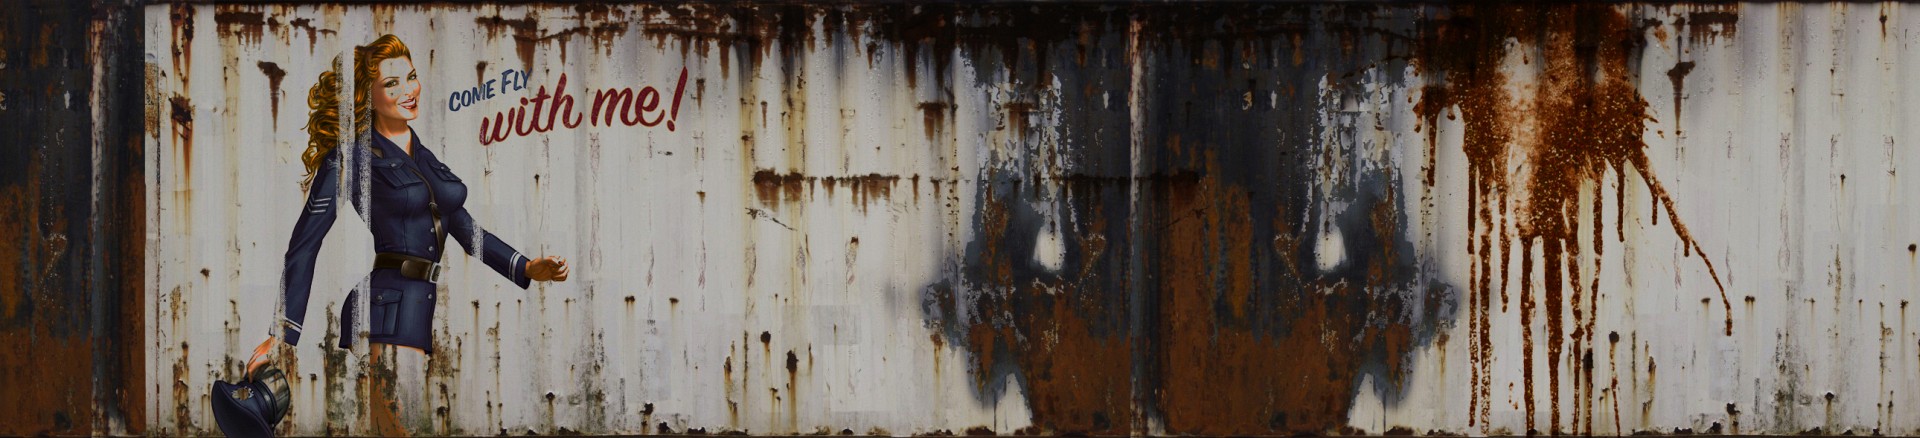
Step 13/25 - Container wall texture

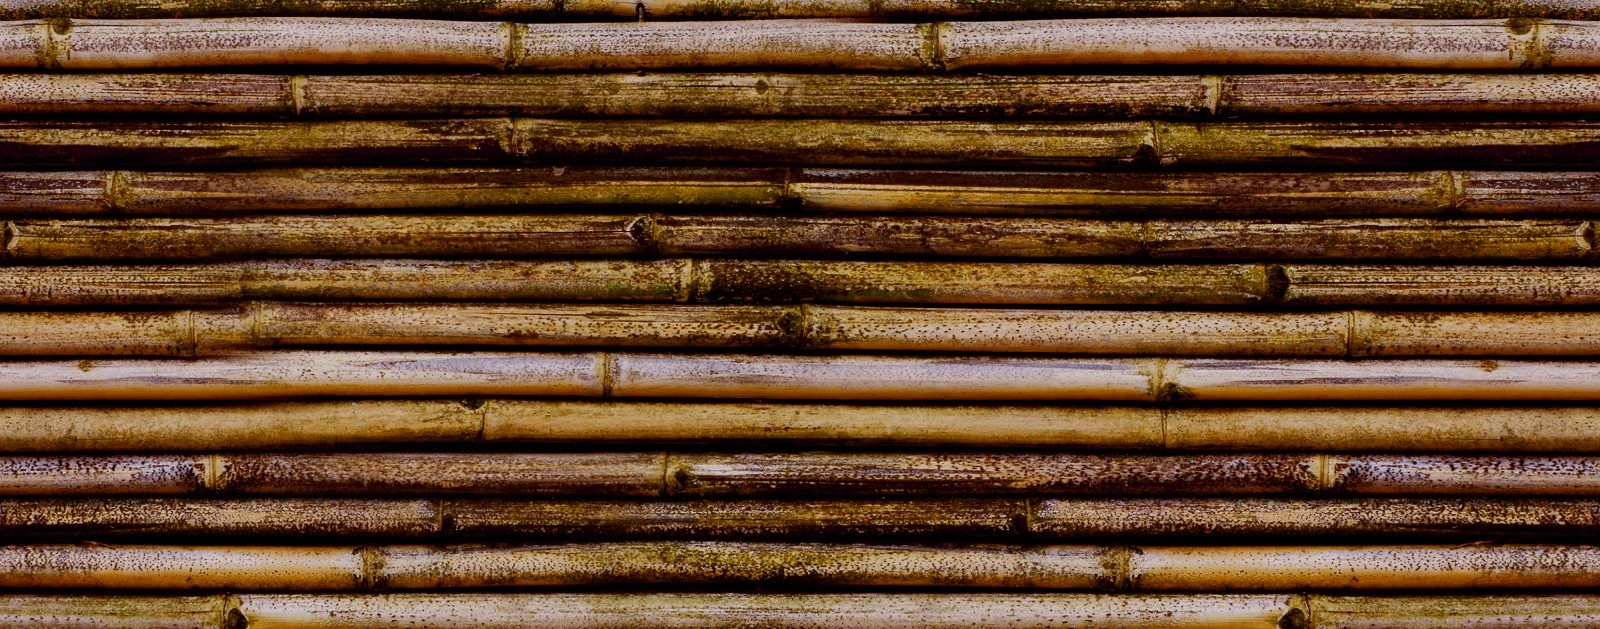
Step 14/25 - Bamboo textures
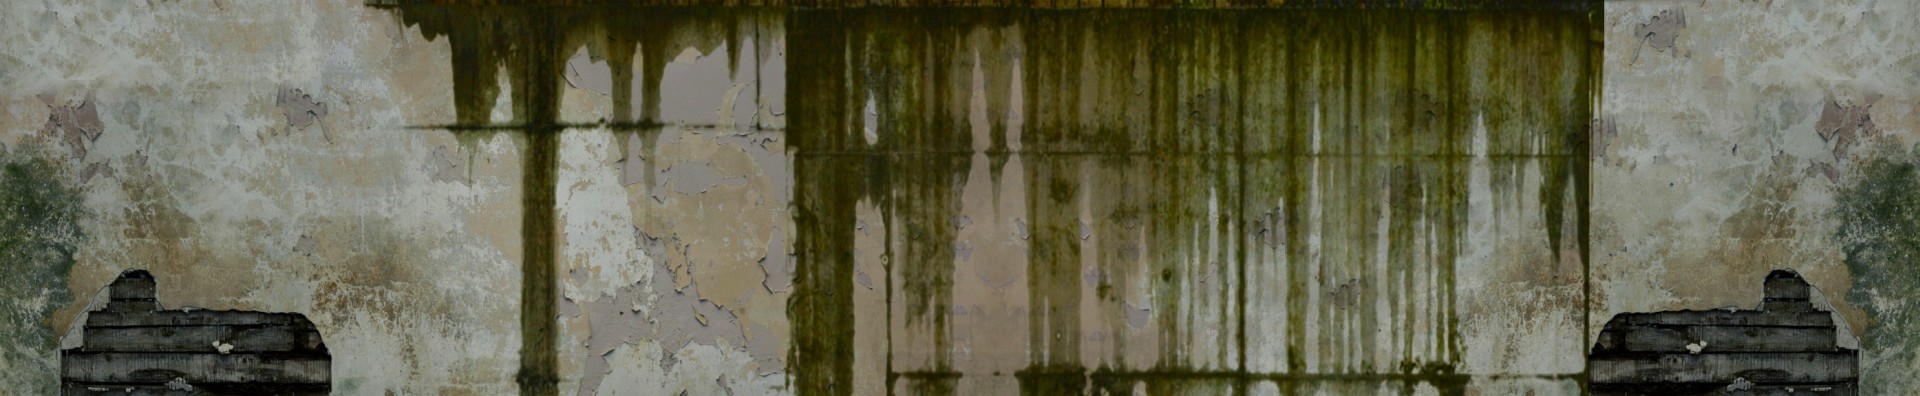
Step 15/25 - Leakings
Leaking wall texture
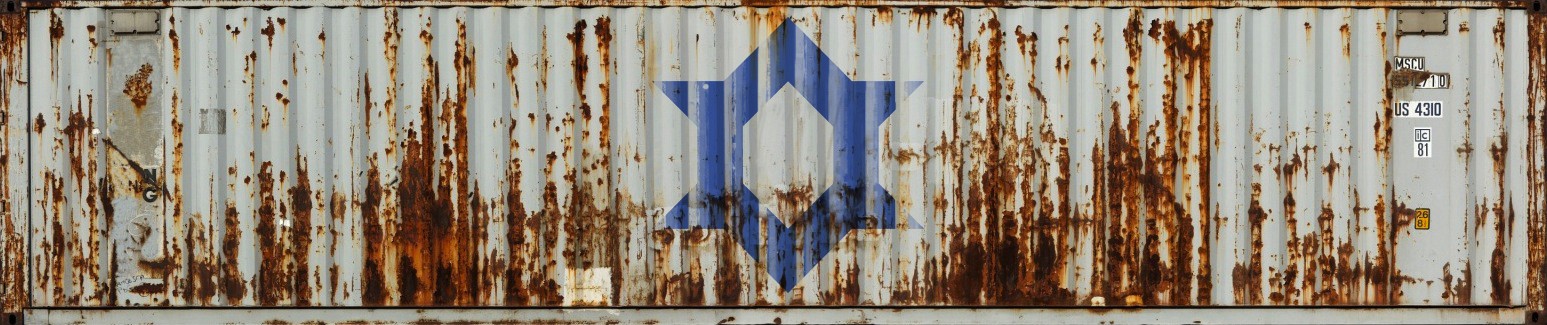
Step 16/25 - Container wall
Double Flying Logo. Amazing ;)
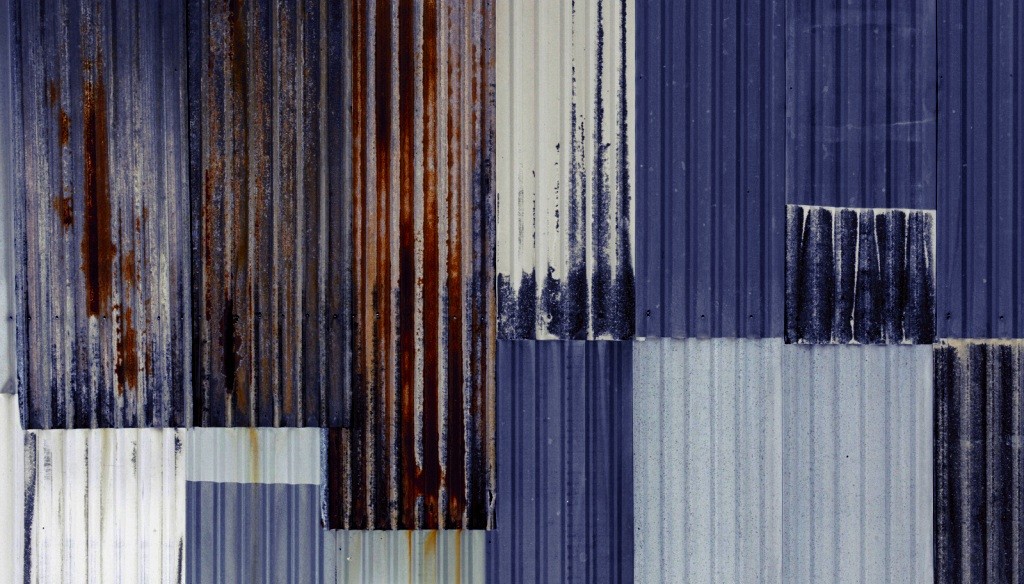
Step 17/25 - Metal wall texture

Step 18/25 - Metal wall texture
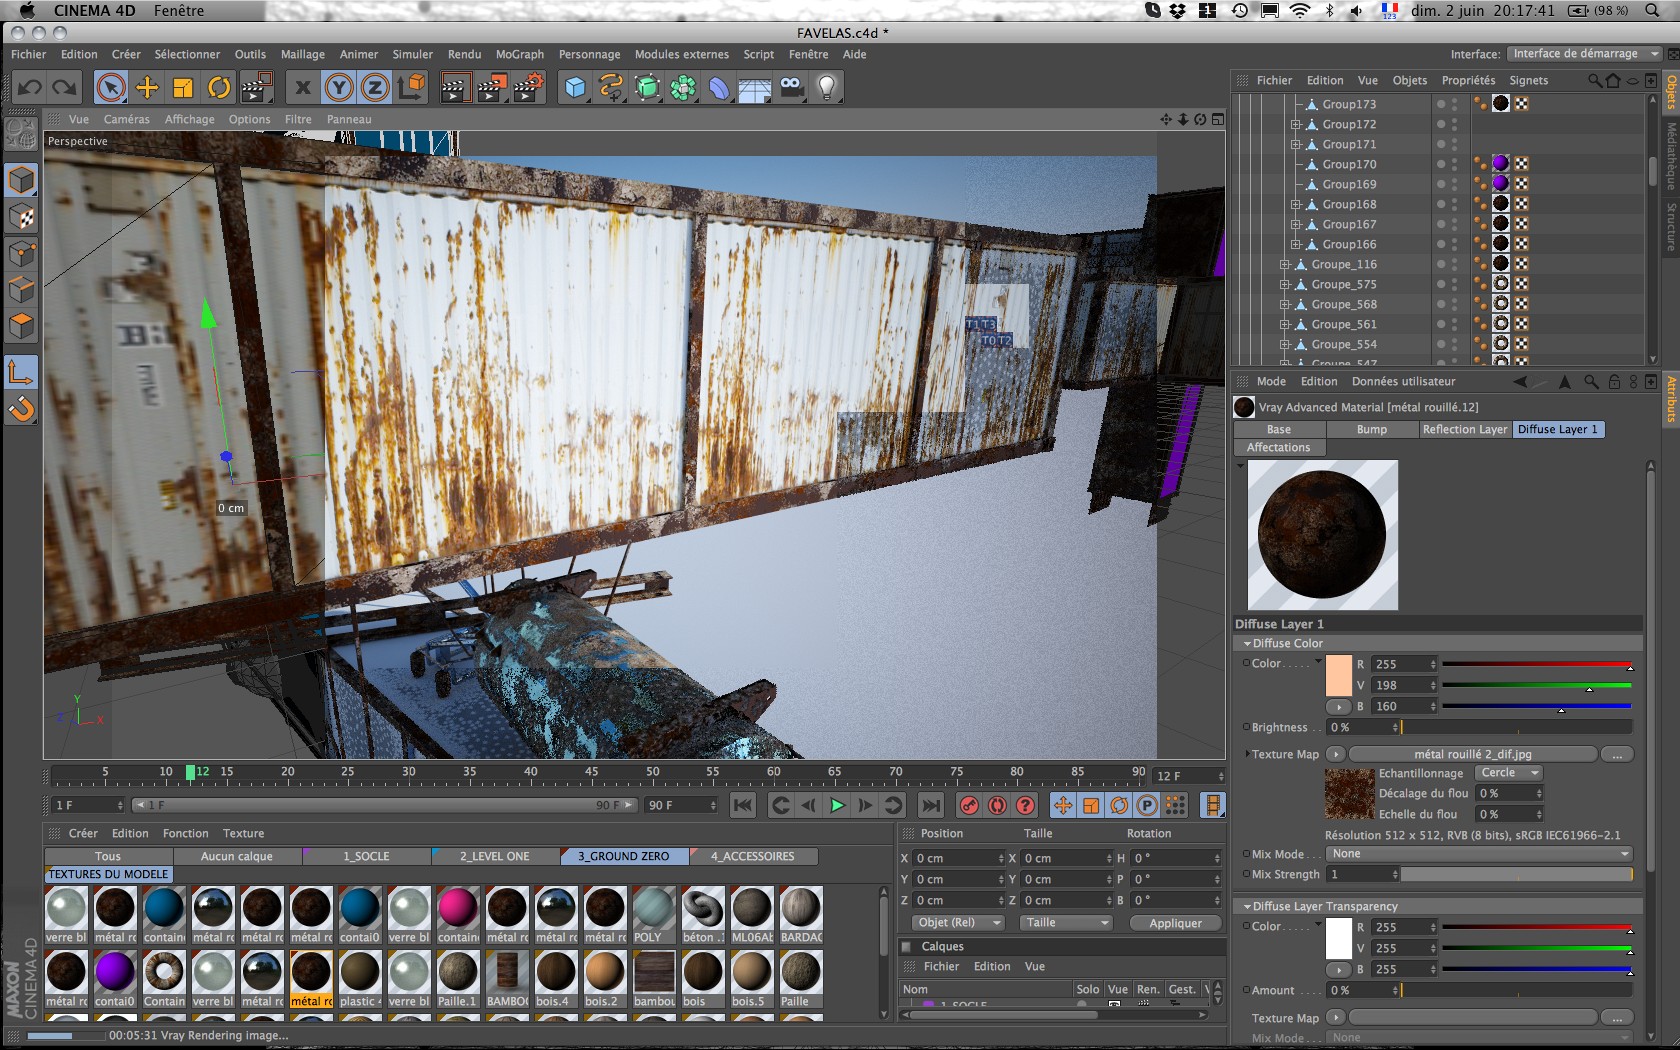
Step 19/25 - Materials
At the end I have more than thirty different materials, then optimized on C4d. They are all working together.
Step 20/25 - Final touches
At this stage I don’t know what will be the final points of view, so all textures are worked in high resolution on Photoshop. This is the key to getting an accurate detail of what you want to see. This allows for a good compromise between what is modeled and what we give to see. For example : for containers, the surface is flat but the texture of the image shows a volume. For what I want to do is good enough and we still see an illusion of a bumped surface.