3D explained
Step 3/14 - Modelling
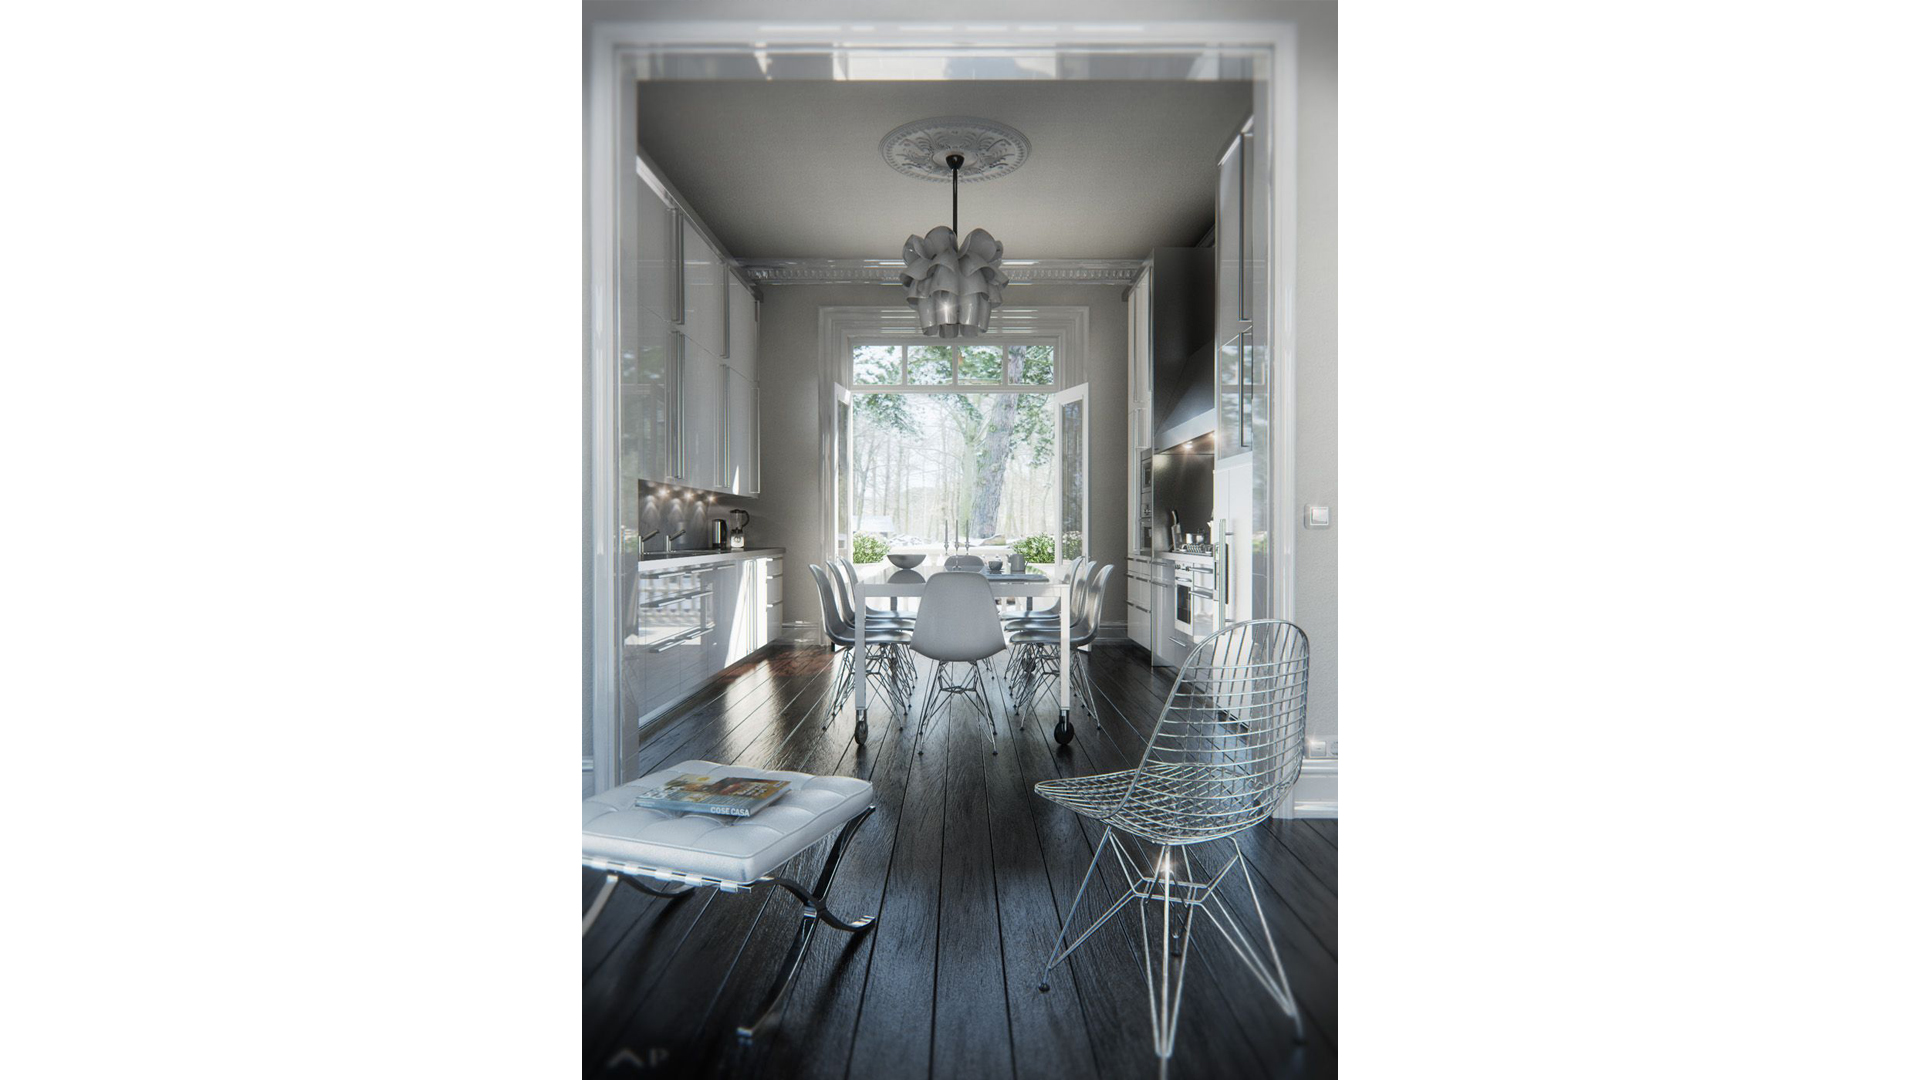
Modelling was not complex at all. Thanks to God I have a decent library of objects and VfR materials that I collected through the years and that helped me in speeding up the process. I knew the most important thing had to be lighting. Besides that there should have been a particular material that had to stand out ,so I decide to put my efforts in the wood flooring. Actually the beauty of this image (in my opinion) is the lighting and how it reacts with materials, not the model complexity.
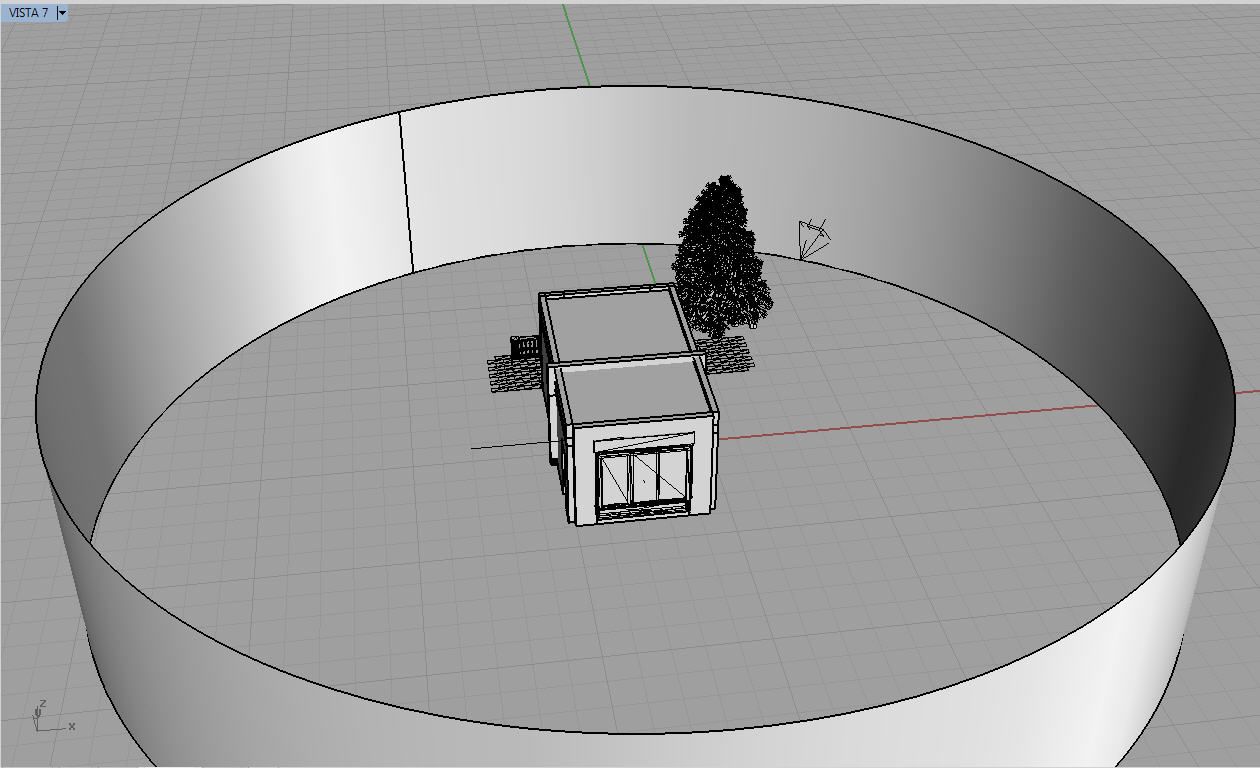
The model consists of a Room quite detailed (but not too much), surrounded by a cylindrical background, were I put an exterior image. I decided not to put the background in Photoshop as I wanted the reflections to come out of that background and reflect inside the room.
Step 4/14 - 3D Detailing
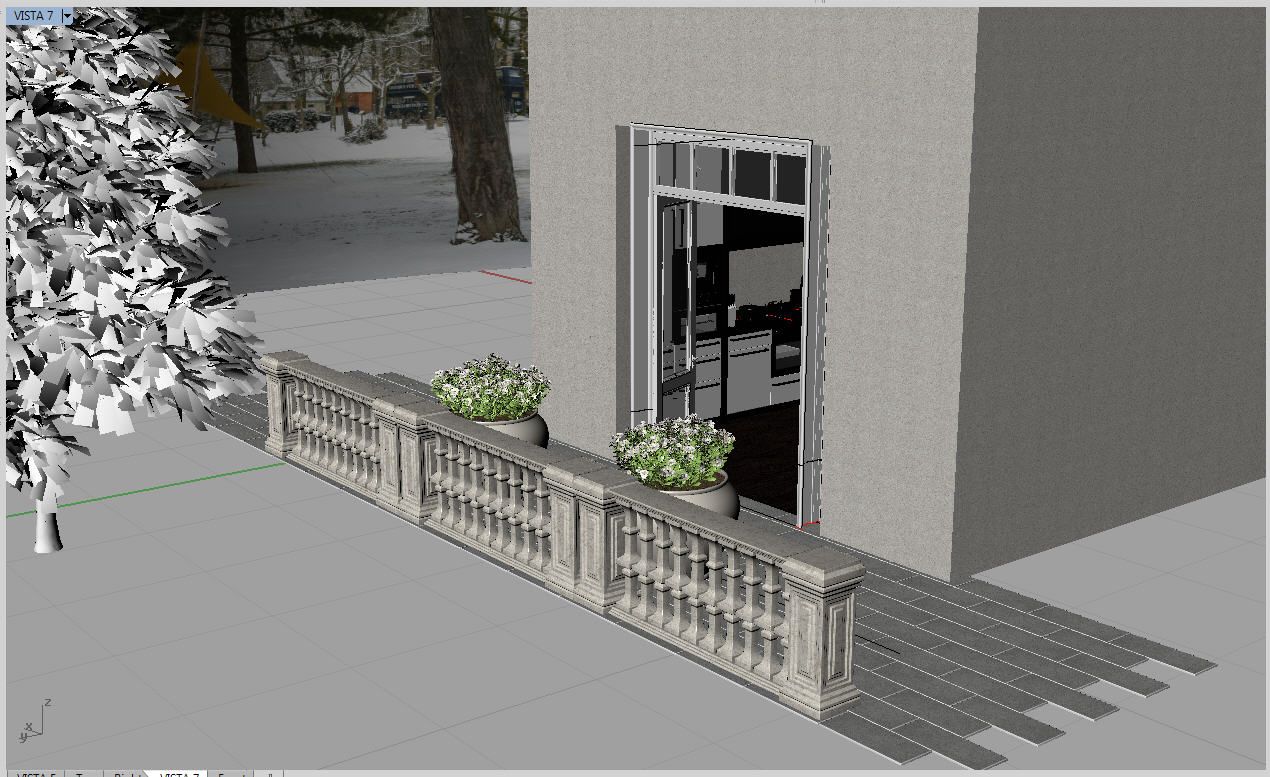
I tried to make more 3D possible in this particular scene in order to get the light to react with more possible objects. However that is not the workflow I usually do, it depends on time, and deadlines. I love doing things in 2D. As you can see I modelled even the floortiles. I don’t like how 2d surfaces display with bump or displacement. Well, it depends on the quality you want to reach. I use both of course, depending on a particular project, but this time with this render.
I was after Hyperrealism. I aslo put a tree to cast some shadows from it’s leaves.
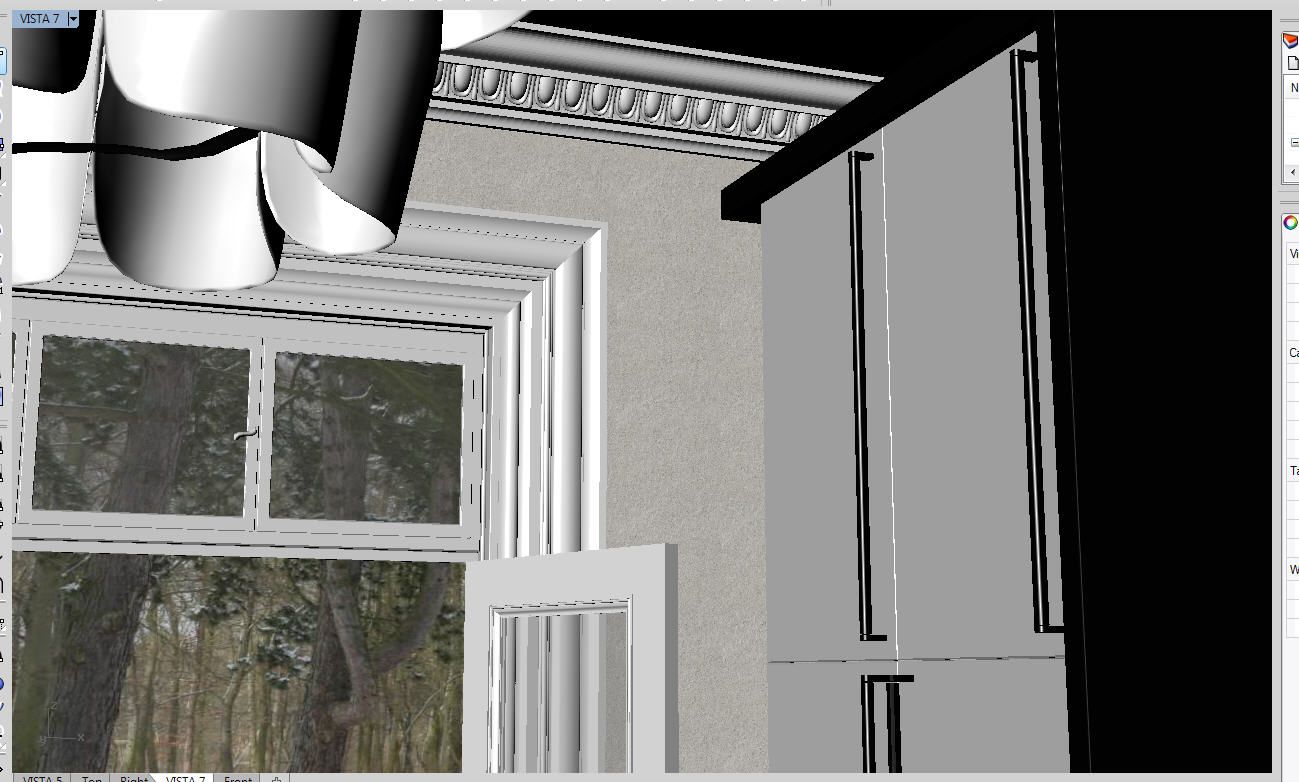
Step 5/14 - Inside the room
I tried to be quite accurate with window frames and Stuccos, and last but not least with the furniture. Really important were the fillets and Chamfers over the objects. Any CG expert knows that realism begins from that.
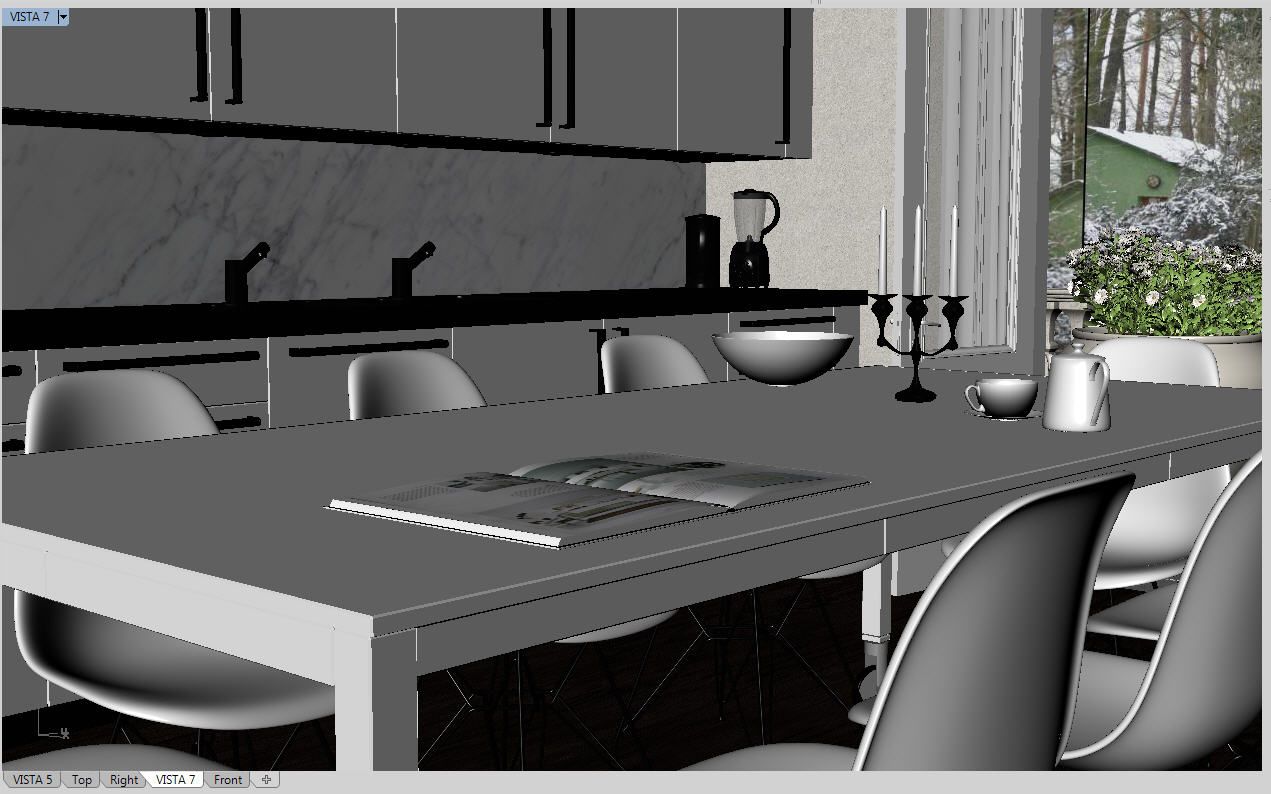
Step 6/14 - Chairs
I aslo wanted to use Vitra Eames chair which I already mapped, textured with advanced materials. I think they reacted pretty well in the scene. They all feature advanced metals. If you look closely you’ll see scratches, fingerprints, dirt on it. It’s a feature we’ve brought to vray for rhino recently as nobody bugged to do it :-)
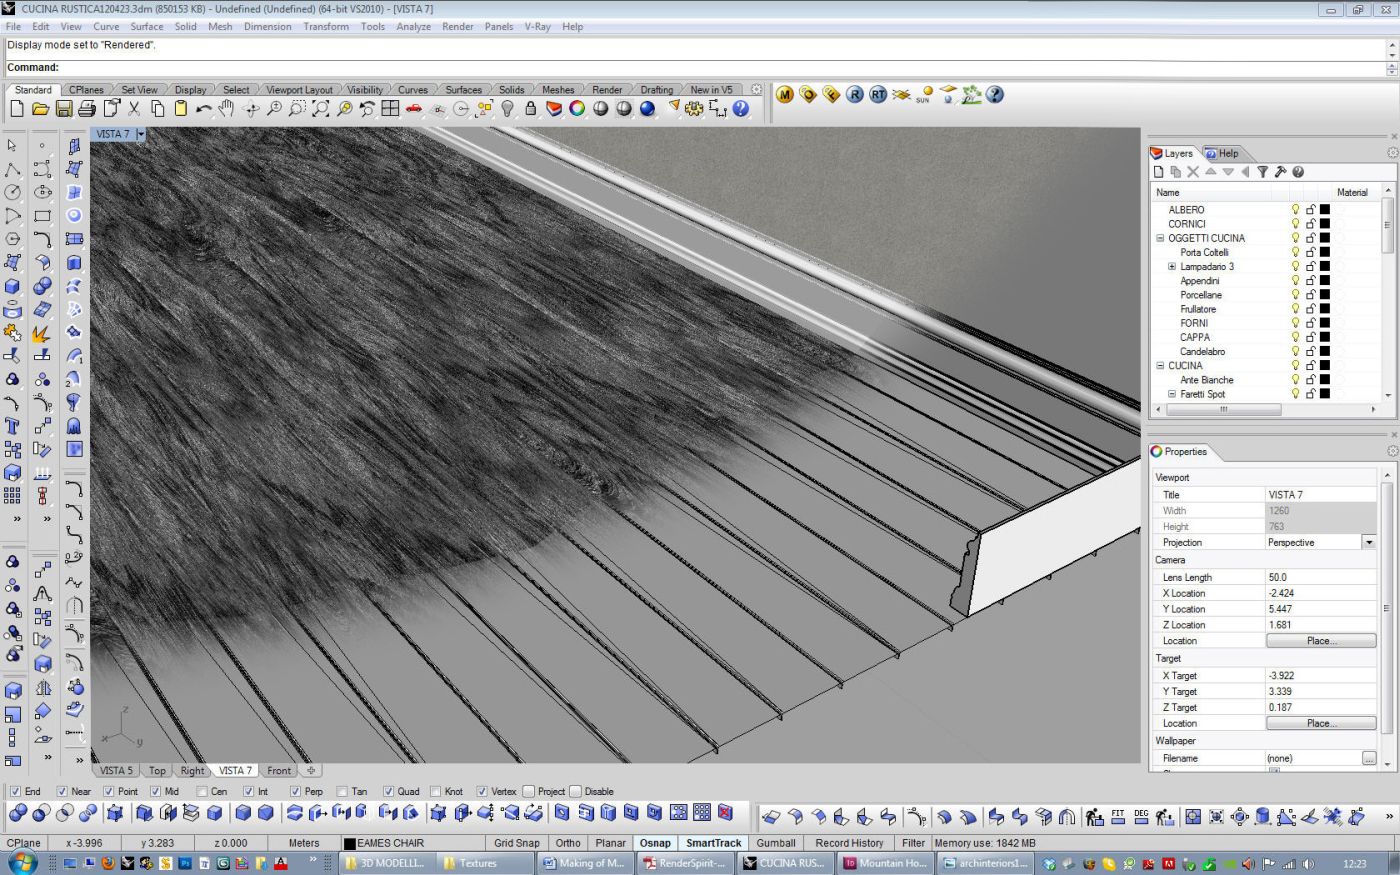
Step 7/14 - The floor
I wanted it to be the most interesting part of the scene, so I modelled every plank and then started to unwrap them in the UV editor in order to have a part of wood showing differently in every part of the planks. It’s not a difficult task, it’s only time consuming!