Description
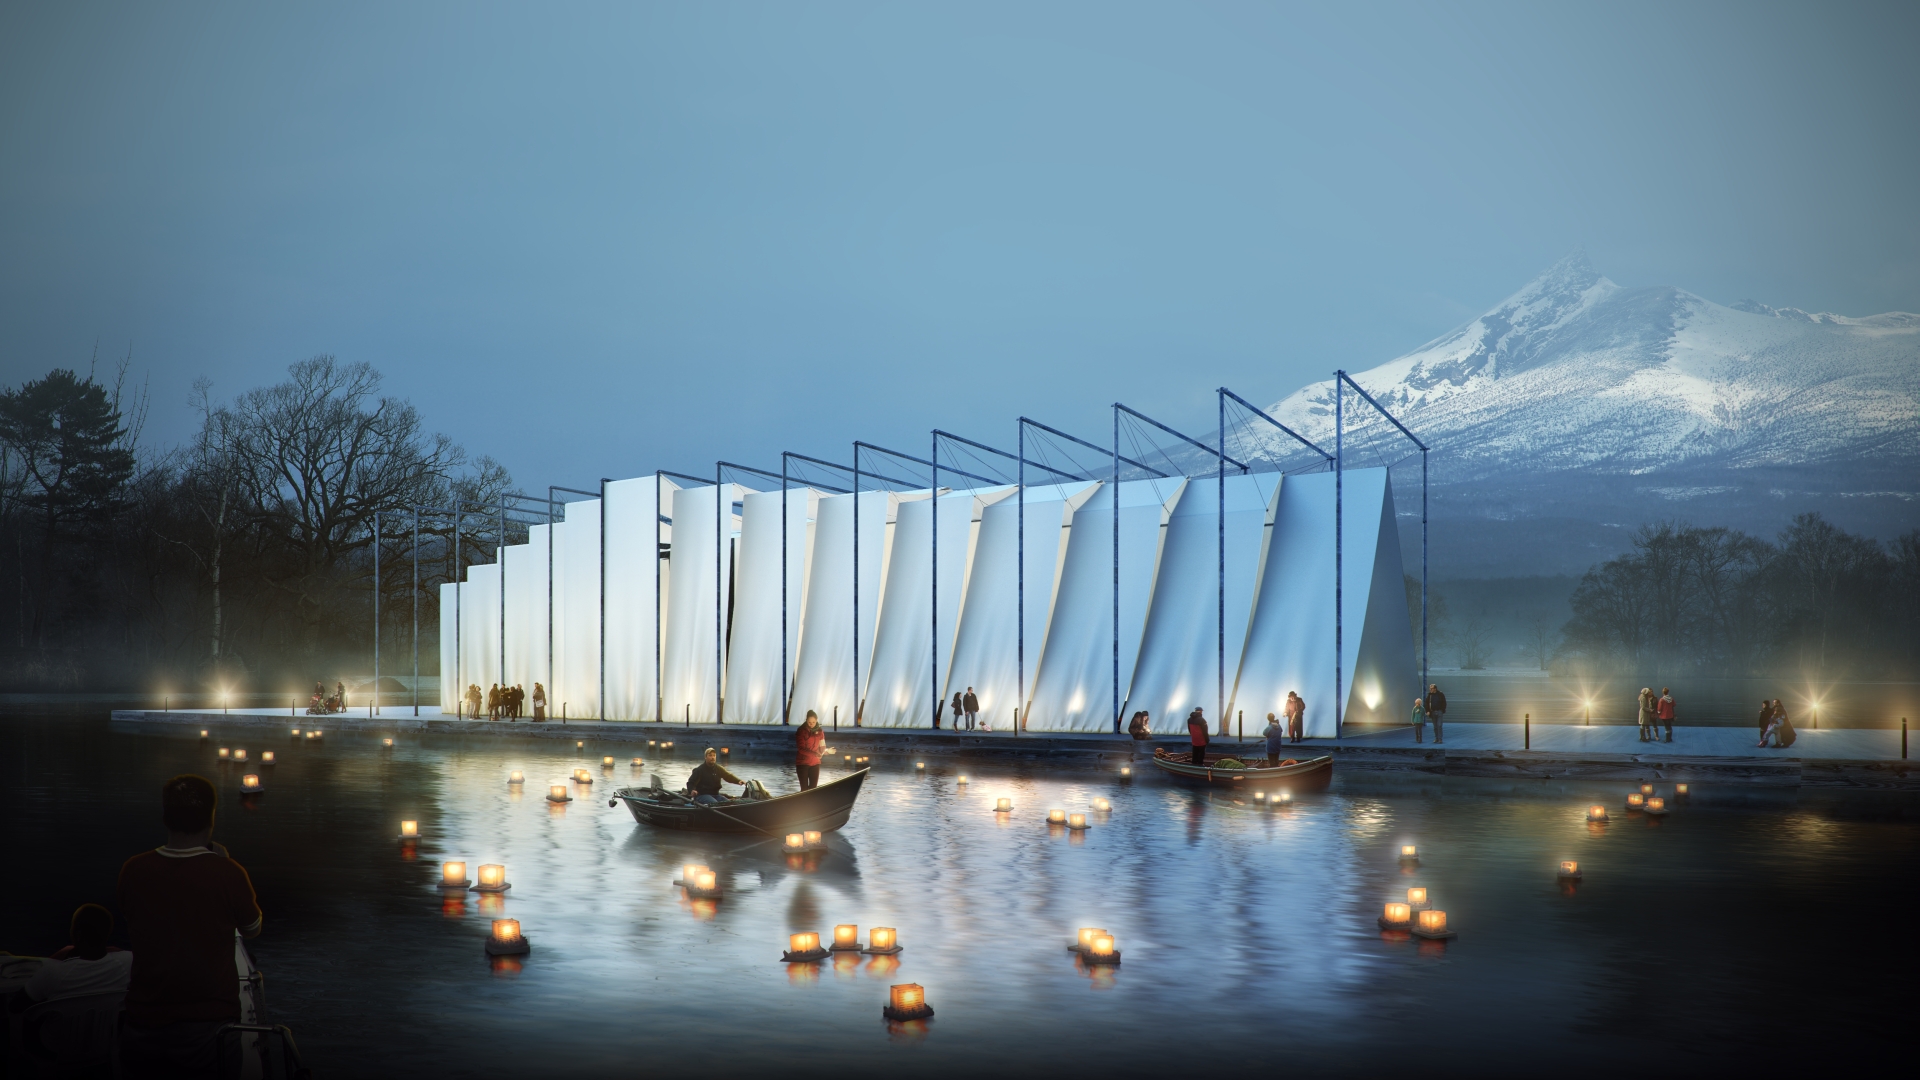
Hi, we are back with the last tutorial from the Wind Chapel project. This part will be about advanced postproduction in Photoshop of an exterior scene with a deep analysis of each layer, where you'll learn about important steps and some tips to create amazing image. Also, be sure to check out other parts of this series, where we talk about modeling, how to use Marvelous Designer 3, advanced materials, mapping, lighting, render settings and interior postproduction. All right, make yourself a delicious cup of coffee and we can start this tutorial.
https://flyingarchitecture.com/tutorials/wind-chapel-modeling-tutorial
https://flyingarchitecture.com/tutorials/wind-chapel-materials-and-lighting-tutorial
https://flyingarchitecture.com/tutorials/wind-chapel-postproduction


Have a nice day!'