Description
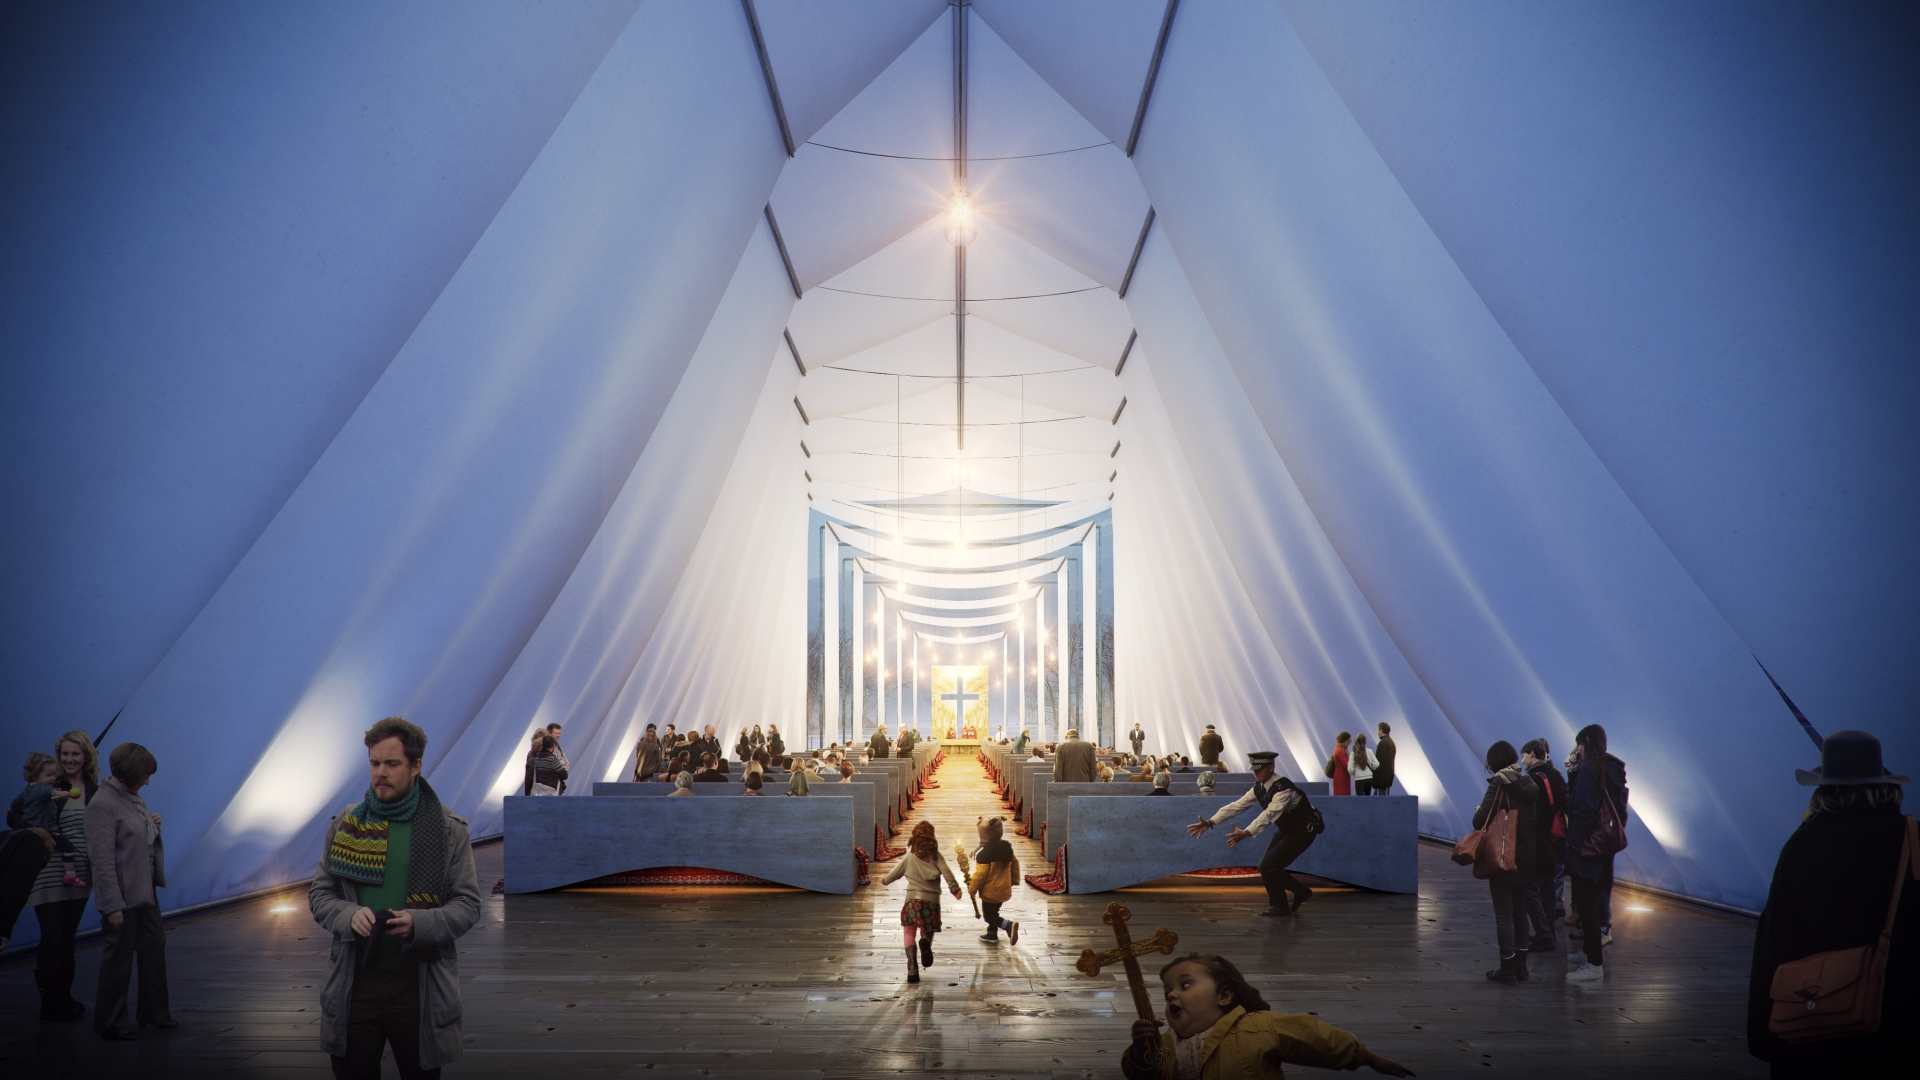
Welcome to the last part from the series of tutorials about recently finished Wind Chapel project. This part will be about advanced postproduction in Photoshop with deep analyse of each layer, where you'll learn about essential steps to create amazing image. Also be sure you checked the first and second part of this series, where we talk about modeling, how to use Marvelous Designer 3 to create beautiful fabric structures, advanced materials, mapping, lighting and render settings. Last, additional part is about people assets and how to work with them to achieve amazing results. All right, we can start this tutorial.
Wind Chapel materials and lighting tutorial
Wind Chapel exterior postproduction
Attached files
Comments

kmlkarablt
Dec 16, 2014
l've sent a message to your contact section and to your facebook account but no one turn back. Why?
Reply

Matus
Dec 21, 2014
We were overloaded with some work. I replied to You yesterday, sorry for the delay.

rfollett
Dec 29, 2014
I presume the people are added as PNG files ? Do you purchase these , from who??

stefan turcovsky
Jan 6, 2015
not all of them, some are jpgs. You can buy a lot of stuff from www.viz-people.com or donwload free cutouts from www.ronenbekerman.com/freebies, www.gobotree.com or www.skalgubbar.se as mentioned below


Matus
Oct 7, 2016
This is a written, step-by-step tutorial. The same approach as in Free section.
Sign In to add a comment.