Description
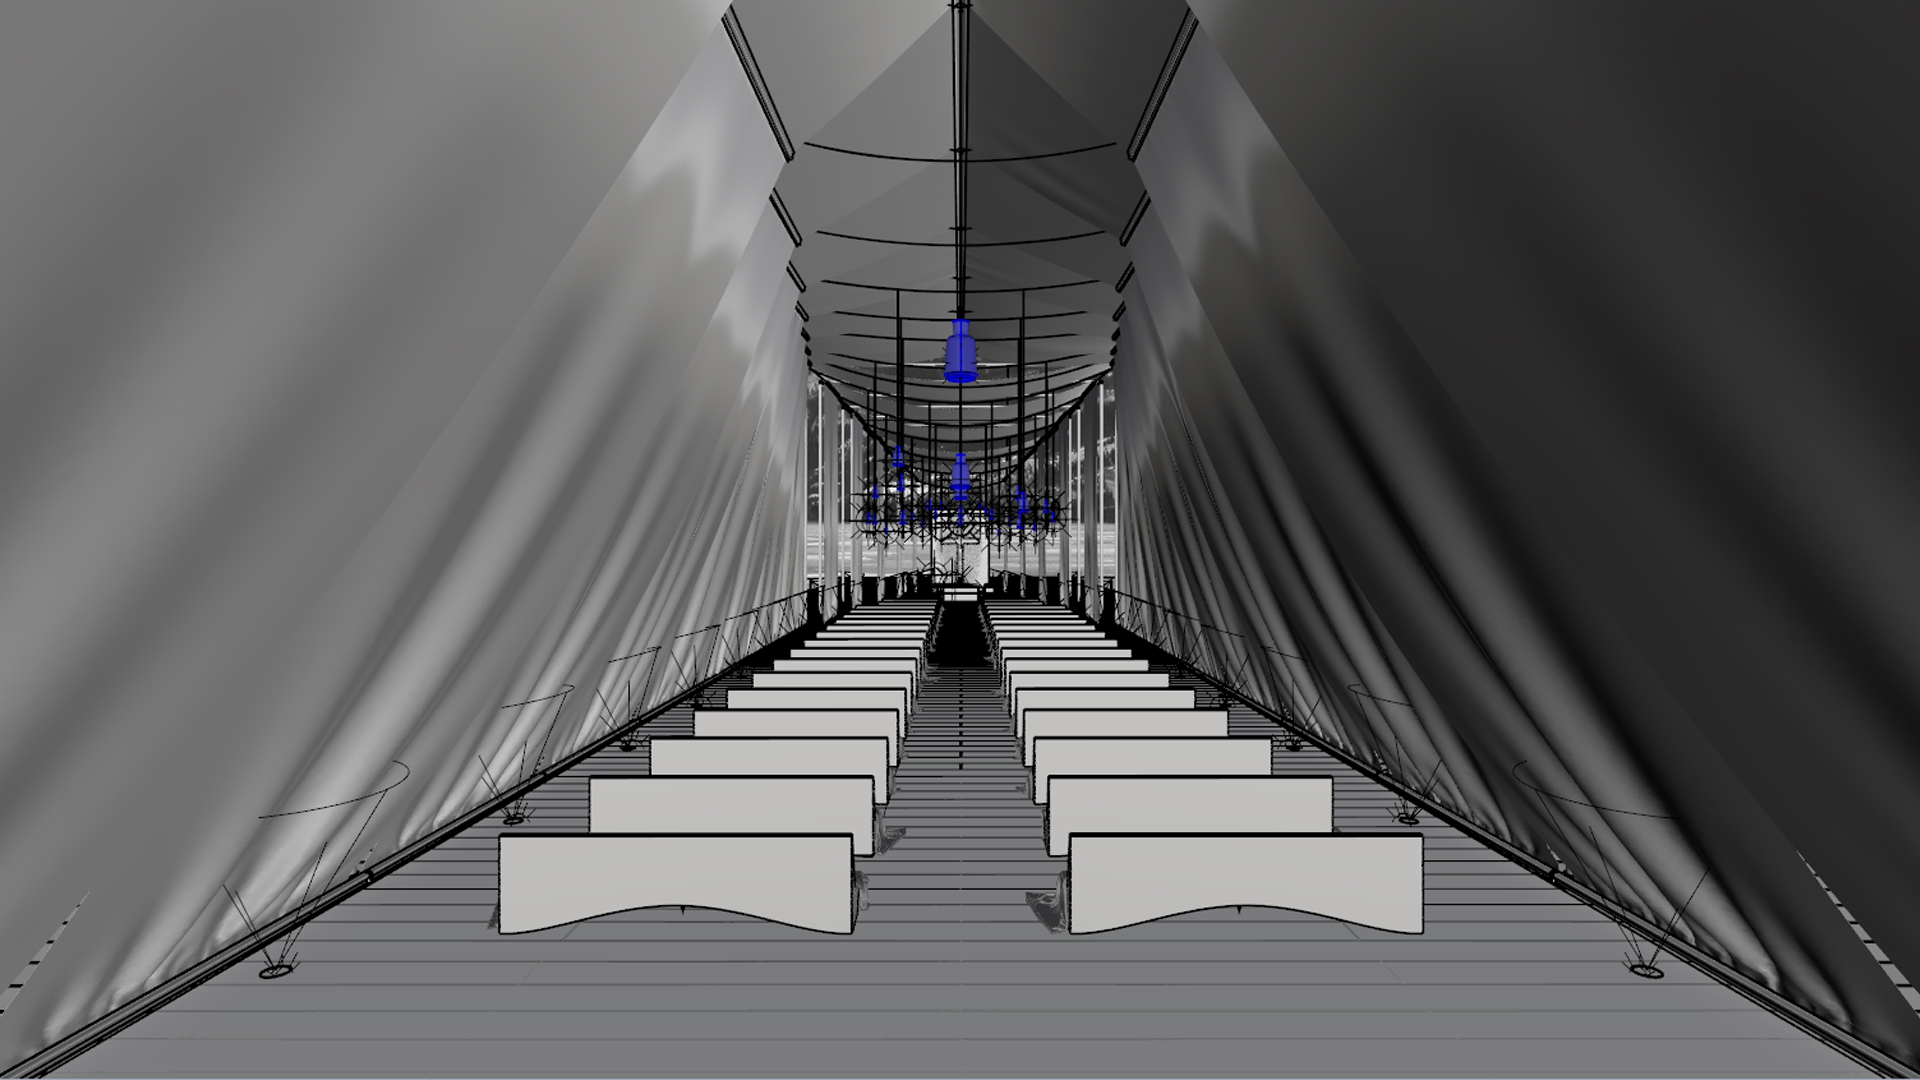
Hello again. Welcome to the Second part from the series of tutorials about recently finished Wind Chapel project. This part will be about advanced materials, proper mapping and lighting in the scene. Also be sure you checked the first part part of this series, where we talk about modeling and also how to use Marvelous Designer 3 to create beautiful fabric structures. Third part will be about the process of postproduction in Photoshop with deep analyse of each step that will help you create your own images. Last one will be about people assets in the image and how to deal with them to achieve best possible result.
Comments

3dmlstudio
Apr 19, 2016
Thanks it's nice. you can also read 3D Rendering Services For Designers
Reply

abinash17
Jul 10, 2016
why i don't see the tutorial? Just an image and comments. I am new here. Please help..

Matus
Jul 10, 2016
Hello, this tutorial belongs to the Ninja section, so You cannot see another steps until You become a subscriber: https://flyingarchitecture.com/user/subscription
Sign In to add a comment.